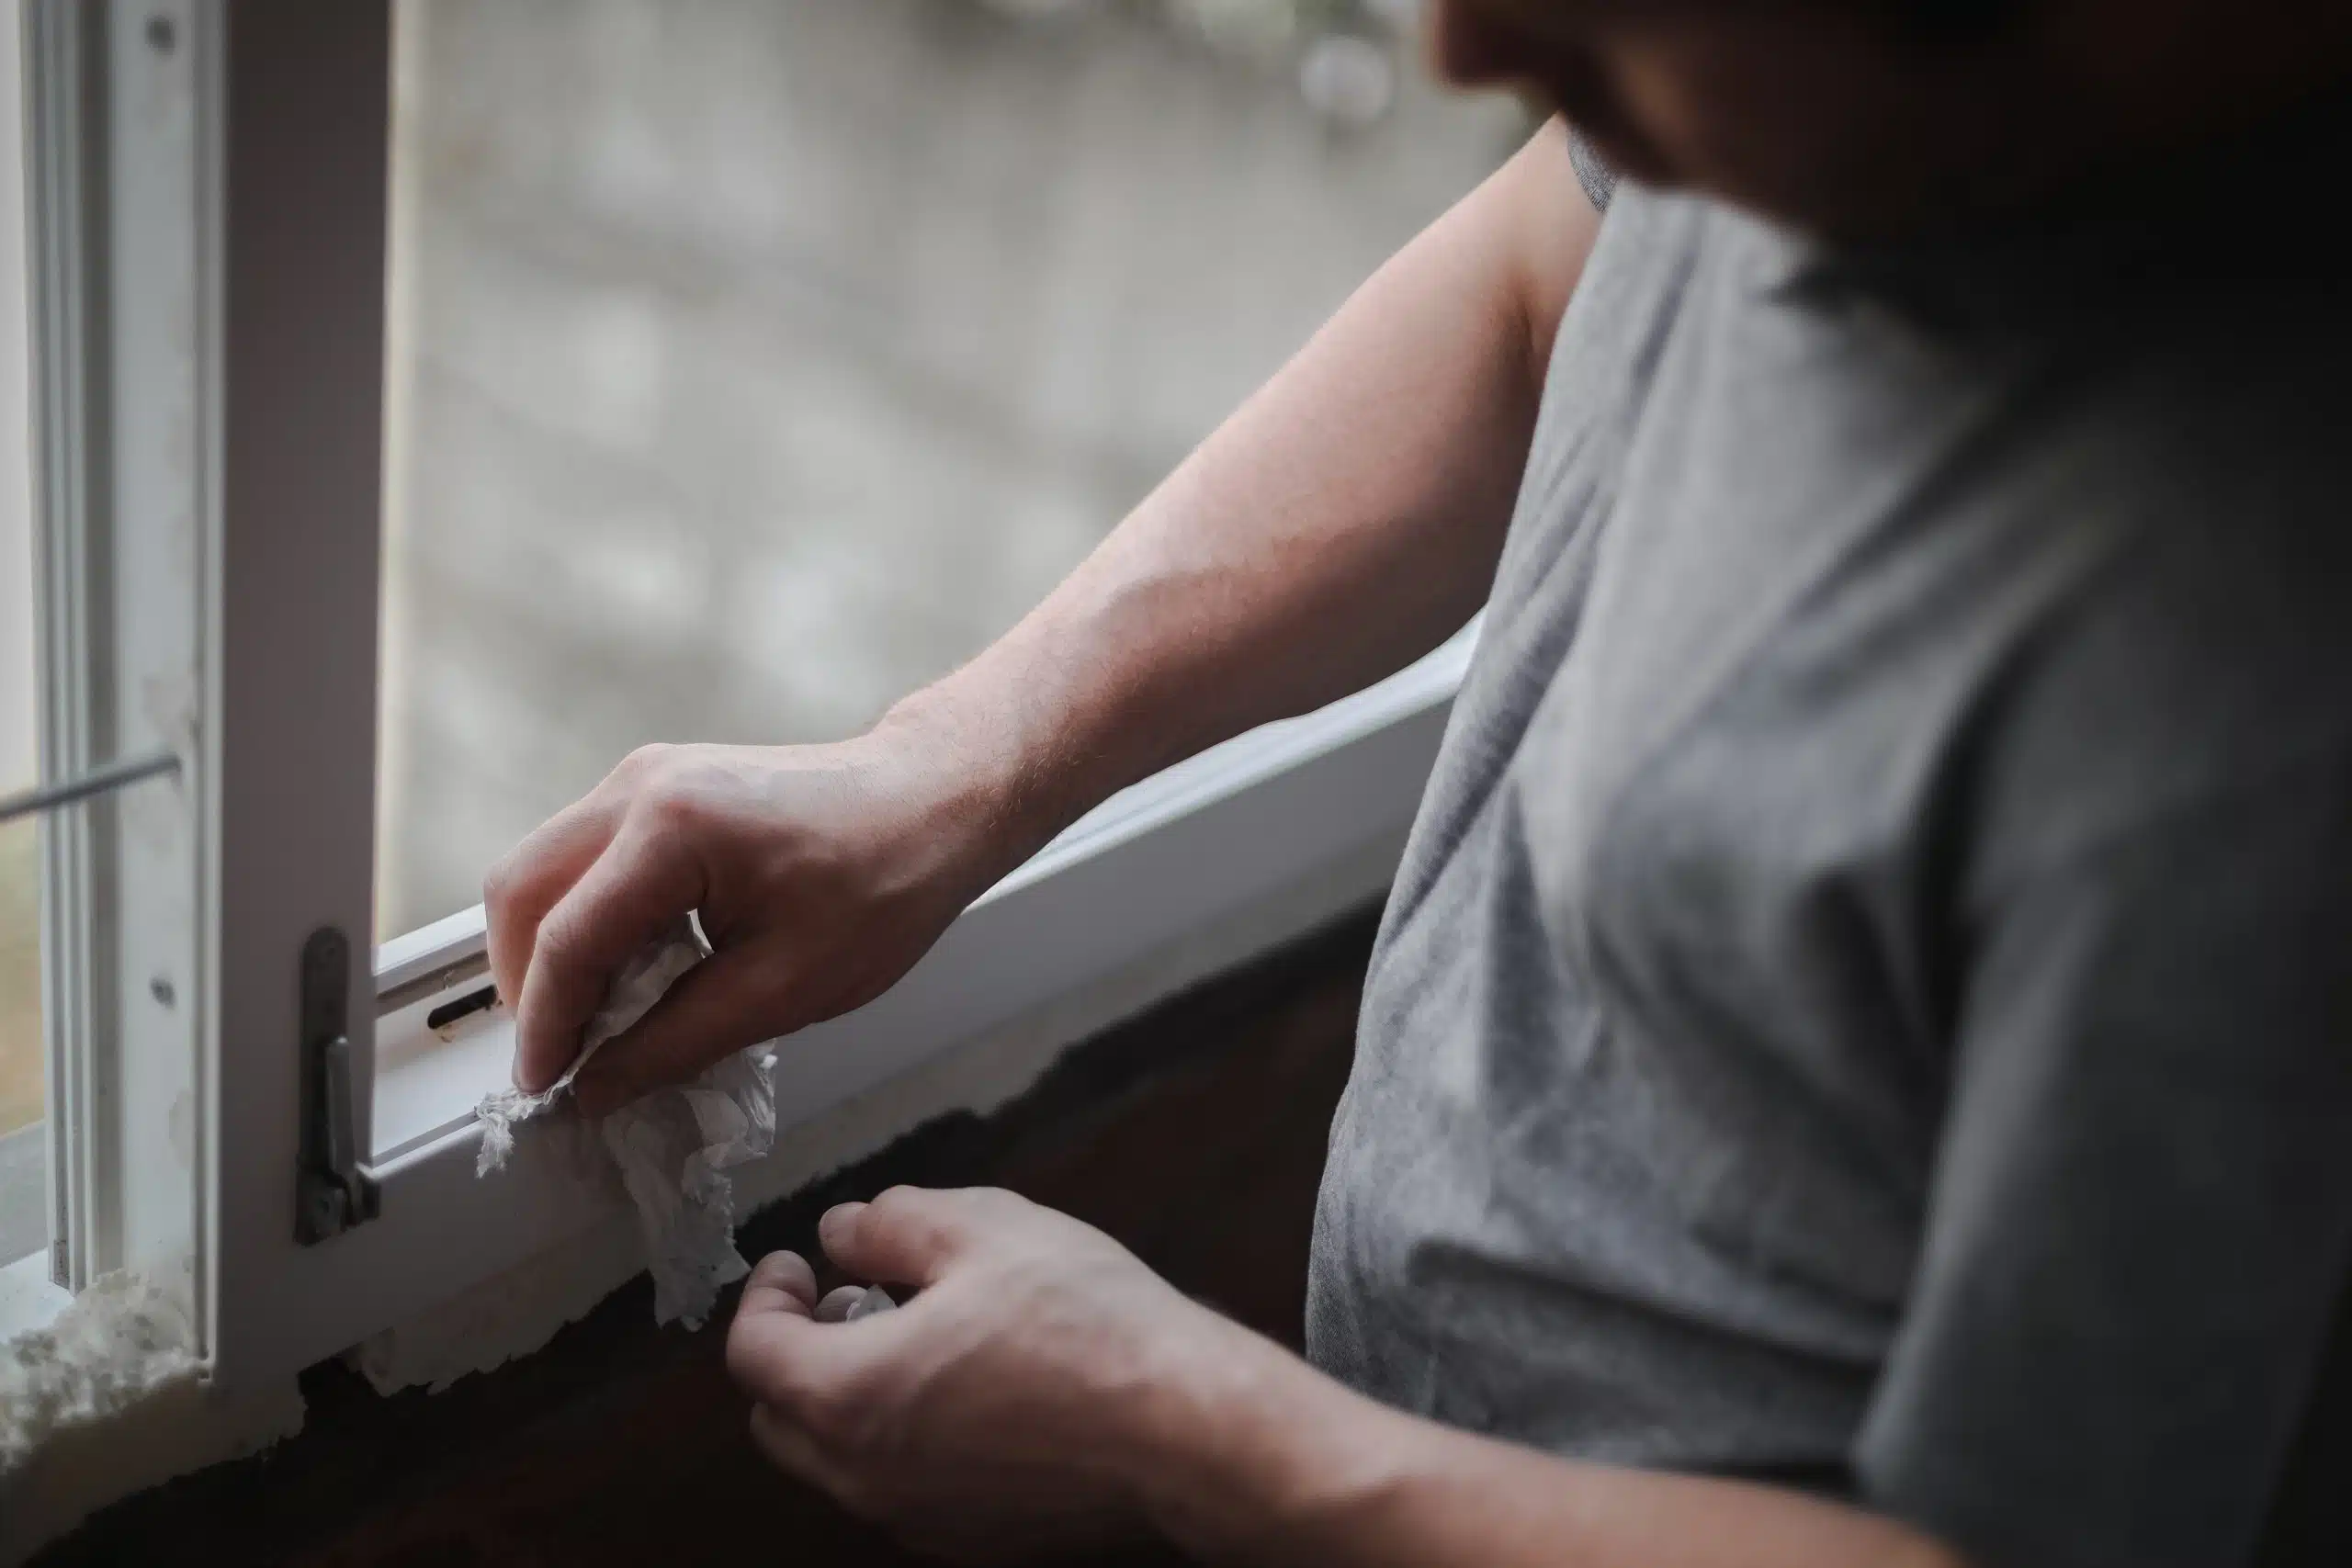
Caulking your windows is an essential part of maintaining your home. It helps keep out drafts, moisture, and even pests. In this comprehensive guide, we will walk you through the process of preparing your windows for caulking, ensuring you get the best results whether you are doing it yourself or hiring window caulking services. This guide will cover expert advice, best practices, and techniques to avoid common mistakes.
First, gather all the necessary tools and supplies. You will need a window caulking kit, which typically includes a caulking gun, caulk remover, and caulk itself. You can buy window caulking supplies at your local hardware store or online. Make sure you have the best window caulking tools to ensure a professional finish. For those who prefer to leave it to the professionals, look for affordable window caulking services or hire window caulking experts in your area.
Inspecting and Removing Old Caulk
Before you start, inspect your windows thoroughly. Look for any old or damaged caulk that needs to be removed. This step is crucial because applying new caulk over old, deteriorated caulk will not adhere properly and won’t seal effectively. Use a caulk remover to get rid of the old caulk. Be careful not to damage the window frame or surrounding areas.
Cleaning the Window Frame
Once the old caulk is removed, clean the window frame and surrounding area thoroughly. Dirt, dust, and grease can prevent the new caulk from adhering properly. Use a mild detergent and water to clean the surfaces, then rinse and allow them to dry completely. This step ensures that the new caulk will bond well and last longer.
Preparing the Caulking Gun
Next, prepare the caulking gun. Cut the tip of the caulk tube at a 45-degree angle to control the flow of the caulk. Load the tube into the caulking gun and make sure it is securely in place. If you are unsure about which caulk to use, consult a professional window caulking company near you for recommendations.
Applying the Caulk
Now, it’s time to apply the caulk. Hold the caulking gun at a consistent angle and apply a steady, even bead of caulk along the seams and edges of the window frame. Be sure to fill any gaps or cracks completely. Smooth the caulk with a caulking tool or your finger to ensure a neat and professional finish. Take your time with this step, as rushing can lead to uneven application and gaps.
Drying and Final Touches
After applying the caulk, let it dry according to the manufacturer’s instructions. Drying times can vary, so check the label on your caulk for specific details. Avoid touching or disturbing the caulk while it is drying to ensure a strong seal.
Consider Professional Help
While DIY window caulking can be a rewarding project, sometimes it’s best to hire professionals. If you need residential window caulking or same-day window caulking services, Kettle Contracting offers expert services in Oshawa, Ajax, Pickering, Whitby City, and Toronto, Ontario. We provide professional window caulking and can handle any job, big or small, to ensure your home is well-sealed and energy-efficient.
Final Thoughts
Preparing your windows for caulking doesn’t have to be a daunting task. With the right tools, techniques, and a bit of patience, you can achieve great results. For those who prefer to leave it to the experts, consider hiring a trusted window caulking company near you. Contact Kettle Contracting today to schedule your service and keep your home protected and comfortable all year round.


