When it comes to keeping your home properly sealed, caulking your windows is essential. Well-applied caulk not only prevents air leaks but also helps protect your home from moisture damage. Mastering caulking requires practice, but with the right techniques and tools, you can achieve smooth and even results every time. Whether you’re taking on a DIY project or looking for professional assistance, these pro tips will guide you through the process for perfectly sealed windows.
Choose the Right Caulk
The first step to achieving smooth and even caulk application is selecting the best caulk for window frame sealing. For windows, silicone or latex-based caulks are ideal because they offer flexibility and durability, ensuring your seals last. To get a professional finish, be sure to buy smooth finish caulk designed specifically for window applications.
Prep Your Window Frames
Before applying any caulk, make sure the window frames are clean and dry. Remove old caulk using a putty knife or a caulk removal tool to ensure the new caulk adheres properly. This step is critical because leftover caulk or debris can lead to uneven application or poor adhesion, making your caulking job less effective.
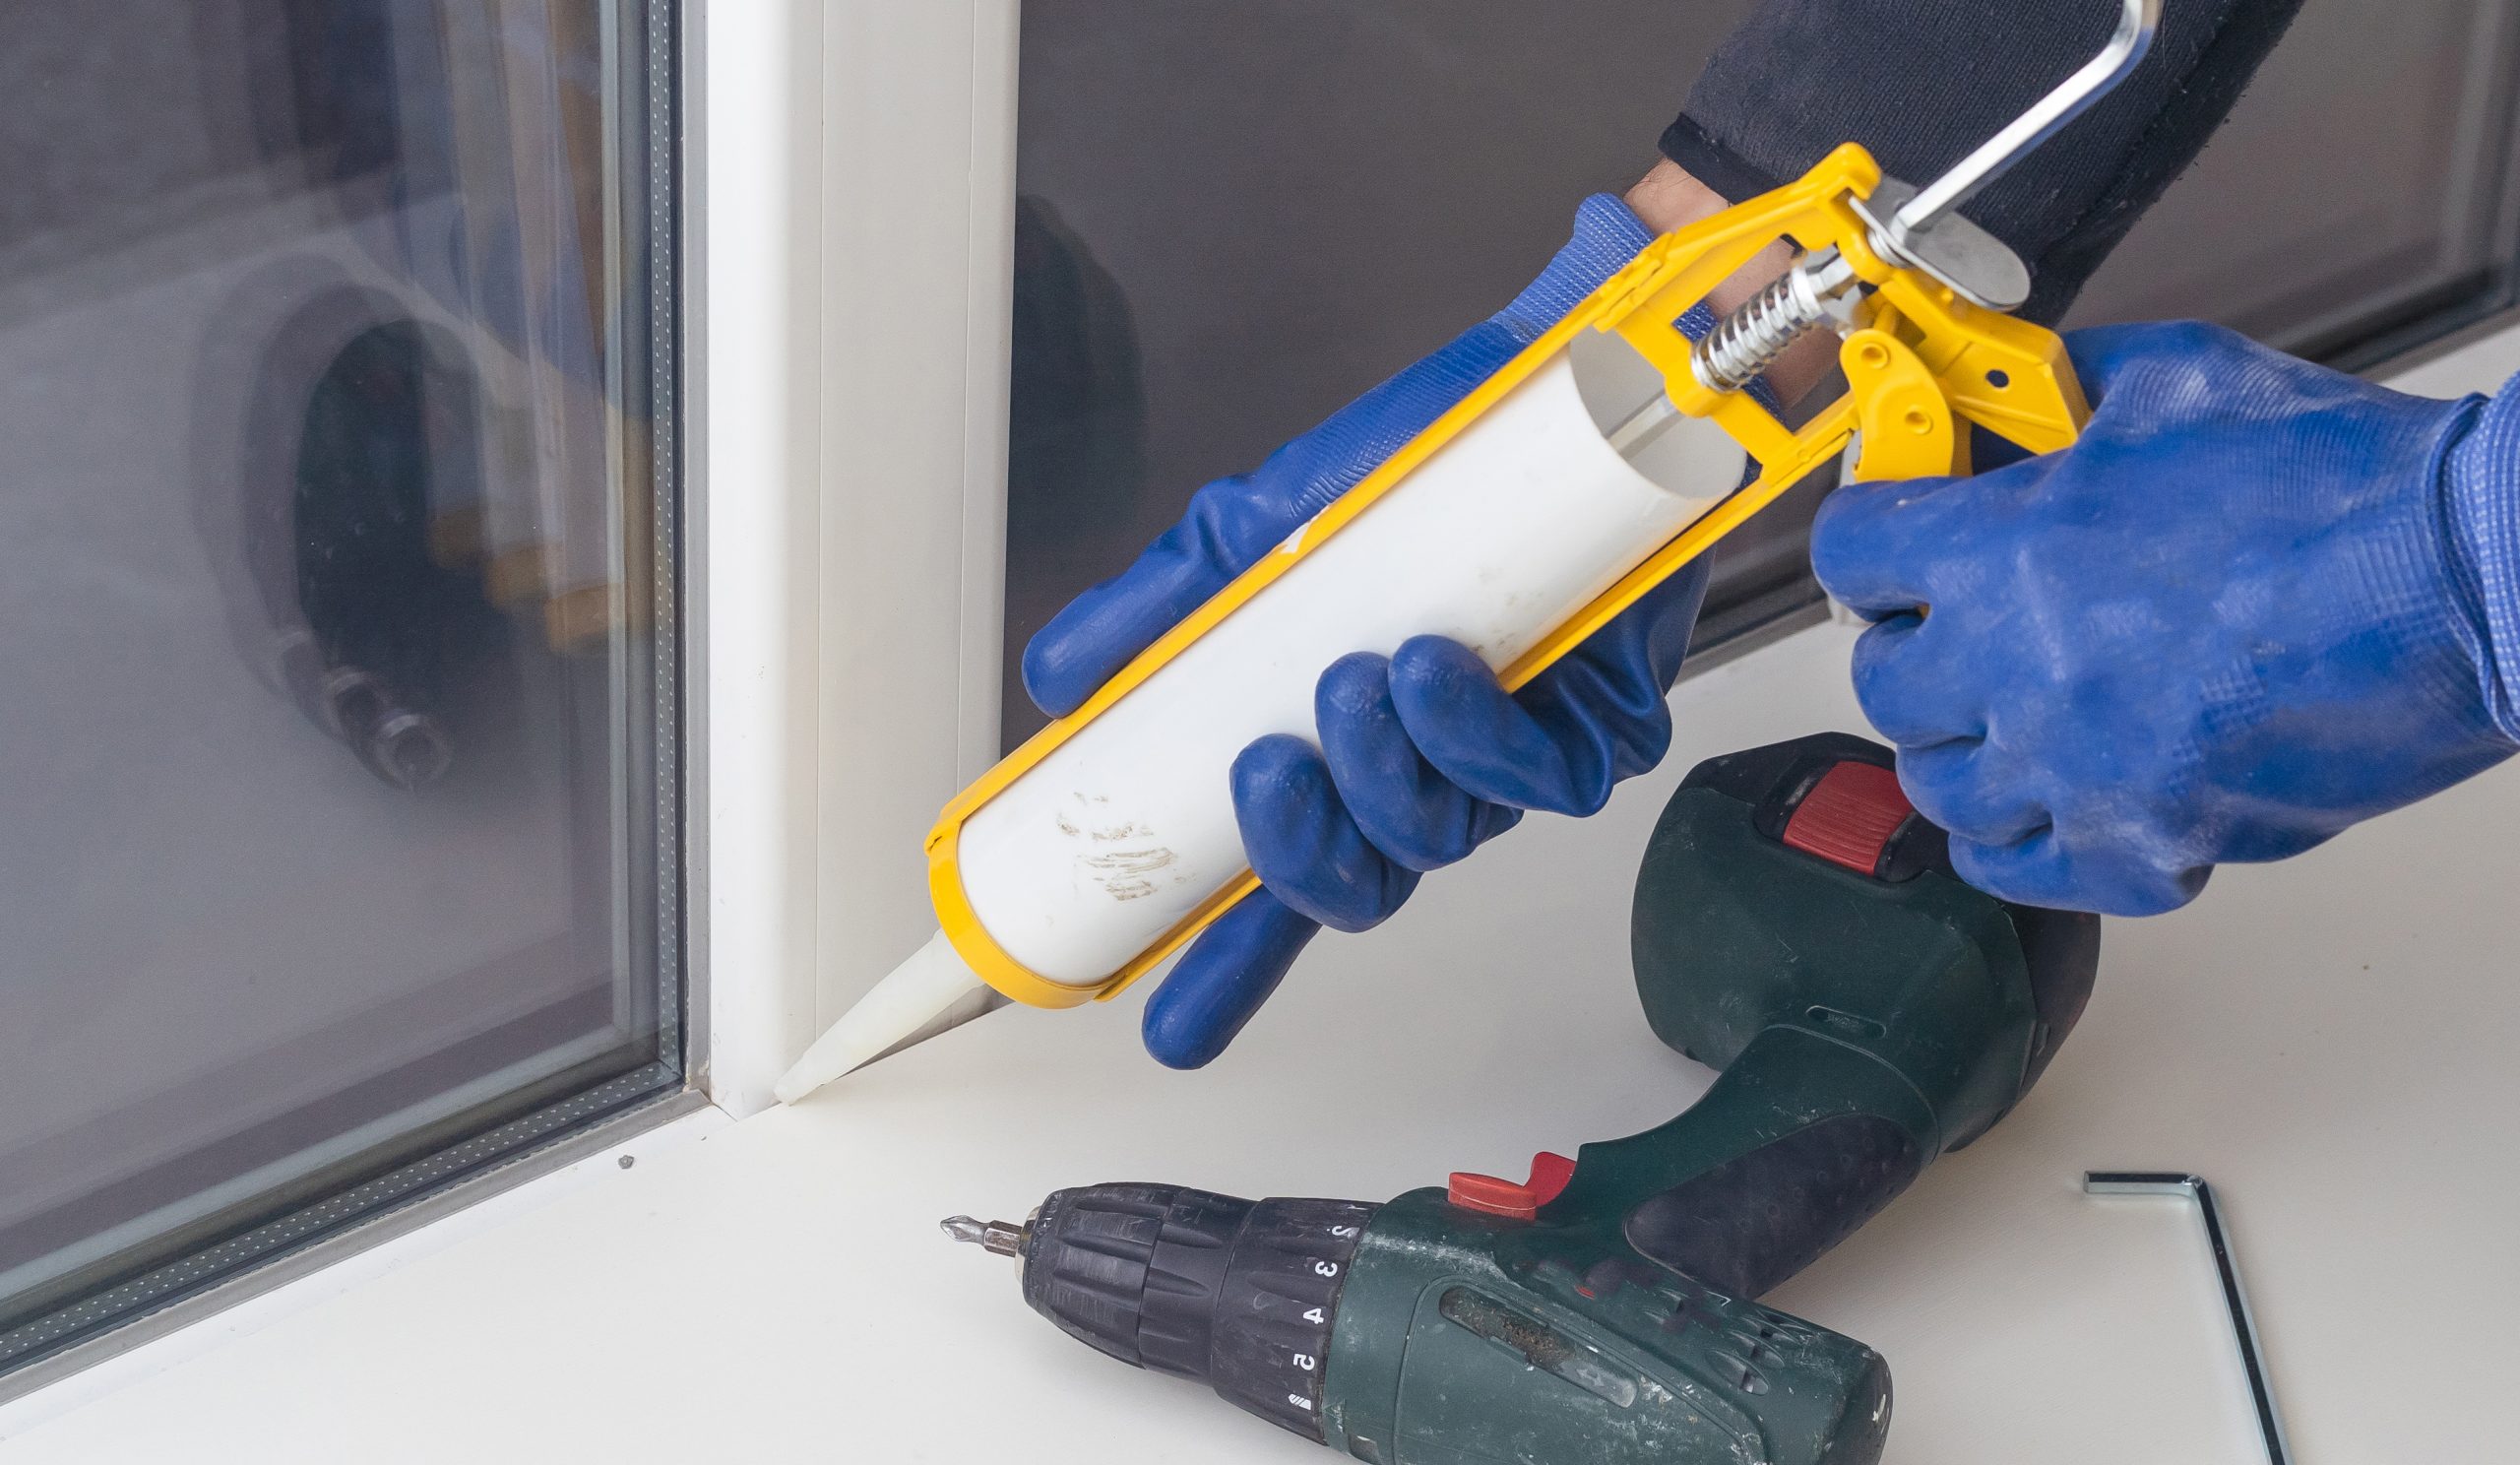
Use the Right Tools
Using professional caulking tools is key to a smooth and even application. You can buy professional caulking tools online or visit your local hardware store to purchase a high-quality caulk gun that allows for steady pressure. A caulk smoother or even your finger can help give the seal a finished look.
Tape for Clean Lines
For a professional-looking result, apply painter’s tape on both sides of the area you’ll be caulking. This helps you achieve smooth lines and prevent excess caulk from spreading onto your windows or walls. After applying the caulk, simply peel the tape away before it dries for a clean, polished finish.
Master Your Technique
To ensure smooth and even caulk application, hold your caulk gun at a 45-degree angle and apply steady pressure as you move along the window frame. Don’t rush! It’s better to go slowly and create an even bead of caulk. If you notice any gaps or bubbles, gently smooth them out with a caulk smoother or damp finger before the caulk dries.
Avoid Common Mistakes
One common mistake in window caulking is applying too much caulk at once. This can lead to a lumpy or uneven appearance. Another mistake is not smoothing out the caulk quickly enough, as it begins to dry and harden within minutes. Be prepared to smooth each section as you work to avoid any unwanted ridges.
Finishing Touches
Once you’ve applied the caulk and smoothed it out, allow it to dry completely. Avoid touching or disturbing the caulk while it dries to ensure it sets evenly. Depending on the caulk type, drying time can vary, so be sure to check the instructions on the packaging.
DIY or Hire a Professional?
While DIY caulking is doable for most homeowners, sometimes it’s best to hire a professional for window caulking. Professional window caulking services near you can ensure the job is done perfectly without the hassle. Plus, they often have access to top-quality tools and materials. If you’re looking for affordable window caulking service, getting a free estimate is a great place to start.
At Kettle Contracting, we specialize in window caulking done right. Our expert window caulk installers are ready to help you achieve smooth and seamless seals for your home. Whether you need help with one window or your entire home, our professional services will give you long-lasting results. For top-notch service in Oshawa, Ajax, Pickering, and Toronto, contact us today to get a free estimate and learn more about how we can help you keep your home protected and energy-efficient.