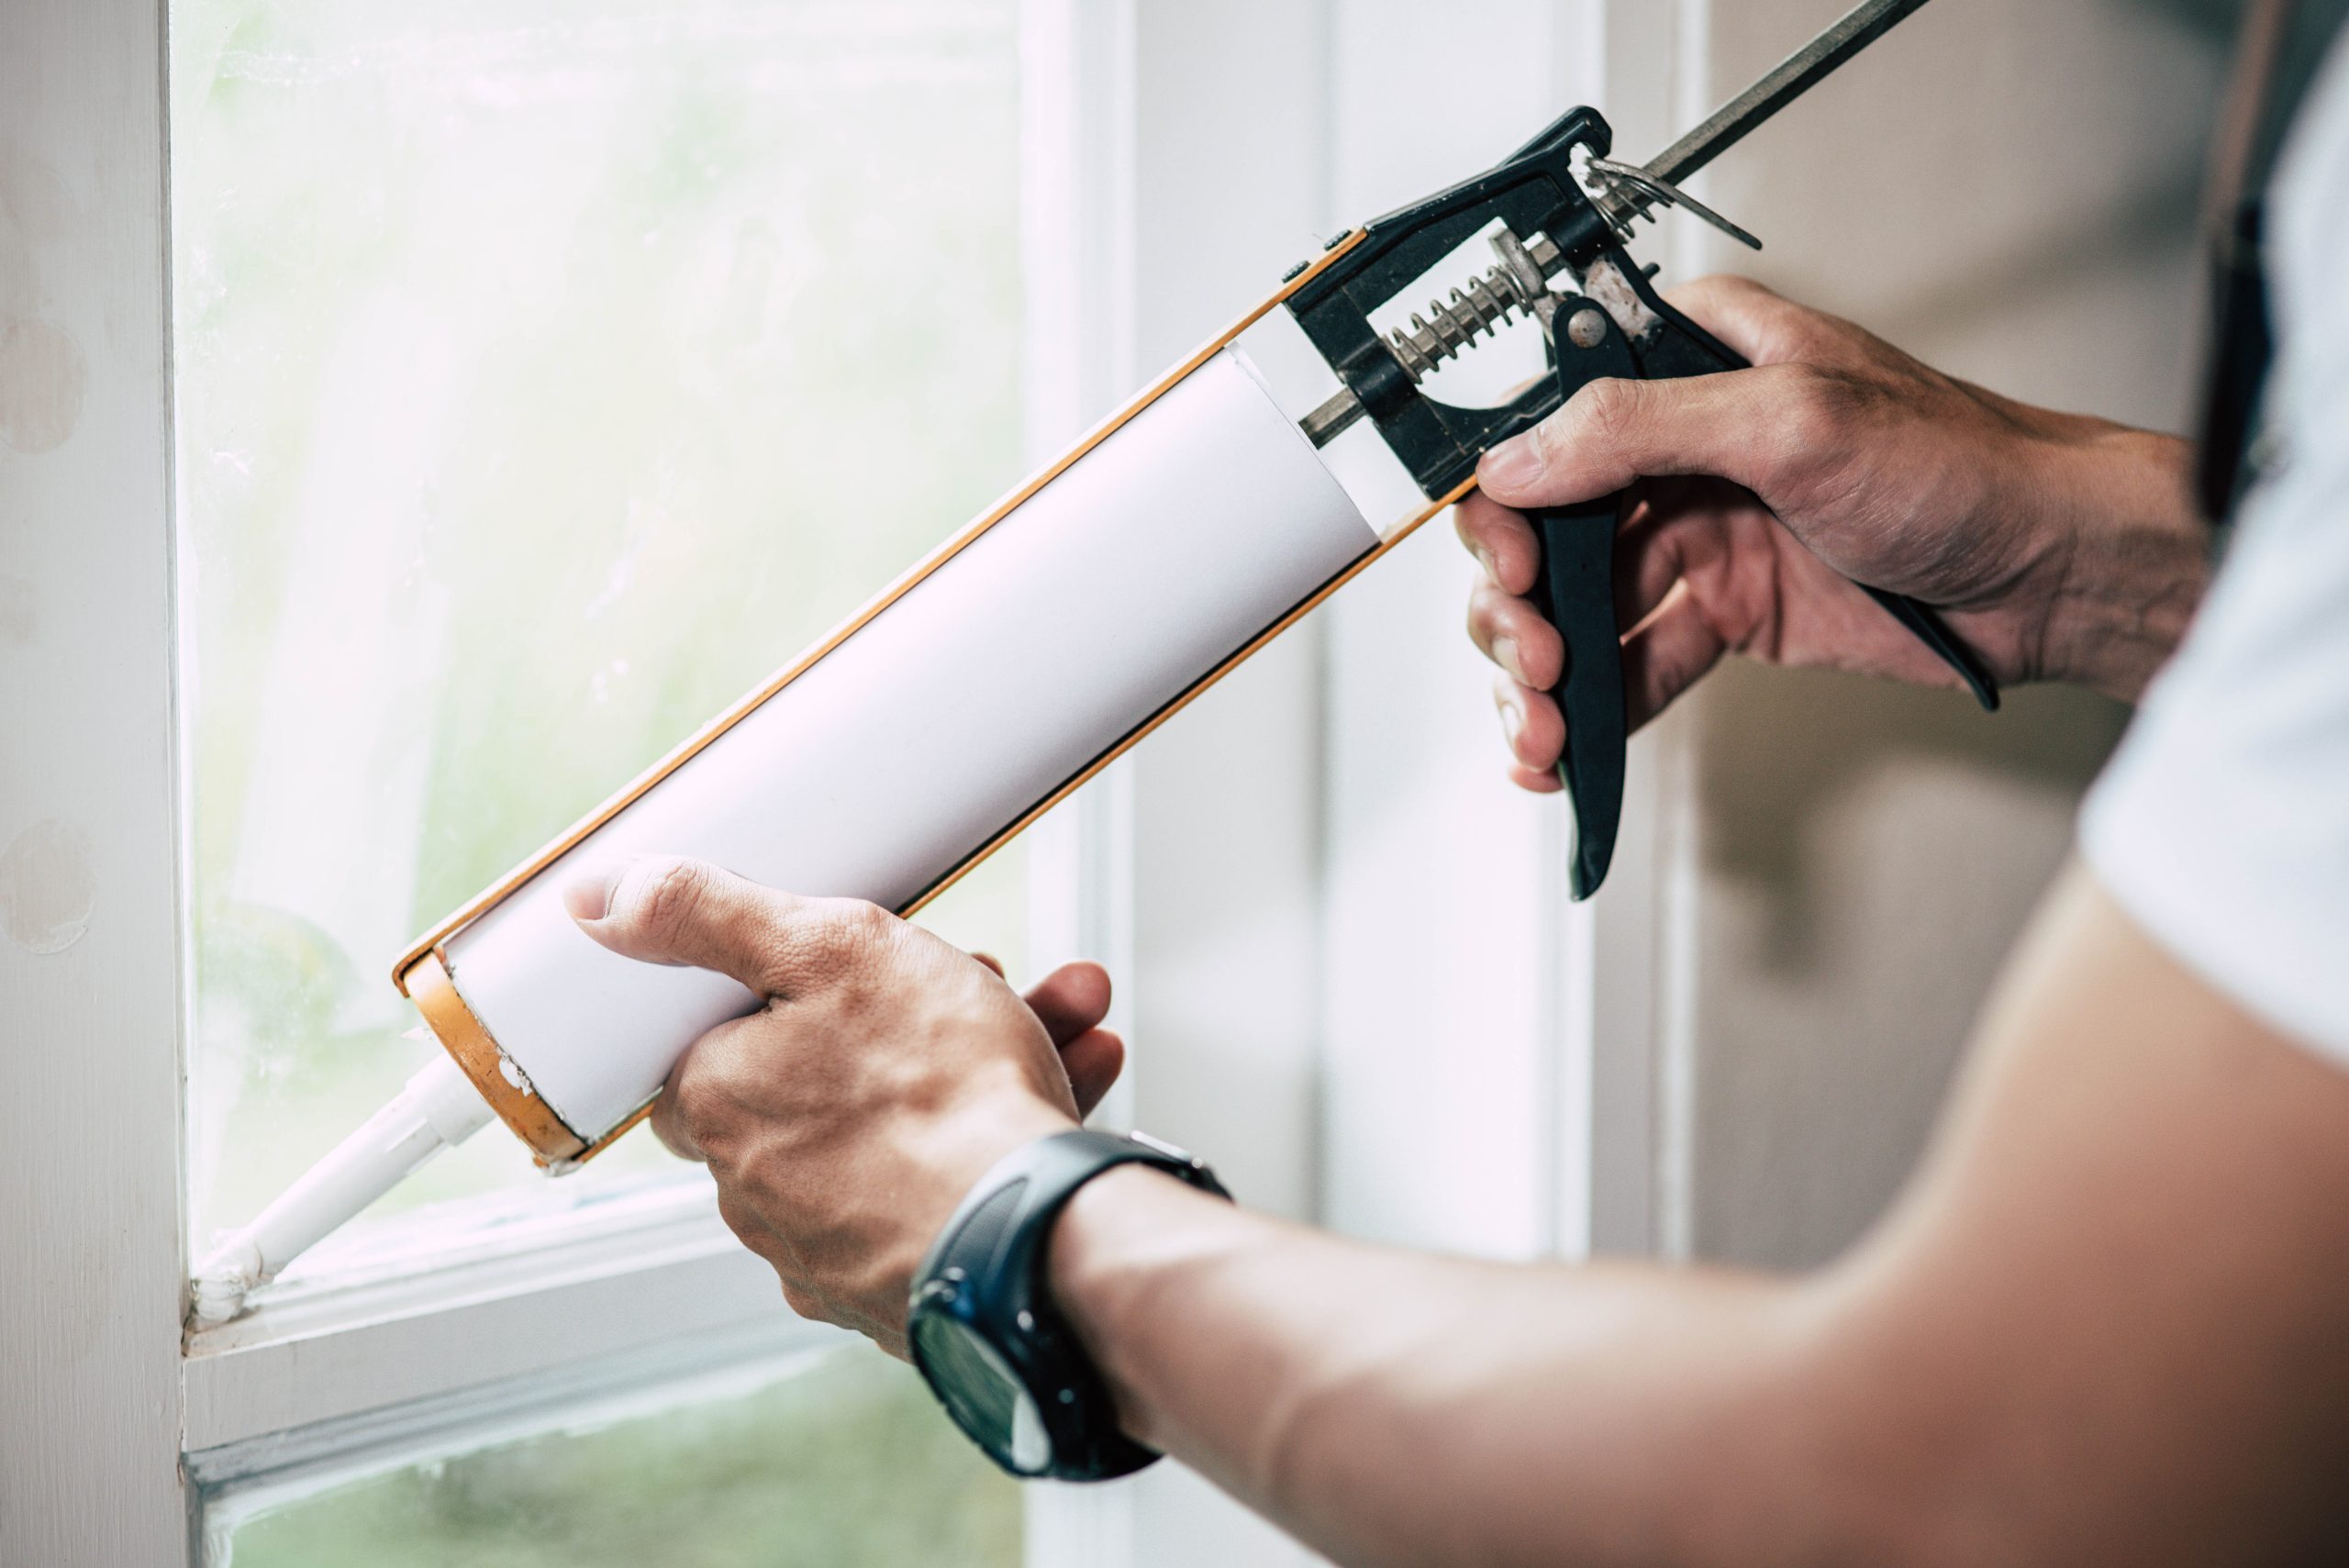
Caulking may seem simple, but getting a smooth, durable finish requires careful preparation. Properly prepping for a caulking job can make the difference between long-lasting, professional-quality results and a seal that doesn’t hold up. In this guide, we’ll walk you through each step for getting the best caulking results, whether you’re tackling it as a DIY project or preparing for professional caulking services. Let’s dive into the ultimate caulking prep to help you achieve a seamless finish every time!
Why Proper Preparation Matters
Caulking is essential for creating tight seals around fixtures, preventing water damage, and keeping drafts out. But without the right prep, caulk may not adhere well, leading to cracks or peeling. With these simple steps, you’ll ensure a strong, lasting bond that looks great and holds up over time.
Step-by-Step Prep Tips for Perfect Caulking Results Every Time
Here’s a simple, straightforward prep guide to ensure flawless caulking:
1. Gather Your Supplies
Having the right supplies before you start makes the job easier and smoother. Here’s what you’ll need:
- Caulk gun (if using a caulk tube)
- High-quality caulk (choose the best caulking for bathrooms, kitchens, or outdoors depending on the area)
- Utility knife or scraper
- Rubbing alcohol or cleaner to clean surfaces
- Painter’s tape for precise lines
- Paper towels or rags to clean up excess caulk
If you’re unsure which supplies are best, consider visiting a local hardware store for DIY caulking supplies or ask a professional for recommendations.
2. Choose the Right Caulk
Choosing the right caulk for the job is crucial. Here’s a quick guide:
- Bathrooms & Kitchens: Use mold-resistant caulk that holds up in wet areas.
- Outdoors: Look for weatherproof caulk that can withstand temperature changes.
- Indoor Sealing: Choose a flexible, paintable caulk for a smooth, lasting finish.
Selecting the right type of caulk is important for durability, especially in high-moisture areas like bathrooms.
3. Clean and Dry the Area
Start with a clean, dry surface so the caulk adheres well:
- Remove Old Caulk: Use a utility knife or scraper to carefully remove old caulk or sealant.
- Clean the Surface: Wipe the area with rubbing alcohol or a cleaner to get rid of dirt, grime, and residue.
- Let it Dry Completely: Moisture can prevent caulk from sticking properly, so make sure the surface is completely dry before moving on.
4. Apply Painter’s Tape for a Crisp Line
For a professional-quality finish, use painter’s tape:
- Apply tape along both sides of the area you’re caulking. This will keep your lines straight and prevent smudges.
- Leave a small gap where you want the caulk to go. Once you’re finished, simply remove the tape for a clean, flawless line.
5. Check the Caulk Tube or Gun
Before you start caulking, ensure your tube or gun is in good condition:
- Trim the Nozzle: Cut the nozzle of the caulk tube at a 45-degree angle for better control.
- Test the Flow: Squeeze out a small bead on scrap paper to ensure the caulk flows smoothly.
If you’re prepping for caulking service from a professional, check with them about any prep they recommend in advance. Often, pros will handle these steps, but having the area ready helps.
6. Consider Hiring a Professional for Large Jobs
While DIY caulking can work well for small jobs, larger or complex caulking tasks may benefit from expert hands. Hiring a caulking professional ensures top-notch results, especially if you’re working with difficult areas, high ceilings, or outdoor caulking needs. Affordable caulking services near me, like Kettle Contracting, can offer a caulking job estimate to help you decide.
Top 10 Tips to Prep Your Home for a Professional-Quality Caulking Job
Here’s a quick summary of our top tips for caulking prep:
1. Gather Supplies: Have all your caulking tools ready before starting.
2. Choose the Right Caulk: Pick a high-quality caulk suitable for the job.
3. Clean and Dry Surfaces: A clean, dry surface is essential for a lasting bond.
4. Remove Old Caulk: Take time to remove old caulk thoroughly.
5. Use Painter’s Tape: Get straight, clean lines with painter’s tape.
6. Trim the Caulk Tube Nozzle: A 45-degree angle gives you better control.
7. Test the Caulk Flow: Squeeze a small bead to ensure it’s ready.
8. Consider Professional Help: Large areas or tricky spots may need an expert.
9. Practice Patience: Don’t rush—careful prep ensures a flawless finish.
10. Inspect and Clean Up: Once finished, clean any excess caulk right away.
Taking the First Step
Prepping for caulking might take a bit of time, but following these steps ensures a high-quality, durable finish. If you’re looking for professional caulking services in Oshawa, Ajax, Pickering, or Toronto, Kettle Contracting is here to help! Reach out for a caulking job estimate or to learn more about how we can bring a perfect, long-lasting seal to your home. Whether you’re DIY-ing or prepping for a service, a little preparation goes a long way toward achieving a seamless, flawless caulking finish.
Ready to seal the deal? Contact Kettle Contracting today to get started on your next caulking project!


