
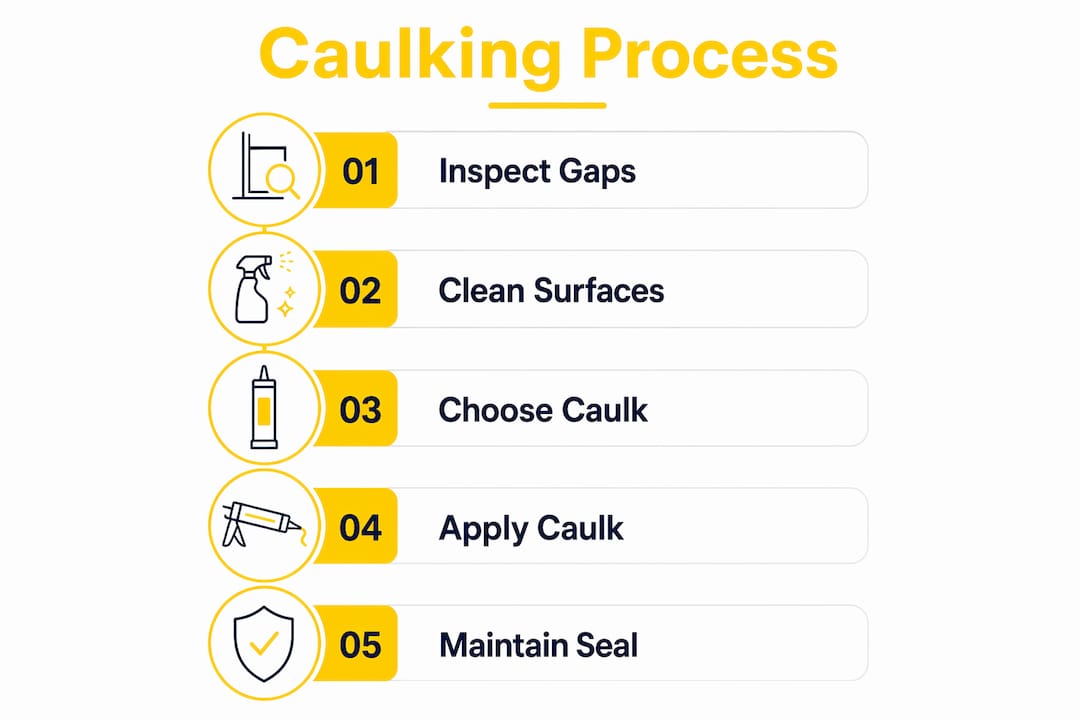
Caulking is defined as the process of sealing gaps, cracks, and penetrations in a building’s envelope to deny pests physical access. The role of caulking in pest prevention is straightforward: it removes the entry points that ants, rodents, spiders, and cockroaches rely on to get inside. Within integrated pest management (IPM), building exclusion through caulking is the foundational first step, and without it, other control measures address symptoms rather than causes. Materials like 100% silicone and polyurethane caulk, applied correctly over backer rod or copper mesh, create durable seals that hold through Ontario’s freeze-thaw cycles. When you seal the building properly, you reduce pest pressure at the source.
What materials and techniques make caulking effective for pest prevention?
Choosing the right material is where most DIY attempts fall short. For gaps smaller than 6 mm (roughly 1/4 inch), 100% silicone or polyurethane caulk is the correct choice. Silicone stays flexible through temperature swings, which matters in Ontario where surfaces expand and contract significantly between January and July. Polyurethane bonds well to masonry and wood, making it a reliable option around foundation seams and door frames.
For gaps larger than 6 mm, caulk alone is not enough. You need a backing material first. Backer rod, a foam cylinder pressed into the gap, gives the caulk a proper surface to bond against and controls the depth of the seal. For areas where rodents or carpenter ants are a concern, copper mesh or steel wool packed into the gap before foaming provides a physical barrier that pests cannot chew through.
The three-layer exclusion method is the most reliable approach for high-risk penetrations:
- Pack copper mesh or steel wool tightly into the gap.
- Apply expanding foam over the mesh to fill remaining voids.
- Cap the foam with a bead of 100% silicone caulk to seal the surface.
Expanding foam alone is not reliably pest-proof, particularly against carpenter ants in moist conditions. Foam cures with a porous surface that determined insects can work through over time. The silicone cap closes that vulnerability.
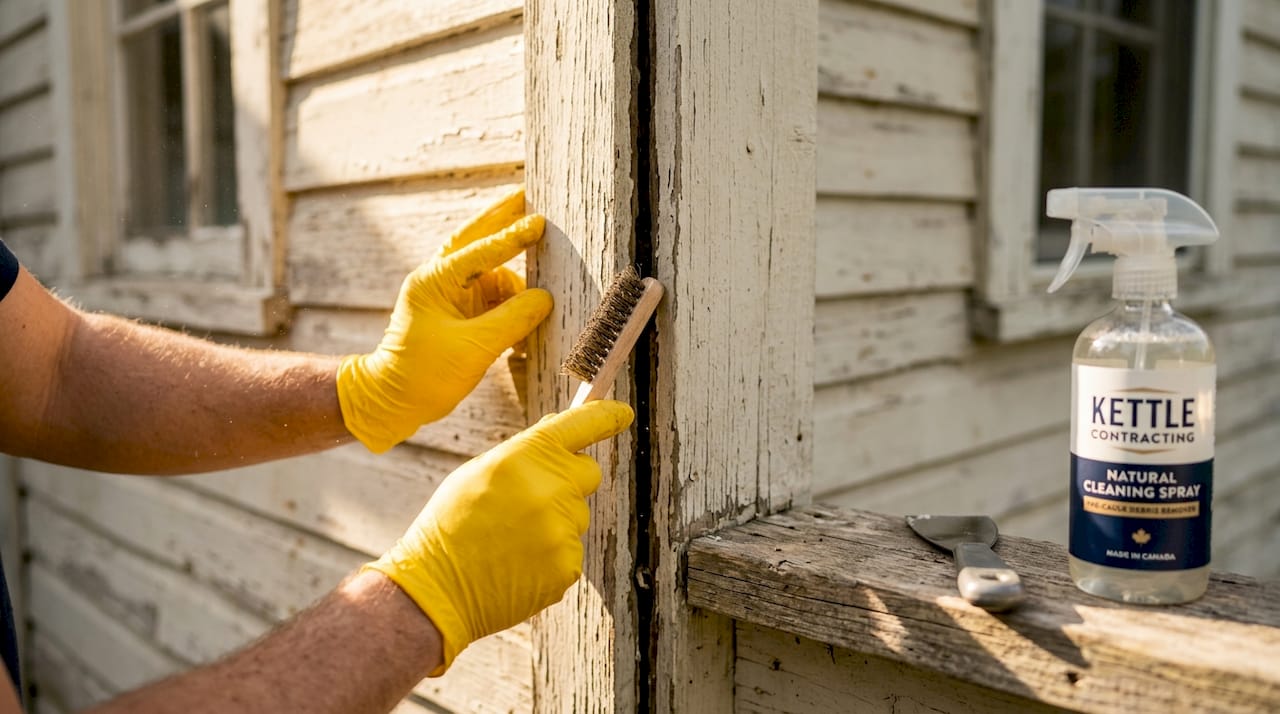
Pro Tip: Before applying any caulk, clean the joint thoroughly and let it dry completely. Caulk applied to a dusty or damp surface will fail within one to two seasons, no matter how good the product is.
| Material | Best use | Pest resistance |
|---|---|---|
| 100% silicone | Windows, doors, trim joints | High flexibility, resists shrinking |
| Polyurethane | Masonry, foundations, wood | Strong adhesion, paintable |
| Backer rod | Gap filler for openings over 6 mm | Structural support for caulk |
| Copper mesh | Rodent and ant entry points | Cannot be chewed through |
| Expanding foam | Void filling behind mesh | Moderate, requires silicone cap |
Movement stress is the main reason caulk fails prematurely. Without proper backing and joint design, caulk installed in high-movement areas can crack or shrink within three to seven years. Getting the joint preparation right from the start is what separates a seal that lasts from one that needs replacing every couple of seasons.
How does caulking fit within integrated pest management (IPM)?
Integrated pest management is a systems-based approach that combines exclusion, monitoring, habitat correction, and targeted treatment. Caulking handles the exclusion piece, but it works best when the other components are in place too. Exclusion alone reduces pest pressure but does not address what is drawing pests to the building in the first place.
Here is how the components work together:
- Exclusion: Caulking, weatherstripping, and door sweeps seal physical entry points. This is the role caulking plays directly.
- Monitoring: Regular inspections identify new gaps, signs of pest activity, and areas where seals have degraded. Without monitoring, you will not know when your exclusion barrier has failed.
- Habitat correction: Removing wood debris, trimming vegetation away from the building, and fixing moisture problems eliminates conditions that attract pests in the first place.
- Moisture control: Damp areas around foundations, window sills, and pipe penetrations attract carpenter ants and cockroaches. Addressing moisture reduces infestation pressure significantly.
- Targeted treatment: Baiting and insecticide application handle active colonies. This step must come before sealing.
The sequencing point is one that many homeowners get wrong. Baiting should precede sealing when an active infestation is suspected. If you seal entry points while a colony is active inside the walls, you trap the pests inside and delay resolution by four to eight weeks. Bait first, confirm the colony is gone or in decline, then seal. This order matters.
Exclusion is the foundation, not the complete solution. Once the building is properly sealed, the other IPM measures become more effective because pests have fewer ways to re-establish.
What are the common pest entry points to target with caulking?
Most pest entry points are predictable. If you walk around your property with this list, you will find gaps worth sealing on almost any building in the Greater Toronto Area.
- Window and door frames. The joint between the frame and the surrounding wall cladding is one of the most common entry points for ants, spiders, and cockroaches. Caulk degrades here first because frames move with temperature changes.
- Pipe and cable penetrations. Every spot where a pipe, wire, or conduit passes through an exterior wall is a potential gap. Plumbers and electricians rarely seal these to a pest-exclusion standard.
- Vent openings. Dryer vents, bathroom exhaust vents, and HVAC penetrations are frequent entry points. Gaps around doors and vents allow roaches and spiders to enter and disrupt their travel routes when sealed properly.
- Baseboards and interior trim. Interior gaps where baseboards meet flooring or walls are travel corridors for insects already inside. Sealing these limits movement between rooms and floors.
- Foundation cracks and siding joints. Hairline cracks in poured concrete or block foundations, and gaps at siding joints near grade level, are primary rodent entry points. Mice can fit through a gap the size of a dime.
- Masonry and mortar joints. Older brick homes in Oshawa and across the GTA often have deteriorating mortar that opens gaps large enough for insects and, in some cases, small rodents.
- Roof and soffit junctions. Where roofing materials meet fascia or soffit, gaps form over time. These are common entry points for wasps and mice in older homes.
Craftsman-style and older homes built before the 1980s tend to have more of these vulnerabilities simply because building standards for air sealing were less rigorous. A thorough walkthrough of your property, inside and out, will reveal more gaps than most homeowners expect.
How to maintain caulking for pest prevention year-round
Caulking is not a one-time fix. Ontario’s climate puts real stress on sealants, and a seal that was solid three years ago may be cracked or pulling away from the substrate today. Seasonal inspections combined with timely repairs are what keep your exclusion barrier intact over the long term.
Here is a practical seasonal routine:
- Spring: Walk the perimeter and check all window and door frame caulking after the freeze-thaw season. Look for cracks, gaps, and areas where the caulk has pulled away from the substrate. Spring inspection and renewal around trims and frames is the single most effective maintenance step you can take.
- Summer: Monitor high-movement joints around south and west-facing walls where heat causes the most expansion. Check for bubbling or softening in caulk that was applied in cooler temperatures.
- Fall: Seal any gaps near vents, pipes, and utility penetrations before temperatures drop. Rodents actively seek shelter as the weather cools, and fall is when most rodent entry events occur in Ontario.
- Winter: After a hard freeze, check for caulk that has cracked or shrunk. Pay particular attention to north-facing walls and areas near downspouts where ice and moisture concentrate.
General maintenance rules that apply year-round:
- Remove old, failing caulk completely before recoating. Applying new caulk over degraded material does not restore the seal.
- Clean and dry the joint surface before applying fresh caulk.
- Use a caulk that matches the movement demands of the joint. A rigid caulk in a high-movement joint will crack within one season.
Pro Tip: Keep a small tube of 100% silicone in your maintenance kit. When you spot a minor gap during a seasonal check, sealing it immediately takes two minutes. Leaving it until spring can mean a winter’s worth of pest activity.
Key takeaways
Caulking prevents pests by sealing physical entry points with durable materials, and it works best when sequenced correctly within an integrated pest management plan.
| Point | Details |
|---|---|
| Material selection matters | Use 100% silicone or polyurethane for small gaps; add copper mesh and backer rod for larger openings. |
| Sequence exclusion after baiting | Seal entry points only after confirming no active colony is present to avoid trapping pests inside. |
| Target predictable entry points | Focus on window frames, pipe penetrations, vents, foundation cracks, and siding joints first. |
| Seasonal maintenance sustains the barrier | Inspect and repair caulking each spring and fall to account for Ontario’s freeze-thaw stress. |
| Exclusion is one part of IPM | Combine caulking with moisture control, habitat correction, and monitoring for lasting results. |
What 25 years on the job taught me about caulking and pests
The mistake I see most often is homeowners sealing a building after they have already spotted pest activity inside. The instinct makes sense. You find ants, you want to close the door. But if you seal before the colony is dealt with, you have just locked them in with you. Bait first. Wait. Then seal.
The second thing I have learned is that the spots people overlook are almost always where the problem comes back. Pipe penetrations in utility rooms, gaps behind kitchen cabinets where plumbing enters the wall, the junction between a porch addition and the original structure. These are the spots that get missed on a quick walkthrough and found again when pests return six months later.
Quality materials make a real difference in Ontario’s climate. A latex caulk that works fine in a mild climate will crack through a Oshawa winter. Silicone costs more, but it is still flexible at minus 30. That flexibility is what keeps the seal intact when the building moves.
Beyond pest control, a properly sealed building holds heat better, reduces moisture intrusion, and lasts longer. The benefits of proper caulking extend well past keeping insects out. When you do the job right, you are protecting the whole building, not just solving one problem.
— Felix
Professional caulking services for lasting pest exclusion

Kettlecontracting provides professional-grade caulking services across the Greater Toronto Area, with a focus on durable seals that hold through Ontario’s climate demands. Whether you need a full building envelope assessment or targeted sealing around windows, doors, and utility penetrations, the team at Kettlecontracting applies the right materials and techniques for the job. Start with the window preparation guide to understand what proper surface prep looks like before any caulk is applied. For a deeper look at what makes a seal last, the long-lasting caulk resource covers material science in plain language. Contact Kettlecontracting to arrange a site assessment and get a maintenance plan that keeps your property sealed year-round.
FAQ
What is the role of caulking in pest prevention?
Caulking seals gaps, cracks, and penetrations in a building’s envelope to physically block pest entry. It is the exclusion component of integrated pest management and the most direct way to deny pests access to a structure.
What type of caulk is best for blocking pests?
100% silicone caulk is the most reliable choice for most exterior joints because it stays flexible through temperature changes and does not shrink or crack. For gaps where rodents or carpenter ants are a concern, pair it with copper mesh backing for a seal that cannot be chewed through.
Should I seal entry points before or after treating an infestation?
Always treat an active infestation before sealing entry points. Sealing while a colony is active inside the walls can trap pests and delay resolution by four to eight weeks, making the problem harder to resolve.
How often should caulking be inspected for pest prevention?
Inspect caulking at least twice a year, in spring and fall. Ontario’s freeze-thaw cycles cause caulk to crack and pull away from surfaces, and gaps that open over winter become active pest entry points by spring.
Can caulking alone solve a pest problem?
Caulking alone reduces pest pressure but does not address the underlying conditions that attract pests. Effective pest prevention combines exclusion through caulking with moisture control, habitat correction, and monitoring as part of a complete integrated pest management approach.
Recommended
- Caulking and Pest Control: Sealing Against Insects – Kettle Contracting
- Preparing Your Windows for Caulking: A Comprehensive Guide – Kettle Contracting
- Achieving the Perfect Seal: Addressing Common Window Caulking Mistakes – Kettle Contracting
- Window Caulking: Safety Tips and Best Practices – Kettle Contracting