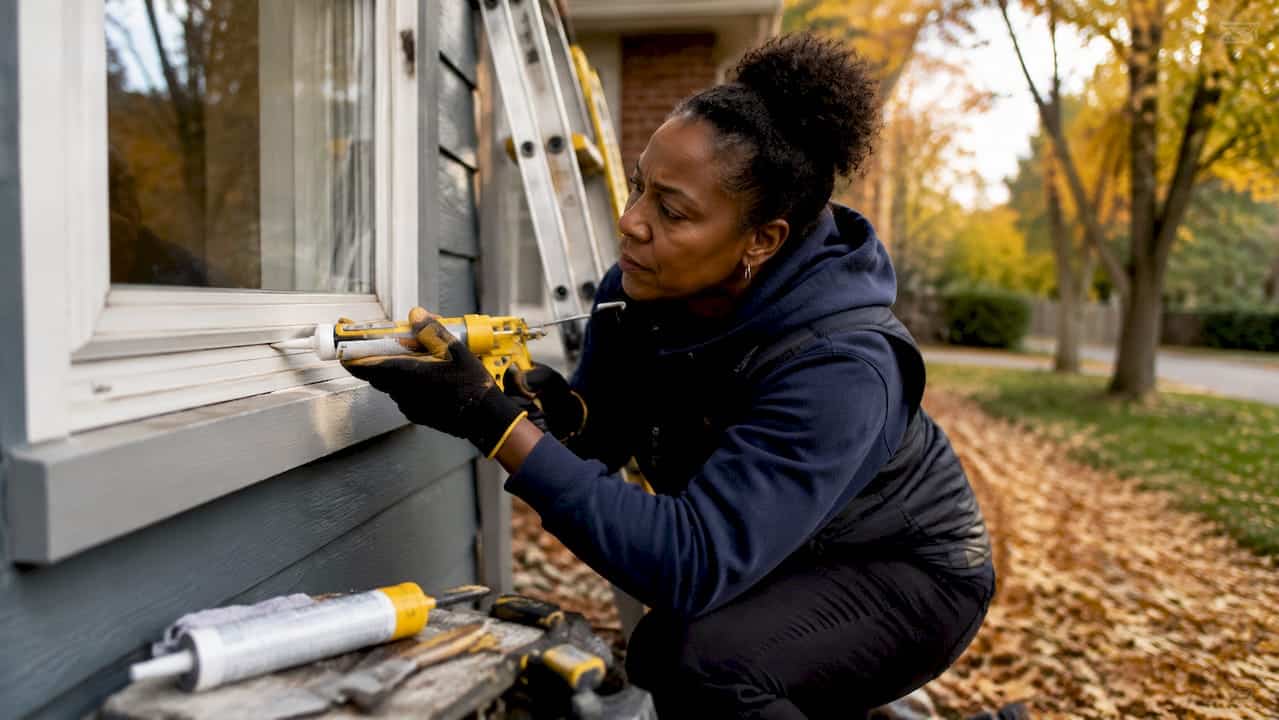
Caulking is defined as the process of applying a flexible, waterproof material into gaps and joints less than 1/4 inch wide to seal a building from air, moisture, dust, and pests. The U.S. Department of Energy identifies caulking as one of the most cost-effective ways to reduce drafts and protect a home’s building envelope. You’ll find it applied around windows, doors, plumbing fixtures, and baseboards in virtually every well-maintained home. The word “caulk” itself traces back to the Latin calcare, meaning to tread or press down, which reflects the original shipbuilding practice of forcing material into seams to keep water out. That same principle still applies today.
What is caulking and how does it protect your home?
Caulking is a flexible polymer sealant that fills small gaps in a building’s structure, blocking the passage of air, water, insects, and dust. The materials used fall into several categories: latex, acrylic latex, silicone, and polyurethane. Each one cures into a pliable seal that can absorb minor movement in the building without cracking open immediately.
The key word is flexible. Unlike grout, which is rigid and suited to tiled surfaces with no expected movement, caulk is designed to stretch slightly as a home expands and contracts with temperature changes. In Ontario, where freeze-thaw cycles put real stress on building materials every winter, that flexibility is not optional. It is what separates a seal that lasts from one that fails by spring.

Caulk works by adhering to both sides of a gap and creating a continuous barrier. When applied correctly, it bonds tightly to surfaces like wood, masonry, glass, and metal. The seal prevents conditioned air from escaping and outdoor air from entering, which directly affects your heating and cooling costs.
Here is where caulking is most commonly applied in a residential home:
- Around window and door frames, both interior and exterior
- Along baseboards and where walls meet floors or ceilings
- Around plumbing penetrations in kitchens and bathrooms
- At the junction of siding and trim on the building exterior
- Around bathtubs, showers, and sink edges
Pro Tip: Gaps as small as 1/64 inch are enough to let drafts and insects into your home. You do not need a visible crack to have a real problem.
One distinction worth knowing: caulking is for stationary joints. If a joint moves regularly, such as around an operable window sash or a door that swings open and shut, weatherstripping suits those gaps better. Applying caulk to a moving joint will cause it to fail quickly, no matter how well you apply it.
What are the main types of caulking materials?
Choosing the right caulk matters more than most homeowners realise. The wrong product in the wrong location will fail early, sometimes within a single season.
The table below summarises the most common caulking materials, their key properties, and where each one performs best.
| Type | Key properties | Best applications |
|---|---|---|
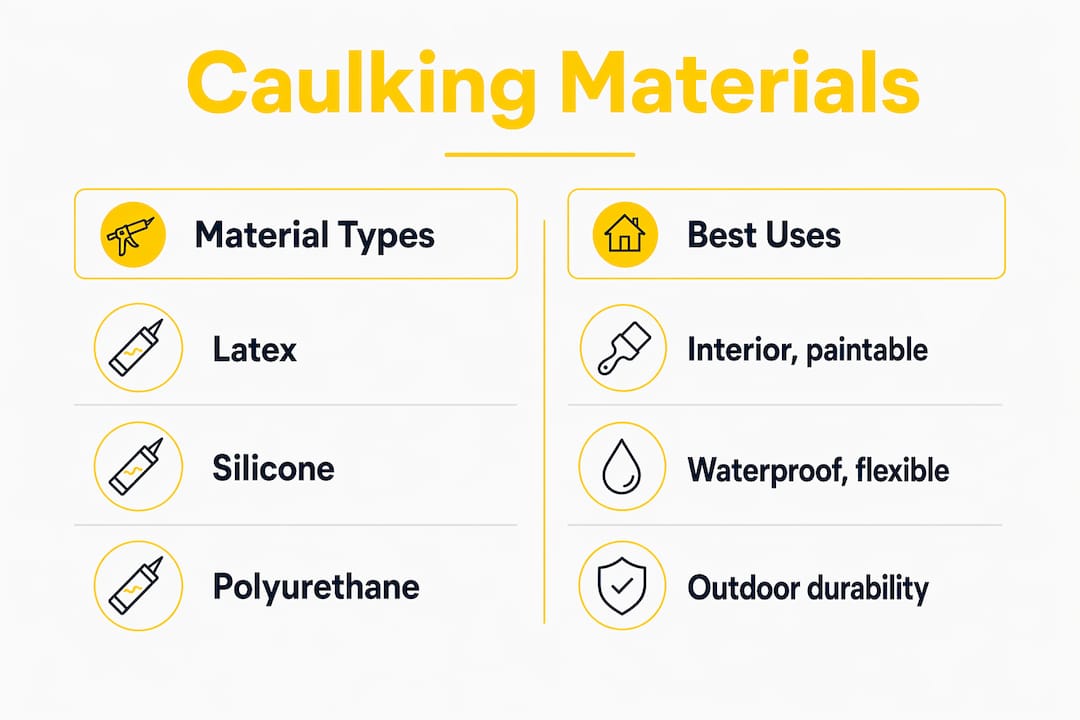
| Latex (painter’s caulk) | Easy to apply, paintable, low flexibility | Interior gaps, trim, baseboards |
| Acrylic latex | More durable than basic latex, paintable | Windows, doors, interior and light exterior use |
| Silicone | Highly flexible, waterproof, not paintable | Bathrooms, kitchens, exterior window perimeters |
| Polyurethane | Very strong adhesion, paintable, durable | Exterior joints, concrete, masonry |
| Fireproof (intumescent) | Expands under heat to block fire and smoke | Around pipes and ducts penetrating fire-rated walls |
| Expanding foam | Fills large voids, rigid when cured | Gaps larger than 1/4 inch, around pipes |
Basic latex caulks last 2 to 10 years, while silicone and polyurethane products offer longer service lives when applied under the right conditions. That range is wide because lifespan depends heavily on surface prep, application quality, and exposure to weather.
One distinction that causes confusion is the difference between caulk and sealant. Cured caulk is more rigid than a true sealant, which is engineered to absorb greater expansion and contraction. For exterior window perimeters where seasonal movement is significant, a sealant product is often the better choice. For interior trim and baseboards, standard acrylic latex caulk does the job well.
A few practical guidelines for choosing:
- Use silicone anywhere water exposure is constant, such as around tubs and shower surrounds
- Use acrylic latex for most interior painting projects and light exterior trim work
- Use polyurethane on exterior masonry, concrete joints, and areas needing strong adhesion
- Use expanding foam only for gaps wider than 1/4 inch, since it is too rigid for standard caulking applications
- Check the label for interior or exterior rating before purchasing. Many products are not suited for both.
For guidance on interior vs. exterior caulking, the differences in material choice and performance are worth understanding before you start a project.
How to apply caulking properly for a long-lasting seal
Good caulking technique is straightforward, but skipping steps is where most DIY jobs go wrong. Follow these steps and you will get a clean, durable seal.
- Clean the surface thoroughly. Remove all old caulk, dirt, grease, and loose paint. A caulk removal tool or utility knife works well for old material. Any residue left behind will prevent proper adhesion.
- Dry the surface completely. Moisture under fresh caulk causes it to cure poorly and peel early. Give surfaces at least 24 hours after cleaning before applying new caulk.
- Check the temperature. Apply caulk in dry weather above 7.2°C (45°F). Cold temperatures slow curing and can prevent the caulk from bonding properly to the surface.
- Cut the nozzle at a 45-degree angle. Cut the tip to match the width of the gap you are sealing. A smaller opening gives you more control.
- Apply a steady, continuous bead. Move the caulk gun at a consistent pace along the joint. Stopping and starting creates gaps and uneven coverage.
- Tool the bead immediately. Use a wet finger or a caulk finishing tool to press the bead into the joint and smooth the surface. This improves adhesion to both sides of the gap and creates a clean finish.
- Allow full curing time before exposing to water. Most latex caulks skin over in 30 minutes but need 24 hours to cure. Silicone products often need longer. Check the product label.
Pro Tip: Never apply new caulk directly over old, failed caulk. The new material cannot bond properly to a surface that is already compromised. Full removal is the only way to get a seal that holds. Kettlecontracting covers the most common caulking mistakes in detail if you want to avoid the errors that lead to early failure.
Proper surface preparation is the single biggest factor in how long a caulk job lasts. A detailed walkthrough of window surface prep is worth reviewing before you start any exterior project.
Signs of failed caulking and when to replace it
Caulking does not last forever, and knowing when it has failed saves you from much larger repair bills down the road. Caulk that is cracking, shrinking, discoloured, or brittle has reached the end of its service life and needs full replacement, not patching.
Here are the signs to look for during a seasonal inspection:
- Cracking or splitting along the length of the bead, which allows air and water to pass through
- Shrinkage where the caulk has pulled away from one or both sides of the joint
- Brittleness where the material crumbles when you press it lightly
- Discolouration or mould growth on or around the caulk bead, indicating moisture is getting through
- Draught or cold spots near windows and doors, even when they are closed
Ignoring these signs leads to real damage. Caulking prevents moisture damage and mould growth in wall assemblies and subfloors, areas that are expensive to repair once water has been getting in for a season or two. Mould in a wall cavity is not a cosmetic problem. It is a structural and health concern.
The common mistake homeowners make is patching over failed caulk rather than removing it entirely. Partial patching fails because the underlying caulk can no longer stretch, so the new layer cracks along the same lines within months. Full removal and reapplication is always the right approach.
If the failed caulk is in a straightforward location like an interior baseboard or bathroom surround, a confident DIYer can handle it. If the failure is on the exterior building envelope, around expansion joints, or in areas with significant water damage already present, calling a professional is the more practical choice. A window caulking maintenance checklist can help you stay on top of inspections before small issues become costly ones.
Key takeaways
Caulking is a flexible sealant that protects your home from air loss, moisture damage, and pests, and its effectiveness depends entirely on choosing the right material and applying it correctly.
| Point | Details |
|---|---|
| Caulking definition | A flexible, waterproof sealant applied to gaps under 1/4 inch to block air, water, and pests. |
| Material selection matters | Silicone suits wet areas; acrylic latex works for interior trim; polyurethane handles exterior masonry. |
| Application conditions | Apply above 7.2°C on a dry surface for proper adhesion and curing. |
| Failure signs | Cracking, shrinkage, brittleness, and discolouration all mean full replacement, not patching. |
| Maintenance prevents damage | Failed caulk allows moisture into wall assemblies, leading to mould and structural repair costs. |
Why I take caulking seriously in Ontario homes
After 25 years working on buildings across the Greater Toronto Area and Oshawa, I have seen what happens when caulking is treated as an afterthought. Water gets into a wall assembly, sits there through the winter, and by the time a homeowner notices the paint bubbling or the baseboard going soft, the damage is already done.
Ontario’s climate is genuinely hard on sealants. The freeze-thaw cycle puts constant stress on every joint in a building. Caulk that was applied without proper surface prep, in cold weather, or with the wrong product for the location will not survive a full year. I have seen brand-new construction with failed caulk before the first winter is over, simply because someone used interior latex on an exterior joint.
The homeowners who get the most out of their caulking are the ones who treat it as maintenance, not a one-time fix. They inspect their windows and doors every spring and autumn, replace what has failed, and use the right product for each location. That habit alone prevents thousands of dollars in water damage over the life of a home.
My honest advice: do not skip the surface prep, do not apply caulk in cold or damp conditions, and do not patch over old material. Those three rules account for the majority of caulking failures I see. Get those right and your seals will hold.
— Felix
Protect your home with professional caulking from Kettlecontracting

Kettlecontracting specialises in high-performance caulking for residential and commercial properties across the Greater Toronto Area. Whether you are dealing with failed window seals, exterior joint repairs, or a full building envelope project, the team at Kettlecontracting brings the experience and materials to do it right the first time. For homeowners who want to start with a solid foundation, the window preparation guide covers everything you need to know before applying a single bead of caulk. If you are dealing with existing failures, the long-lasting caulk guide explains what makes the difference between a seal that holds and one that does not. Visit Kettlecontracting to learn more or book a consultation.
FAQ
What is the caulking definition in simple terms?
Caulking is the process of filling small gaps and joints in a building with a flexible, waterproof sealant to block air, moisture, dust, and pests. The gaps it targets are typically less than 1/4 inch wide.
Where should you use caulking in your home?
Caulk is applied around window and door frames, along baseboards, around plumbing penetrations, and at the junction of siding and trim. Both interior and exterior locations benefit from proper sealing.
How long does caulking last?
Basic latex caulks last between 2 and 10 years depending on conditions and application quality, while silicone and polyurethane products typically last longer when applied correctly. Exposure to weather, temperature swings, and moisture all affect lifespan.
What is the difference between caulk and sealant?
Cured caulk is more rigid than a sealant, which is engineered to absorb greater movement. Sealants are the better choice for exterior window perimeters and expansion joints where seasonal movement is significant.
When should you replace caulking instead of patching it?
Replace caulking completely when you see cracking, shrinkage, brittleness, or discolouration. Patching over failed caulk does not work because the old material can no longer flex, causing the new layer to fail along the same lines.