

Caulking sits on the project critical path because it controls water and air continuity across the building envelope, and its cure time determines when cladding, glazing, and finishing trades can safely proceed. Schedule it as a milestone with documented acceptance—not a last-minute touch-up. The Ontario Building Code mandates specific sealant performance at key junctions, and Kettlecontracting has applied that standard across the Greater Toronto Area for 25 years.
Table of Contents
- 1. Why caulking is a schedule gatekeeper, not a finish item
- 2. What the Ontario Building Code actually requires
- 3. Weather, cure time, and substrate prep: the real scheduling constraints
- 4. What failed or delayed sealant actually costs you
- 5. How to plan and procure caulking so it stays on schedule
- 6. Sample phasing and realistic timelines
- 7. Inspections, airtightness testing, and acceptance criteria
- 8. Clear next steps for owners and property managers
- Key takeaways
- A straight-talking note from the field
- Kettlecontracting: professional caulking for GTA properties
- Useful sources and where to read more
- FAQ
1. Why caulking is a schedule gatekeeper, not a finish item
In project scheduling, the critical path is the sequence of tasks where any delay pushes the completion date. Caulking belongs on that path because it sits between structural and finish trades.
Sealant is not decorative. It is a critical water-management component of the building envelope — and when it fails or is installed out of sequence, every trade that follows it is exposed to risk.
The typical exterior sequence runs: flashing installed → window set → substrate prepared → sealant applied and cured → cladding or finish coat applied. Each step depends on the one before it. If sealant is skipped or applied too late, cladding traps moisture against an unsealed substrate, and the only fix is to remove the cladding and start over. That is a multi-trade rework event, not a touch-up.
Building envelope failures are often traced to poor coordination between scopes at transitions, not a single defective product. Pre-installation meetings and clear contract responsibilities prevent that.
2. What the Ontario Building Code actually requires
The OBC requires non-hardening, weather-resistant sealants at junctions between masonry, siding, or stucco and door or window frames. It references ASTM C834, C920, C1184, and C1311 as the performance standards those sealants must meet.
Specification language tied to ASTM standards lets you compare bids on equal terms and prevents incompatible substitutions that shorten service life.
In practice, this means two things. First, not every tube of caulk at a hardware store qualifies. Second, if a contractor substitutes a product that does not meet the referenced ASTM standard, the installation is non-compliant and may fail inspection or void a warranty.
Pro Tip: Include ASTM C920 or C1184 references directly in your tender documents. Any bid that comes back with a non-conforming product is immediately disqualified, saving you a dispute after the work is done.
3. Weather, cure time, and substrate prep: the real scheduling constraints
Sealant application has hard physical limits that most owners do not account for when building a schedule.
- Temperature range. Most elastomeric sealants require substrate and air temperatures between 5°C and 40°C during application and initial cure. Below 5°C, adhesion is compromised and cure slows dramatically.
- Dry substrate. Moisture on the substrate at the time of application prevents bonding. After rain, concrete and masonry need 24–48 hours of dry weather before sealing.
- No precipitation window. Most manufacturers require 24–72 hours free of rain after application for initial cure. In the GTA, that window can be hard to find in spring and fall.
- Full removal before reapplication. Topping up old caulk without full removal accelerates re-failure. The freeze-thaw cycles Ontario buildings endure will exploit any bond to old, fatigued material.
- Backer rod and depth-to-width ratio. A correct depth-to-width ratio of approximately 1:2 prevents three-sided adhesion. Without a backer rod, the sealant bonds to the back of the joint and tears when the building moves.
Pro Tip: Plan caulking work during mid-season weather windows, typically May through June or September through October in the GTA. Check the Ontario caulking season checklist before booking a crew.
4. What failed or delayed sealant actually costs you
Proactive sealant replacement converts a predictable maintenance line item into a costly emergency repair when it is skipped. The cost difference is not marginal.
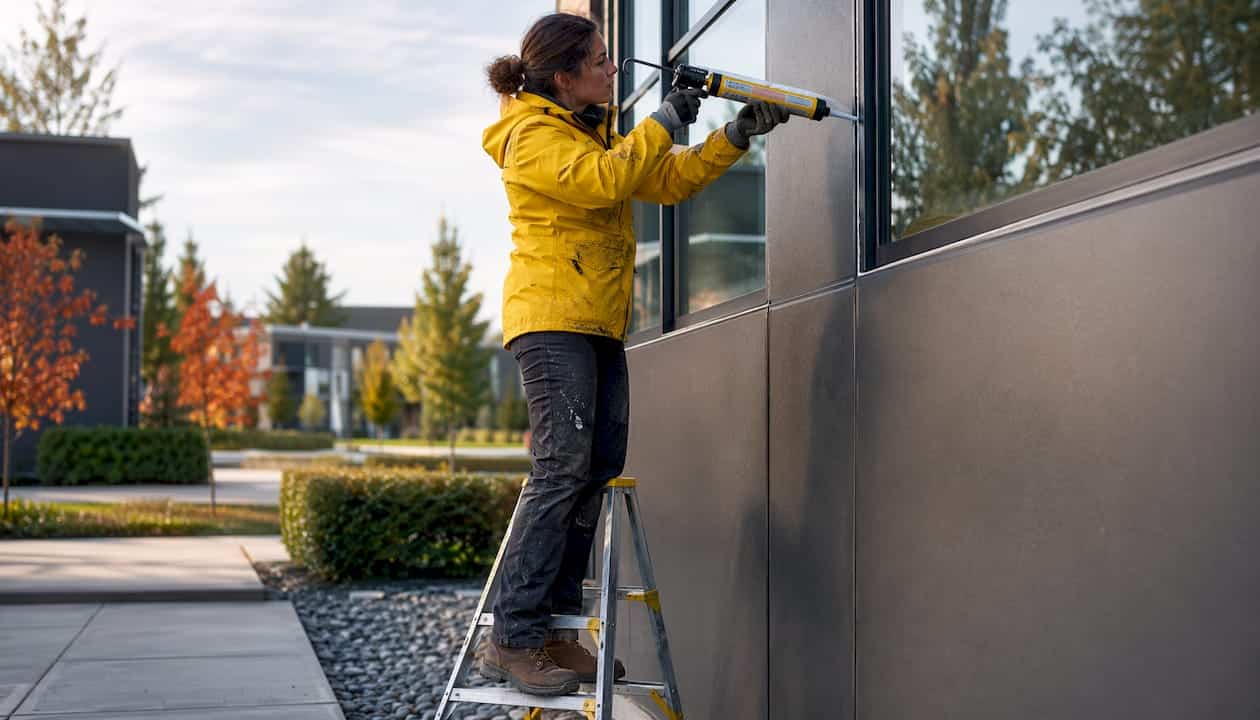
Perimeter sealants at windows and expansion joints are among the most common sources of leaks blamed on other building systems. Water migrates behind cladding and appears as interior staining far from the original failure point, which means the diagnosis is often wrong and the repair scope expands before anyone finds the real entry point.
Service-life benchmarks matter for planning: polyurethane sealants last approximately 7–10 years; silicone sealants approximately 15–20 years, depending on UV and thermal exposure. A building with 15-year-old polyurethane perimeter seals is overdue.
Short-term vs. long-term cost drivers:
- Inspection neglect: small separations grow undetected until interior damage appears
- Poor product selection: a non-ASTM-compliant sealant may fail within 2–3 years
- Improper installation: three-sided adhesion and insufficient depth cause cohesive failure under joint movement
- Delayed replacement: what begins as a sealant repair can escalate to masonry reconstruction, mould remediation, or structural lintel repair
For more on protecting your asset long term, the cost case for proactive maintenance is clear.
5. How to plan and procure caulking so it stays on schedule
Getting caulking right starts before anyone picks up a caulking gun.
- Write performance-based specifications referencing ASTM C920 or C1184 for exterior joints.
- Hold a pre-installation meeting with the sealant contractor, glazing trade, and cladding contractor to confirm sequence and substrate acceptance criteria.
- Require a mockup panel for complex or high-exposure joints before production begins.
- Set weather-window clauses in the contract: the contractor must confirm temperature and precipitation forecasts before proceeding.
- Include cure verification as an acceptance step: no cladding or finish coat until sealant has cured per manufacturer requirements.
- Require protection clauses: other trades must not damage or contaminate cured sealant before the next phase.
Procurement checklist:
- ASTM-referenced product specification
- Substrate acceptance sign-off before work begins
- Documented weather conditions at time of application
- Backer rod and depth-to-width confirmation
- Warranty terms and maintenance schedule from the contractor
Pro Tip: Require the contractor to submit QC photos and a written inspection log for each joint run. This makes caulking a documented milestone, not an afterthought, and protects you if a warranty claim arises later.
Preventive caulking maintenance is far less disruptive than emergency repairs, and documented records make future inspections faster and cheaper.
6. Sample phasing and realistic timelines
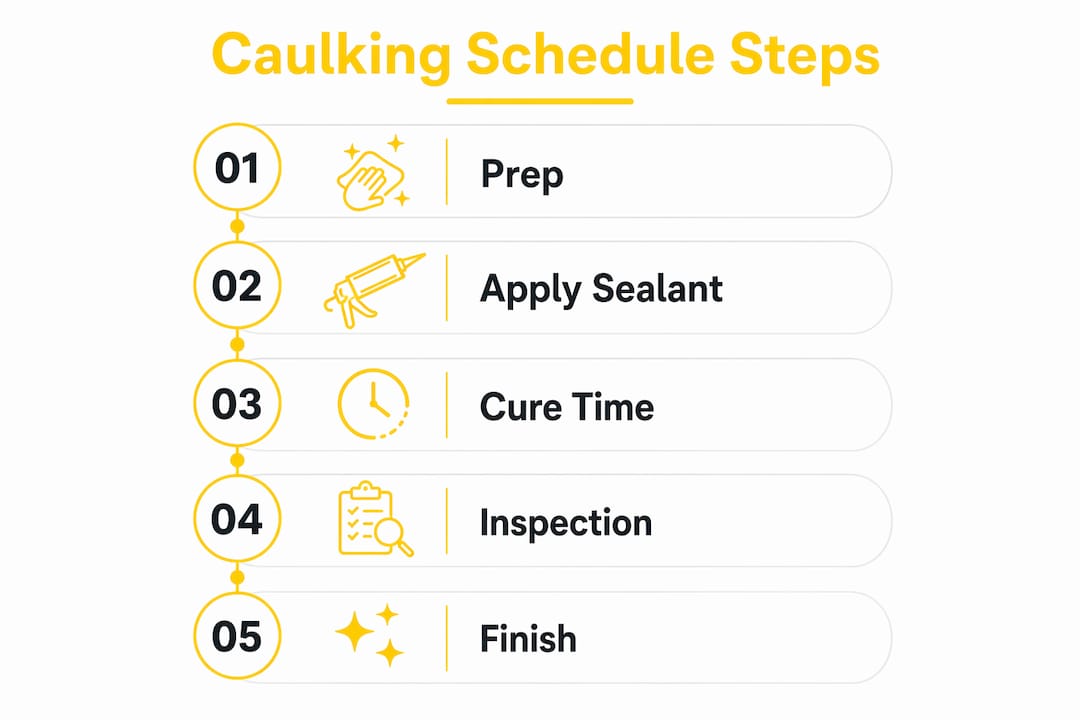
| Phase | Activity | Typical Duration | Key Dependencies |
|---|---|---|---|
| Pre-install | Substrate inspection and prep | 1–2 days | Trades complete; surface dry |
| Sealant application | Perimeter windows and doors | 1–3 days | Temperature 5°C–40°C; no rain forecast |
| Cure period | Initial cure before exposure | 1–3 days | Manufacturer spec; no precipitation |
| Cladding or finish | Applied after sealant acceptance | Per trade schedule | Sealant accepted and logged |
| Retrofit removal | Full old sealant removal and clean | 1–4 days | Extent of existing material; height/access |
| Retrofit reapplication | New sealant and backer rod | 1–3 days | Substrate dry and primed if required |
Factors that extend timelines:
- Building height and scaffold or lift requirements
- Extent of old sealant removal on retrofit projects
- Number of penetrations, expansion joints, and transition details
- Permit requirements for occupied multi-unit buildings
- Weather delays in spring and fall shoulder seasons
For a detailed look at when and how to replace exterior caulk, the sequencing guidance applies to both new builds and retrofit scopes.
7. Inspections, airtightness testing, and acceptance criteria
Accepting caulking work without a structured inspection creates liability. A proper acceptance check covers:
- Adhesion: sealant bonds cleanly to both substrates with no lifting or separation at edges.
- Cohesion: no internal tears, splits, or voids visible along the bead.
- Depth-to-width ratio: approximately 1:2, confirmed by probe or cross-section at a sample joint.
- Continuous seal: no skips, holidays, or bridged gaps along the full joint run.
- Substrate cleanliness: no dust, old sealant residue, or contamination visible at bond lines.
- Full removal evidence: where old sealant was present, bare substrate is confirmed before new material was applied.
Caulking also directly affects airtightness testing results. Blower-door tests frequently identify sealant failures at window perimeters and penetrations as the primary air leakage paths. Testers often re-run a pressurisation test after targeted sealing to confirm improvement.
Can you accept work if sealant was only topped up over old material? No. Topping up over failed sealant bonds new material to a fatigued substrate and accelerates re-failure. Full removal is the only acceptable base for a new installation.
8. Clear next steps for owners and property managers
Act on these before your next project or maintenance cycle:
- Schedule a professional inspection to document current sealant condition and identify joints past their service life.
- Include ASTM-referenced specifications in all tender documents for exterior work.
- Set caulking as a named milestone in the master schedule with documented weather, substrate, and cure acceptance.
- Require a QC photo log from the contractor as a condition of payment.
- Budget for full removal on any retrofit project, not just a top-up.
A qualified specialist who understands Ontario’s climate, the OBC requirements, and correct sequencing will protect your building and keep your project on schedule. Reactive repairs after water ingress cost far more than a proactive programme.
Key takeaways
Caulking is on the critical path because its cure time, substrate requirements, and OBC compliance status directly control when downstream trades can proceed and whether the building envelope performs as designed.
| Point | Details |
|---|---|
| Caulking gates downstream trades | Cladding and finish coats cannot proceed until sealant is applied, cured, and accepted. |
| OBC mandates ASTM-compliant sealants | Specify ASTM C920 or C1184 in tender docs to prevent non-compliant substitutions. |
| Service life drives inspection timing | Polyurethane and silicone sealants have typical service lives that should guide inspection and replacement planning. |
| Full removal is non-negotiable | Topping up over failed sealant accelerates re-failure; bare substrate is the only acceptable base. |
| Kettlecontracting delivers documented results | Kettlecontracting provides ASTM-referenced specifications, QC photo logs, and warranty terms for GTA properties. |
A straight-talking note from the field
Most of the water damage I see on GTA buildings was not caused by a failed window or a leaking roof. It came in through a joint that someone skipped, rushed, or topped up instead of doing properly. The building looked fine from the street for two or three years. Then the freeze-thaw cycles did their work, and by the time the owner noticed a stain on the ceiling, the water had been travelling behind the cladding for a season or two.
The fix that should have cost a few hundred dollars in sealant and labour turned into a masonry repair, a mould remediation, and a repaint. I have seen that pattern more times than I can count.
The one thing that prevents it is simple: treat the backer rod and depth-to-width ratio as non-negotiable, use a product that meets the ASTM standard the OBC calls for, and do not let anyone talk you into a top-up when full removal is what the joint needs. Do it right once, and the building will tell you nothing for 15 years.
Kettlecontracting: professional caulking for GTA properties
Kettlecontracting is the specialist choice for homeowners and property managers across the Greater Toronto Area who need caulking done to a documented, code-compliant standard, not just a cosmetic touch-up. The work covers windows, doors, expansion joints, and full building-envelope sealing for residential and commercial properties.

Every project includes ASTM-referenced product selection, substrate acceptance confirmation, and a QC photo log you can keep on file. Warranty terms are provided in writing. For owners who want to understand why caulking is trade-specific work before booking, that resource explains exactly what separates a professional installation from a hardware-store fix. Ready to protect your building? Book an inspection or request a quote and get a performance-based scope in writing.
Useful sources and where to read more
The following references were used to build this guide. Each one is worth bookmarking if you manage a property or are planning exterior work.
- BC Housing Maintenance Matters No. 5 — Sealant Maintenance: Covers the full maintenance cycle (inspect, clean, repair, replace) and explains why proactive replacement prevents mould and structural damage.
- Ontario Building Code — Article 9.28.1.5: The primary code reference for sealant requirements at door and window junctions, including ASTM standards C834, C920, C1184, and C1311.
- ICRI Sealant Replacement Guidance: Service-life benchmarks for polyurethane and silicone sealants and guidance on replacement planning.
- Proplas — Window Caulking Explained: A practical homeowner’s guide to window sealing from a regional window specialist.
- Proplas — Signs of Poor Window Installation: Explains installation defects that increase caulking risk and what to look for on a new or existing window.
FAQ
Why does caulking affect the project schedule at all?
Caulking must cure before cladding or finish coats are applied, and most sealants require 24–72 hours free of rain after application. Any delay in sealing pushes every downstream trade.
What ASTM standards does the Ontario Building Code reference for sealants?
The OBC references ASTM C834, C920, C1184, and C1311 for sealant performance at door and window junctions in masonry, siding, and stucco assemblies.
How often should exterior sealants be inspected and replaced?
Polyurethane sealants have a service life of approximately 7–10 years; silicone sealants approximately 15–20 years. Annual visual inspections are recommended, with replacement scheduled before the end of the rated service life.
Can a contractor apply new sealant over old caulk?
No. Applying new sealant over failed material bonds it to a fatigued substrate and accelerates re-failure. Full removal to bare substrate is required before any new installation.
How does caulking affect an airtightness test result?
Sealant failures at window perimeters and penetrations are among the most common air leakage paths identified during blower-door testing. Testers frequently re-run the test after targeted sealing to confirm the improvement.
