
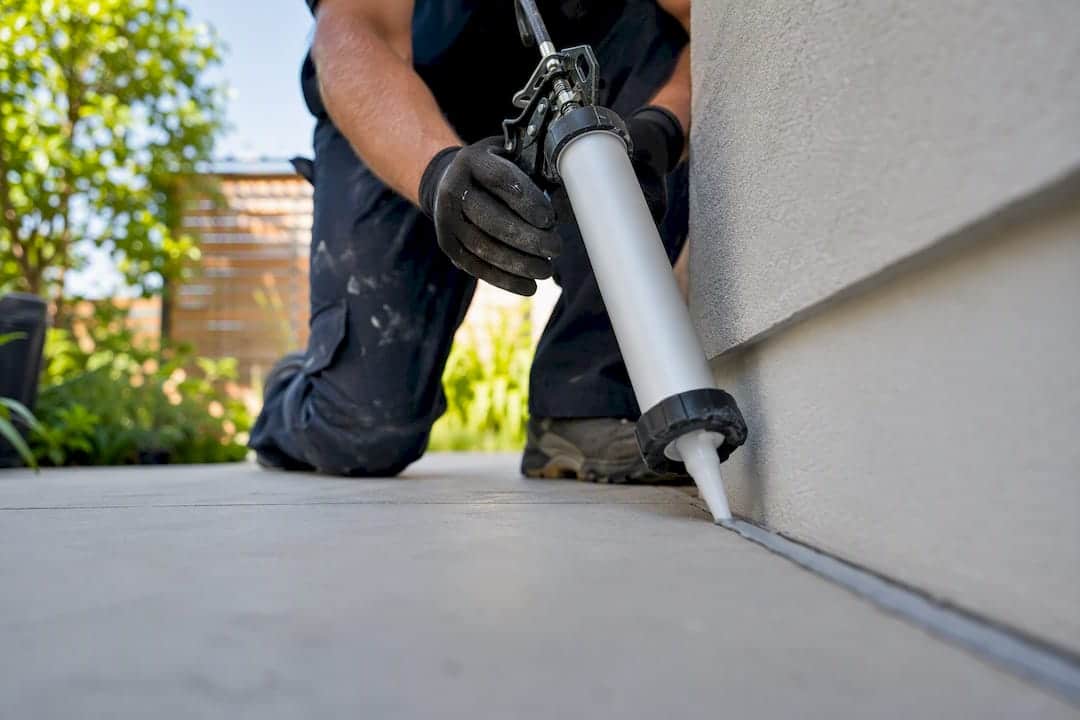
For high-movement building joints, specify Class 50 (±50%) sealant as your default, stepping up to Class 100/50 (+100/−50) where extension dominates the movement calculation. Neutral-cure silicone and select MS polymers deliver that performance most reliably, though a handful of specialty polyurethanes now reach Class 50 with UV and paintability trade-offs worth checking first. Whatever you land on, calculate the expected movement and apply a 1.25 to 1.5 safety factor per ASTM C1193 guidance before you commit to a class.
TL;DR:
- Specifying at least Class 50 sealant is essential for joints with up to 50% movement, but for joints expected to move over 50%, Class 100/50 provides better long-term reliability.
- Calculate joint movement by summing all sources, converting to percentage of joint width, and adding a safety margin of 1.25 to 1.5 times before selecting the appropriate class.
- Proper joint design includes a width-to-depth ratio near 2:1, at least 6 mm depth, and the use of appropriate backer rods and primers to prevent failures.
- Silicone offers the highest movement and UV resistance but is usually non-paintable; polyurethanes are paintable but may require specialty formulations to reach higher classes.
- Site preparation errors like undersized joints, wrong backer rods, or missed priming frequently cause sealant failures, emphasizing the importance of proper installation practices and skilled field assessment.
Table of Contents
- Understanding high movement sealant classes and chemistry
- How do you calculate joint movement and pick a class?
- Getting the joint geometry right
- Matching sealant to substrate and exposure
- What we watch for on-site
- What actually matters when specifying these jobs
- Get your high-movement joints specified and installed right
- Sources
- FAQ
Understanding high movement sealant classes and chemistry
Twenty-five years of caulking joints across the GTA has taught me one thing above all: the number on the sealant tube matters as much as the brand name. That number is the movement class, and it’s the single most misunderstood spec on most job sites.
ASTM C920 sets the framework. It classifies elastomeric joint sealants by Type (S for single-component, M for multi-component), Grade (NS for non-sag, P for pourable/self-levelling), Class (the percentage of movement the sealant can absorb), and Use (the substrates it’s rated for). The classes that matter for high-movement work are:
- Class 25: handles ±25% movement, fine for standard control joints in brick veneer or interior partitions.
- Class 50: handles ±50% movement, the workhorse for curtain-wall perimeters, precast panel joints, and most façade expansion joints.
- Class 100/50: handles +100%/−50% movement, an asymmetric rating built for joints that extend far more than they compress, like long horizontal runs exposed to full sun.
Chemistry determines whether a sealant can actually hit those numbers. Silicone typically tops out the movement scale and holds up best under UV exposure, but it’s generally non-paintable, which rules it out anywhere the architect wants colour-matched caulking. Polyurethane bonds aggressively to concrete and accepts paint, but it can yellow outdoors and rarely reaches Class 50 without a specialty formulation. MS polymer splits the difference: decent movement capacity, paintable, and less finicky about surface moisture than silicone. Polysulfide shows up mostly in fuel-resistant or immersed applications, not typical building envelope work.
Statistic to remember: manufacturer technical bulletins consistently warn that under-specifying movement class, say choosing a ±50% product for a joint that actually moves 60%, is a leading cause of premature sealant failure. That’s not a rounding error. That’s a callback.
Here’s where a lot of specs go sideways: a non-paintable Class 50 silicone can’t just replace a paintable polyurethane on a drawing without sign-off from the designer. The Use code and Grade aren’t decoration. They’re a contract.
How do you calculate joint movement and pick a class?
You can’t guess your way to the right sealant. Here’s the process we run through on every high-movement job before a tube gets opened.
- List every movement source. Thermal expansion is usually the biggest contributor, calculated as ΔL = α × L × ΔT, where α is the material’s coefficient of expansion, L is the joint length, and ΔT is the temperature swing. Add in seismic drift where relevant, plus long-term creep and shrinkage for concrete or masonry.
- Convert that movement to a percentage of joint width. If your calculated total movement is 6 mm and your joint is 12 mm wide, that’s 50% movement, right at the Class 50 threshold. If the number lands close to a class boundary, always round up to the next class, not down.
- Apply a safety factor of 1.25 to 1.5 on top of the calculated figure. That extra margin accounts for installation variance, material aging, and the fact that real buildings rarely move exactly the way a spreadsheet predicts.
Long joint runs, asymmetric expansion versus contraction, and anything with seismic exposure are the cases where Class 100/50 earns its keep over a standard Class 50. If you’re not confident in your movement inputs, sizing up a class is genuinely cheap insurance against failure compared to reopening a wall system three years from now.
Statistic to remember: that 1.25 to 1.5 safety margin isn’t a suggestion pulled from a sales brochure. It’s standard practice reflected in ASTM C1193 joint design guidance, and it’s the number most manufacturer warranties assume you’ve already applied.

Getting the joint geometry right
None of the chemistry matters if the joint itself is built wrong. This is where most failures I get called out to actually start, not with a bad tube of sealant, but with a joint that was never set up to let that sealant do its job.
- Keep a width-to-depth ratio around 2:1 for most sealant joints, this lets the material flex without over-stressing at the bond line.
- Maintain a minimum sealant depth of roughly 6 mm, even in narrow joints where the temptation is to skim it thin.
- Install a backer rod sized about 25% larger than the joint width to control depth and prevent three-sided adhesion, one of the most common on-site fixes that actually extends service life.
- Use closed-cell backer rod for most exterior joints to resist moisture uptake; open-cell rod suits interior joints or where off-gassing is a concern.
- Prime porous substrates like brick and concrete, and always prime anodized aluminum, silicone and polyurethane both struggle to bond without it.
- Watch cure conditions in cold weather. Most sealants have a minimum application temperature, and curing slows dramatically below it.
Pro Tip: Do a simple thumb-pull adhesion test on a cured sample bead before you commit crews to a full building run. If it peels clean off the substrate instead of tearing cohesively, your primer or prep failed, not the sealant.
Get the geometry wrong on a job like this, and even a properly rated expansion joint sealant will tear at the bond line within a couple of freeze-thaw cycles, movement class or not.
Matching sealant to substrate and exposure
The right chemistry depends on what it’s bonded to and what it’s fighting against. Metal panels and glazing perimeters call for neutral-cure silicone rated Class 50, it handles UV exposure for decades, though you’ll need a paintable alternative if colour-matching matters. Concrete and masonry joints, especially trafficked horizontal ones, usually need a self-levelling polyurethane, and the concrete should be fully cured, typically 28 days, before sealing.
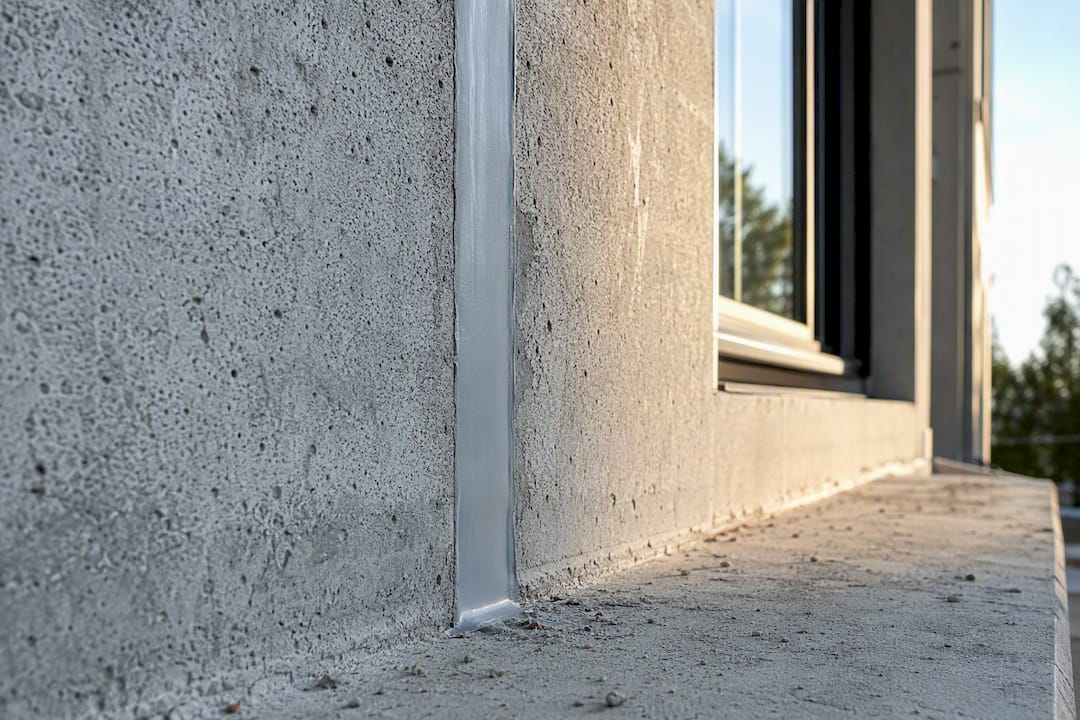
Wet or immersed conditions and joints facing wide seasonal temperature swings often do best with MS polymer or polysulfide, both tolerate moisture during application better than silicone and resist the yellowing that plagues exterior polyurethane. Concrete prep and cure-state checks matter just as much as the sealant choice here; a proper surface seal underneath prevents moisture from undermining adhesion later.
What we watch for on-site
Most callbacks trace back to three mistakes: an undersized joint that never got the movement calculation checked, the wrong backer rod creating three-sided adhesion, or a skipped primer on a substrate that needed one. All three are preventable at the prep stage, not fixable later.
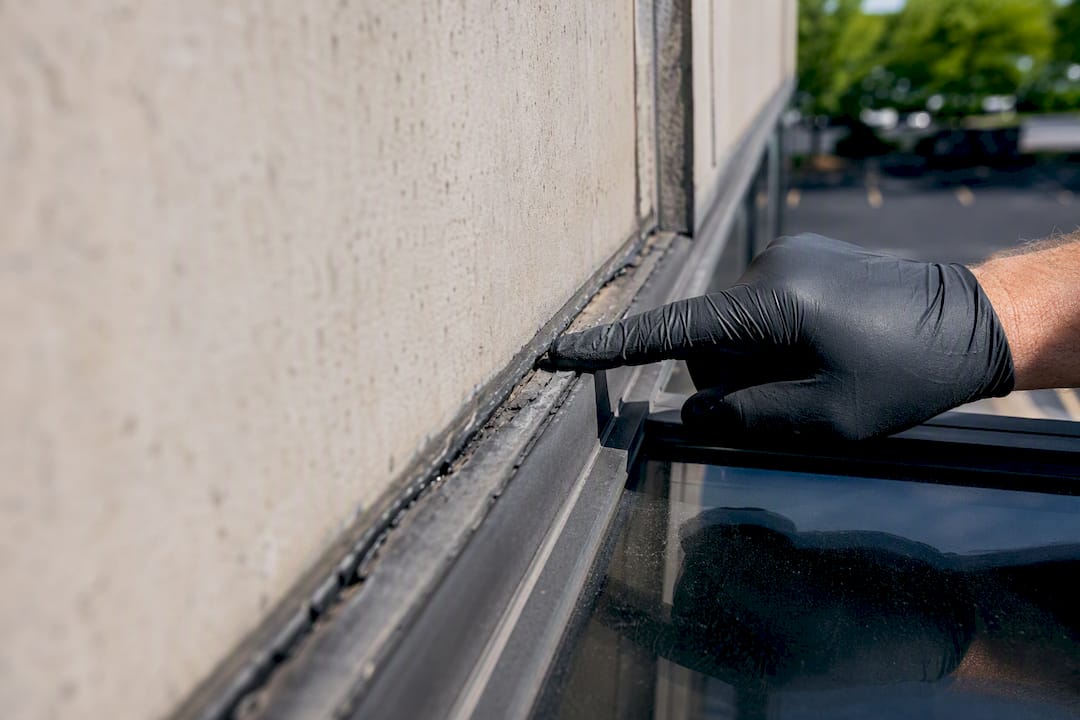
Our quality checks on every high-movement job include a tooling pass to confirm proper concave profile, a thumb-pull adhesion spot check on cured samples, and a follow-up inspection around 24 to 48 hours after tooling to catch slumping or skinning issues early. If you’re dealing with large asymmetric movement, unusual substrate transitions, or a warranty-critical commercial job, that’s the point to bring in a specialist rather than a general handyman crew.
What actually matters when specifying these jobs
After two and a half decades of caulking joints through Ontario winters, my strongest opinion is this: the design table conversation between architect, sealant supplier, and installer matters more than any single product choice. When those three groups assume different movement numbers, someone finds out the hard way, usually three winters later.
If there’s real uncertainty in your movement calculation, specify the higher class. It costs little upfront and saves a full remediation later. Correct specification, done once, beats a cheap fix redone every few years.
— Felix
Get your high-movement joints specified and installed right
There are other routes to solving a high-movement joint problem: pulling numbers off a manufacturer chart yourself, or handing the spec to a general contractor who caulks as an afterthought. Neither gives you someone who’s actually calculated movement percentages and watched what happens when the class gets it wrong on a real GTA building through a real winter.

Kettlecontracting handles the parts of this job that are easy to get wrong from a desk: field measurement of actual joint widths, specification review against ASTM C920 classes, and professional installation that accounts for Ontario’s freeze-thaw cycles rather than a generic climate assumption. We’ve done building envelope inspections on enough multi-unit properties to know where Class 50 gets under-specified and where a Class 100/50 upgrade would have saved a call-back. If you’re weighing whether this is a job for your maintenance crew or a specialist, start by understanding why caulking is trade-specific work, then request a specification review or field assessment for your property.
Sources
For direct reference: ASTM C920 for movement class definitions, ASTM C1193 for joint design and safety factor guidance, and manufacturer technical bulletins for product-specific movement ratings.
- ASTM C920 (standard specification for elastomeric joint sealants)
- Technical bulletin: Commercial sealant applications (Loctite / Henkel)
- How to choose a joint sealant: types, grades & movement | US Made Supply
- Understanding sealant movement capability and joint design – BOPIN
FAQ
What are the three main types of sealants?
The three broad chemistry families for building joints are silicone, polyurethane, and MS polymer, with polysulfide as a fourth option for fuel-resistant or immersed applications.
What is the strongest sealant for high movement joints?
Neutral-cure silicone typically offers the highest movement capability, often reaching Class 50 or Class 100/50, though it isn’t paintable, so premium MS polymers or specialty polyurethanes fill that gap where paint matching is required.
What is movement joint mastic?
Movement joint mastic is a general term for gun-grade or trowel-applied sealant designed to flex with a building’s expansion joints rather than harden rigidly like a mortar joint.
What is the best sealant for driveway expansion joints?
Self-levelling polyurethane is the standard choice for horizontal driveway and traffic-bearing expansion joints since it settles flush and resists foot and vehicle load better than a non-sag formulation.
How do I choose between Class 25, 50, and 100/50 sealants?
Calculate your joint’s actual movement as a percentage of its width, apply a 1.25 to 1.5 safety factor, then select the class that comfortably exceeds that number, defaulting to Class 50 for most façade and curtain-wall work.
