
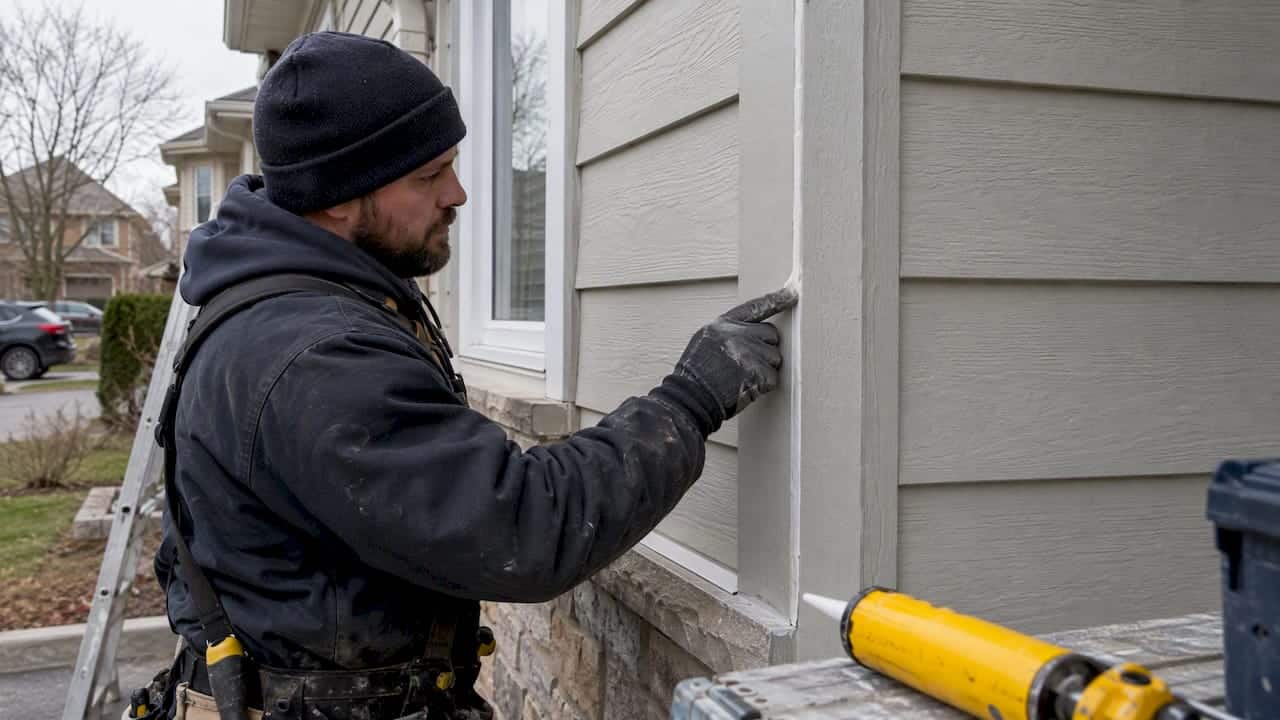
If the gap in your siding is under about 1/4 inch wide, the siding itself is solid, and there’s no rot or flashing damage behind it, caulk is the right fix, and you can do it yourself with the correct sealant and prep. If the gap is wider, growing, or tied to water staining, you’re looking at a flashing or replacement issue, not a caulking one.
TL;DR:
- Caulking is suitable for gaps less than 1/4 inch and when there is no siding movement, rot, or flashing damage behind it.
- Gaps wider than 3/8 inch require backer rods, and recurring issues indicate underlying structural or flashing problems rather than simple caulking fixes.
- Acrylic-latex with silicone is recommended for stable joints, while urethane and MS polymer sealants are better for high-movement joints exposed to expansion and contraction.
- Proper surface prep involves removing old caulk, cleaning, drying, and installing backer rods in deep joints to ensure long-lasting seals.
- For persistent leaks or siding movement, professional evaluation is advised, as caulking alone cannot prevent long-term water damage or structural failure.
Table of Contents
- When to caulk and when not to: gap size rules and failure signs
- Which sealants and chemistries work for exterior siding
- Prep and tools: removing old caulk and setting up backer rod right
- Step-by-step caulking method that lasts through freeze-thaw cycles
- Special cases: wide gaps, butt joints, and different siding materials
- Maintenance, inspection cadence, and how long a repair should last
- Field tips: rules of thumb and the mistakes we see most
- When DIY makes sense and when it’s worth paying a professional
- How we can help with your next step
- FAQ
- Sources
When to caulk and when not to: gap size rules and failure signs
Most exterior-grade sealants are built for joints in the 3/16 to 1/4 inch range, and manufacturer guidance for siding products like Maibec calls for leaving joint spacing around 5 to 6 millimetres, which lines up with that same range. Once a gap runs deeper or wider than about 9 millimetres (3/8 inch), you need backer rod before any sealant goes in, and some manufacturers set their own limits that override the general rule.
Not every gap is a caulking job. Watch for these signs before you reach for the gun:
- The siding itself moves, flexes, or has pulled away from the wall framing.
- You see an open or cracked J-channel instead of a clean seam.
- There’s soft wood, visible rot, or a soft spot when you press the area.
- Water staining keeps reappearing in the same spot season after season.
Building science guidance is blunt about this: a sealant bead was never meant to be your primary water barrier. Research from the NRC points to a rainscreen design with proper flashing as the reliable long-term defence, with caulk reserved for specific gaps and penetrations. If you’re patching the same spot every year, the problem is behind the siding, not on top of it, and it’s time to stop patching and start investigating.
Which sealants and chemistries work for exterior siding
Not all caulk behaves the same once Ontario winters start pulling joints apart. Acrylic-latex with silicone is the easiest to work with and paints well, making it a solid choice for stable, low-movement gaps around trim and siding seams. Pure 100% silicone resists water better but won’t take paint, so it’s a poor match anywhere you want a finished look. Urethane and MS polymer sealants handle real joint movement and are worth the extra cost on anything exposed to a lot of expansion and contraction.
- Skip oil-based caulks entirely, they shrink, crack, and fail fast outdoors.
- For joints with real movement, look for a sealant rated to ASTM C920, the standard spec for elastomeric joint sealants.
- At the shelf, check for paintable, non-hardening, UV-resistant, and a stated service temperature range before buying.
For joints that need serious flexibility, products built for high movement can handle far more stretch. The DAP Extreme Stretch technical sheet describes movement capability up to 600%, which matters for joints that open and close with every freeze-thaw cycle. For a deeper breakdown of chemistries by job type, see our guide on which type of caulk is best for exterior windows.
Prep and tools: removing old caulk and setting up backer rod right
A new bead only lasts as long as the surface underneath it is clean and dry. Rushing prep is the single biggest reason a caulk job fails within a year.
- Cut out and scrape the old caulk completely with a utility knife or caulk removal tool, don’t caulk over the top of failing material.
- Check the exposed joint for soft or discoloured wood, any rot means you stop and repair the substrate first.
- Clean the joint of dust and debris, then let it dry fully, a damp joint is one of the most common hidden causes of early failure.
- Prime bare or porous surfaces if the sealant manufacturer calls for it.
- Press backer rod into any joint deeper than about 9 millimetres, sized slightly larger than the joint width so it compresses into place.
Backer rod does more than fill space. It controls joint geometry so the sealant only bonds on two sides instead of three, which lets it stretch properly instead of tearing loose. For the full removal walkthrough with photos, check our piece on repairing old caulking around home windows.
Pro Tip: Keep a spare foam backer rod in a few sizes in your toolbox. Guessing the diameter on-site and running back to the store mid-job is how deadlines slip.
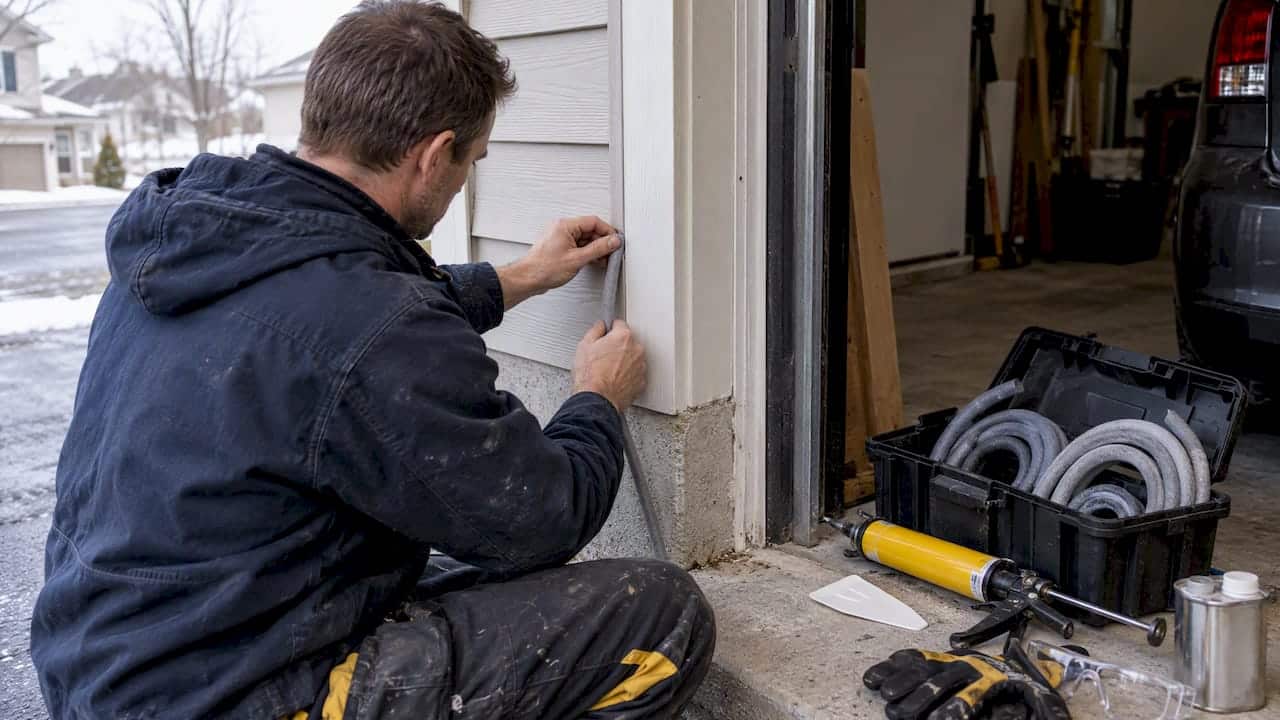
Tool list: a quality caulk gun (ratchet-rod for control, not the cheap pistol-grip kind), a plastic smoothing tool or your gloved finger, isopropyl alcohol for cleanup, and gloves plus eye protection when removing old sealant that may contain mildew or dried solvents.
Step-by-step caulking method that lasts through freeze-thaw cycles
The short version: cut the nozzle at a 45-degree angle to match your joint width, keep steady pressure on the gun so you push sealant ahead of the nozzle instead of dragging it, and tool the bead within a couple of minutes of laying it down.
- Cut the nozzle tip to produce a bead roughly matching the joint width, don’t go smaller just to stretch the tube further.
- Load the gun and test the bead on scrap material or a hidden spot first.
- Apply in one continuous pass, pushing the sealant ahead of the nozzle so it fills the joint rather than sitting on top of it.
- Tool the bead immediately with a wet finger or smoothing tool to press it into full contact with both sides of the joint.
- Wipe excess with a clean rag before it skins over.
A few rules keep this from falling apart come spring thaw:
- Aim for a bead depth of about 1/4 inch where the joint allows it, a thin surface smear has no mass to survive movement.
- Avoid air pockets by tooling with firm, even pressure, not a quick swipe.
- Check DAP’s technical data sheet for your specific product’s minimum application temperature, most exterior sealants need surfaces above roughly 4°C to bond properly.
- Confirm rain-ready and full paint-ready timings before you call the job done, applying too early invites washout or a soft, tacky finish.
Once cured, press a thumbnail gently into an inconspicuous section of the bead. It should feel firm with slight give, not sticky and not rock-hard and cracked.
Special cases: wide gaps, butt joints, and different siding materials
Wide gaps, generally anything over 3/8 inch, need backer rod at minimum, and if the gap keeps growing year over year, that’s a sign of structural movement that sealant won’t solve. Butt joints between siding panels are a common trouble spot since they see the most expansion and contraction.
- Fibre cement siding in our climate follows a 1/8 inch rule: joints tighter than that are prone to cracking the board itself when it expands, so don’t force a snug fit expecting caulk to compensate.
- Always check the manufacturer’s spec sheet for your specific fibre cement product, some brands set different tolerances.
- Vinyl and metal siding are designed to move within their J-channels and expansion slots, caulking those shut defeats the entire design and can cause buckling.
- Wood siding needs attention to paint condition and rot risk before any sealant goes on, caulk over failing paint just traps moisture underneath.
Maintenance, inspection cadence, and how long a repair should last
A proper caulk job on a stable joint, done with the right product and prep, typically holds up for several years before needing attention. Climate exposure, direct sun, and joint movement all shorten that window.
- Walk the exterior once a year, ideally in spring, and again after any major storm.
- Look for cracking, gaps pulling open, or sealant that’s lost its grip on one side of the joint, a common failure called adhesion loss.
- Shrinkage shows up as a sunken or pulled-back bead, a sign the product has reached the end of its service life.
- If you spot a soft or sticky bead that never fully cured, it likely needs to be stripped and redone rather than caulked over.
Moisture trapped behind siding is a recognized driver of long-term damage, and federal guidance on exterior finishes recommends keeping siding at least 200 millimetres above grade and refinishing wood siding every four to five years as part of routine upkeep. Our maintenance checklist covers the same inspection points in more detail.
Field tips: rules of thumb and the mistakes we see most
After years of patching, repairing, and redoing other people’s quick fixes, a few lessons stick. The 1/8 inch rule for fibre cement isn’t arbitrary, boards installed tighter than that crack at the edges once they expand in summer heat, and no amount of flexible sealant saves a cracked board.
Caulk is a secondary line of defence, never the primary one. When we find caulk packed into a failed J-channel or jammed into a gap where flashing should be doing the work, we replace the flashing rather than patch around it, because sealing over a flashing failure just traps the water that’s already gotten in.
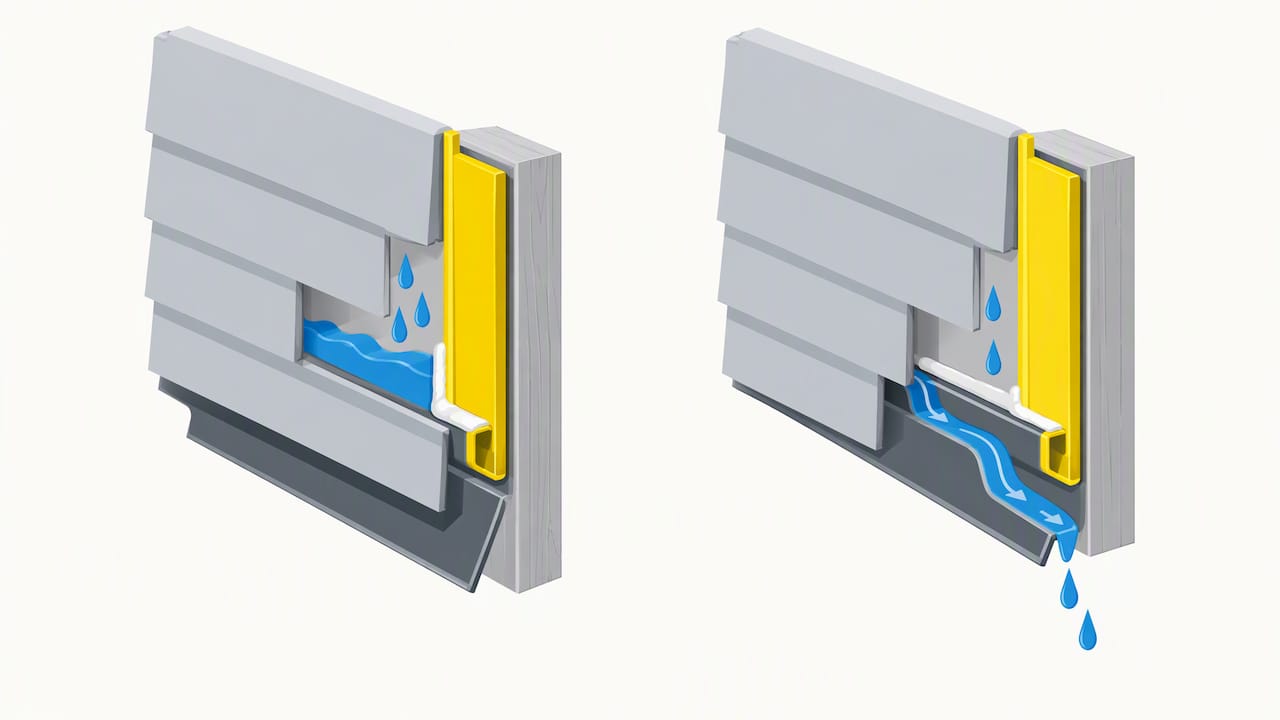
Pro Tip: A deep, properly tooled bead on a bone-dry joint beats a wide, thin smear every time. If the surface was damp when it went in, it’s only a matter of time before it lets go.
When DIY makes sense and when it’s worth paying a professional
If you’re dealing with a small, stable gap, no rot, and flashing that’s clearly intact, this is a reasonable weekend project. Once you’re seeing repeated leaks, movement in the siding itself, or any sign of flashing failure, the cost of a professional assessment is small next to the cost of water damage working its way through a wall over a Ontario winter. Freeze-thaw cycles are unforgiving on a bad repair, and a joint that looks fine in October can split wide open by March. For a closer look at where that line sits, see our breakdown of DIY versus hiring a pro for exterior caulking.
— Felix
How we can help with your next step
When a gap turns out to be bigger than a tube of caulk can handle, or when storm damage has compromised flashing behind the siding, professional exterior caulking work can help. Full building envelope sealing can address issues where moisture has found its way into more than one spot.

A site visit includes checking the siding, the joints, and what is happening behind them before recommending a fix, ensuring you don’t pay to patch a problem that needs a different solution. If storm damage is part of the picture, a public adjuster’s assessment of flashing and gutter damage can help clarify what’s covered before repairs start. When custom flashing or trim is the real fix needed, purpose-built metal trim packages solve what caulk alone can’t.
Ready for a second opinion on a stubborn gap? Request an estimate through our residential window caulking page and we’ll walk the exterior with you.
FAQ
Should you caulk gaps in siding?
Yes, for small, stable gaps where the siding and substrate are both in good shape. If the gap is growing, tied to rot, or sitting behind failed flashing, caulking alone won’t solve the underlying problem.
What to use to fill gaps in siding?
For most stable joints, a paintable acrylic-latex sealant with silicone added does the job well. For joints with more movement, look for a urethane or MS polymer product rated for higher stretch, such as those meeting ASTM C920 specifications.
What type of caulk is best for exterior siding?
The right chemistry depends on the joint: acrylic-latex with silicone suits most trim and siding seams and takes paint well, while 100% silicone holds up better against water but can’t be painted. High-movement joints call for urethane or MS polymer sealants built to flex without cracking.
How to caulk siding seams?
Remove any old, failing caulk, let the joint dry fully, and insert backer rod if the gap is deeper than about 9 millimetres. Apply a continuous bead with a properly cut nozzle, then tool it within minutes so it bonds fully to both sides of the joint.
Sources
- NRC (building science) — discussion of rainscreen and flashings
- Maibec — basic principles for installing exterior siding (2026)
