
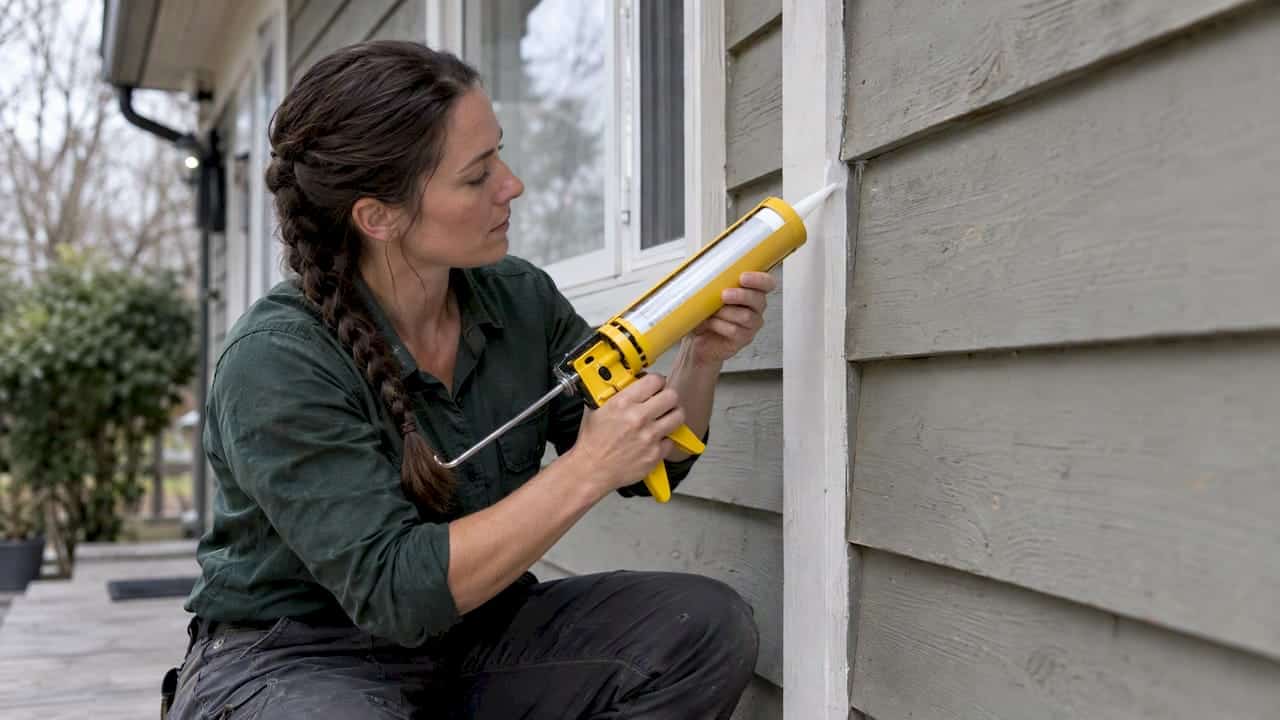
Caulk wood siding where water gets in, and leave open anything that lets water out. That means sealing the joints around windows, doors, corners and butt ends, using a paintable exterior-grade sealant that stays flexible. It also means keeping caulk off the bottom edge of lap siding, because a wall needs to drain and dry. After 25 years of doing this work around Oshawa, the most common failure we see is not bad caulk. It is caulk in the wrong place.
TL;DR
- Seal joints that take rain straight on: window and door trim, corner boards, and the butt ends of siding boards. Leave the bottom of lap siding open so the wall can drain.
- For wood and cedar, use a high-performance acrylic-latex, polyurethane or similar paintable sealant. Pure silicone is often not recommended on Western Red Cedar.
- For vinyl windows, a neutral-cure silicone made for windows and doors is a common choice, but never block the window’s drainage paths.
- Work on clean, dry wood and apply above 5°C. Ontario’s freeze-thaw cycles punish anything installed cold or damp.
- Caulk is a last line of defence. Flashing and a proper drainage plane do the main work.
Table of Contents
- Should you caulk wood siding at all?
- Which joints to caulk and which to leave open
- Choosing the best caulk for wood and cedar siding
- Vinyl windows and wood windows in a wood-sided wall
- How to caulk exterior wood siding, step by step
- Mistakes we fix most often
- Our perspective: look at the whole wall
- Have us look at your siding
- FAQ
- Sources
Should you caulk wood siding at all?
Not always, and that surprises people. The U.S. Forest Products Laboratory says there is no single rule for caulking siding. Its advice is to look at the building’s history: if a wall has performed well for years without caulk in a given joint, adding sealant there could trap water instead of keeping it out.
That matches what we see on site. A wall is built to shed water, not to be airtight on the outside. Natural Resources Canada describes exterior caulking as the last and weakest defence against rain, with flashing and a properly detailed drainage plane doing the primary work. The University of British Columbia’s technical guidelines say the same thing in building terms: joint sealants are not a primary method of waterproofing or shedding water.
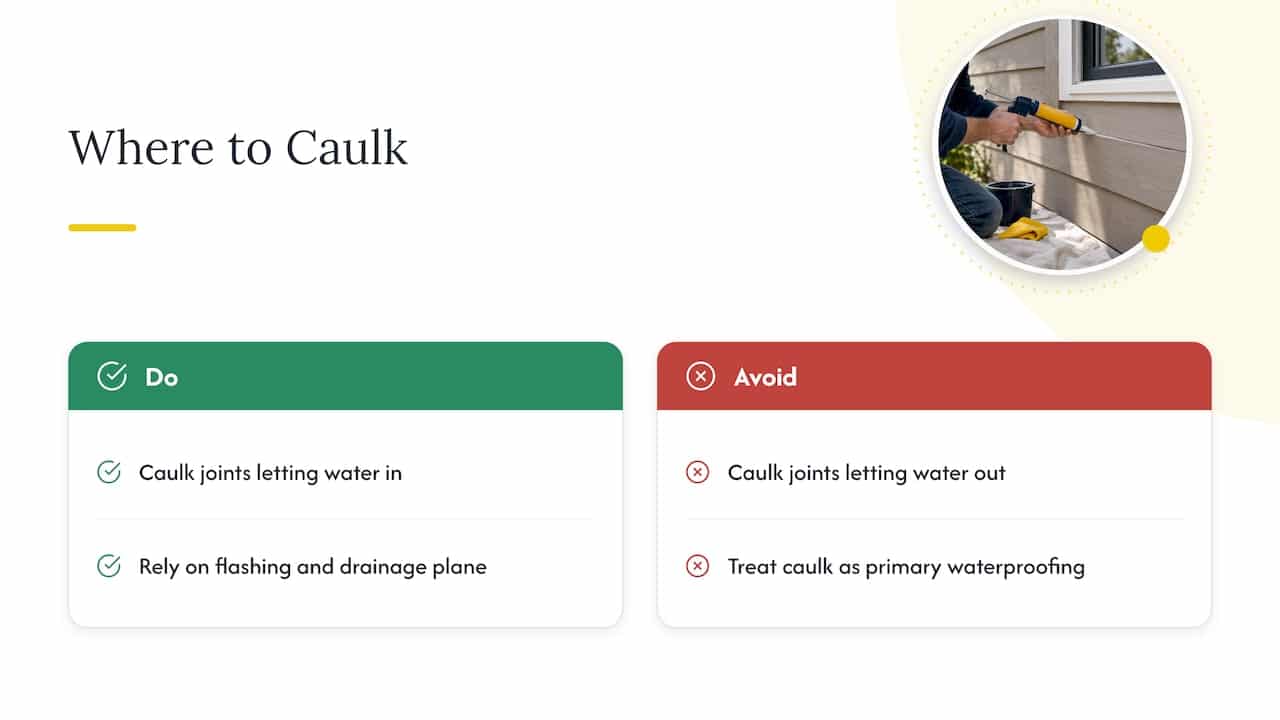
So the question is not “should I caulk my siding?” It is “which joints are letting water in, and which are letting it out?” Caulk the first kind. Leave the second kind alone.
Why drainage matters on Ontario homes
Modern walls are often designed with a gap behind the cladding. The Canadian Wood Council notes that rainscreen walls include a drainage cavity at least 3/8 inch wide, a second line of defence if rain gets past the cladding. Research from CMHC found that drying depended chiefly on airflow in the cavity for cavity walls, and on airflow through the joints for direct-applied siding.
In plain terms: if you seal every seam on a wall that needs to breathe and drain, any water that does get in has nowhere to go. Wood stays wet, paint peels, and rot starts behind a siding job that looks perfect from the street.
Which joints to caulk and which to leave open
Here is how we sort it when we walk a house.
| Location | Caulk it? | Why |
|---|---|---|
| Where siding meets window and door trim | Yes | Direct rain exposure and constant movement |
| Corner boards and vertical trim joints | Usually yes | Common entry point, as long as the joint is not a drainage path |
| Butt joints (end joints) between siding boards | Yes, or cover with a joint strip or flashing | End joints are a major water entry point |
| Bottom edge of each lap siding board | No | Moisture needs to escape; caulk here traps it |
| Horizontal laps between boards | No | Same reason: they are part of the drainage system |
| Weep holes and drainage slots in window frames | No | Blocking them sends water into the wall |
| Where siding meets masonry, or a penetration like a vent or hose bib | Yes | Different materials move at different rates |
The guidance on end joints is specific. For wood lap siding, end joints must be caulked with a paintable exterior-grade sealant, covered by a vertical joint strip, or protected by flashing behind the joint. That wording comes from a summary of the U.S. International Residential Code, so treat it as good practice rather than an Ontario Building Code citation. It is still sound advice for our climate.
What about the bottom of lap siding?
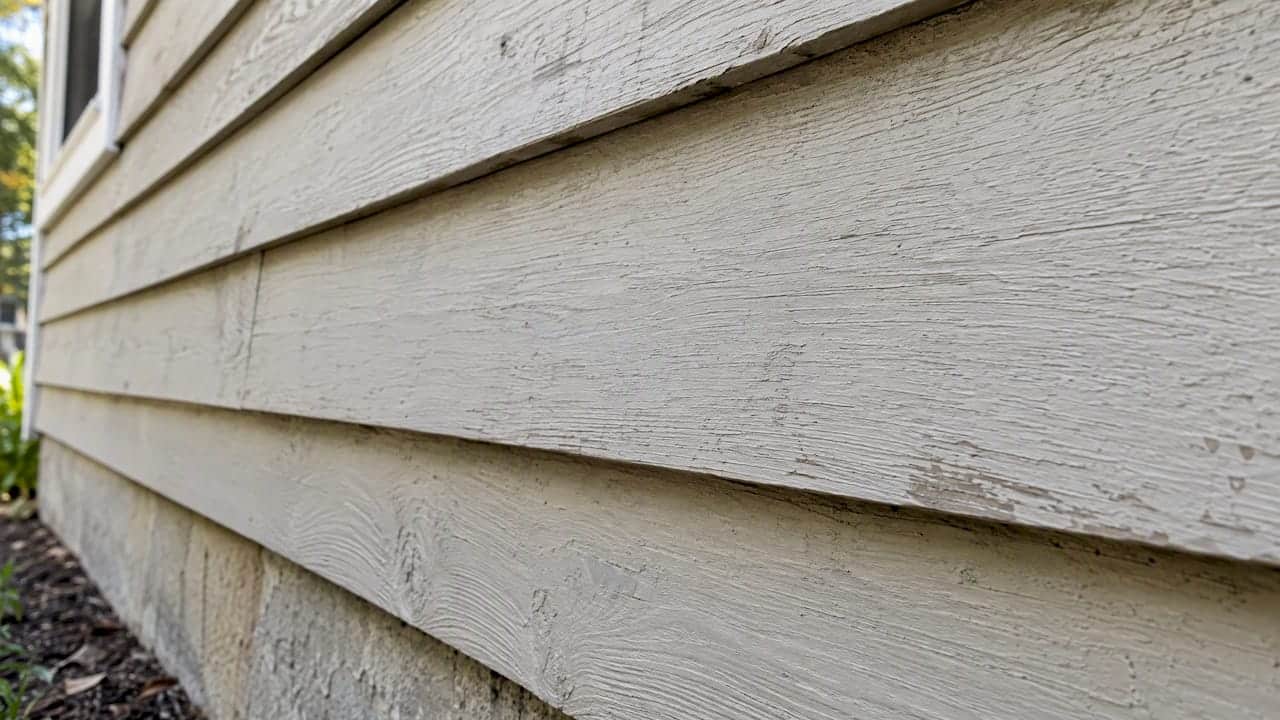
This is the most-asked question about siding caulk, and the answer is no. Caulk vertical-trim and siding joints only where they do not function as drainage paths. The bottom edge of each board is exactly that: a path for water and vapour to leave. We often get called to “fix” a gap along the bottom of siding that was actually working as designed.
If you want a deeper look at gap sizes and when a gap is too wide, our guide on the 1/4 inch rule for siding caulking gaps walks through it.
Choosing the best caulk for wood and cedar siding
Wood moves. It swells when it is wet, shrinks when it dries, and expands and contracts with every temperature swing from a January cold snap to a July heat wave. The sealant has to stretch with it and keep its grip on the wood.
For wood siding, the guidance for cedar is clear: high-performance acrylic-latex, polyurethane or terpolymer rubber caulks are generally recommended, while pure silicone is often not recommended for Western Red Cedar because it may not adhere well. The same source cautions that improper caulking can trap water behind siding and defeat the moisture management the siding system is built for.
What we look for in a sealant for wood siding:
- Paintable. Wood siding is almost always finished, and the caulk needs to take the same paint or stain as the board.
- Flexible. It needs enough movement capability to handle a joint that opens and closes through the seasons.
- Rated for exterior use. Not all caulks are. Bathroom caulk does not belong outside; we cover the differences between bathroom and exterior caulking separately.
- Good adhesion to wood and to the neighbouring material. Trim, brick, aluminum and vinyl all behave differently.
Cedar siding specifically
Cedar is a special case. It is naturally rot-resistant but it is also oily and dimensionally active, and manufacturers of cedar siding give specific sealant advice. Check the siding supplier’s installation guide before you choose a product. If your cedar is prefinished, look at the sealant’s technical data sheet: one widely sold exterior sealant warns you not to smear or tool sealant on prefinished coloured claddings, since it can mark the finish. Masking tape and a steady hand matter more here than on painted boards.
Primer and bare wood
Bare wood should not be caulked raw. Wood siding is meant to be primed on all six sides before installation, and where you are caulking bare or weathered boards, priming the joint edges first gives the sealant something sound to hold. Do not skip it on old, dry cedar that soaks up the oils from the caulk.
Vinyl windows and wood windows in a wood-sided wall
Plenty of the homes we work on have wood or composite siding with vinyl windows set into it. Many readers search for “vinyl window caulking” for this reason. The window frame and the siding are different materials, so the sealant has to bond to both.
Caulking vinyl windows
A neutral-cure silicone made for windows and doors is a common choice. One Canadian manufacturer’s technical bulletin says its neutral-cure silicone is suitable for window and door frames and adheres to window PVC, vinyl siding, glass, fibreglass, wood and painted surfaces. Another data sheet describes an advanced exterior window, door, siding and trim sealant that adheres to vinyl, PVC, glass, wood and aluminum.
Two cautions from experience and from those same documents:
- Silicone is not paintable. The bulletin is explicit that you should paint the surrounding wood first. If the trim next to your window needs paint, do that before you caulk.
- Match the sealant to every surface it touches. UBC’s guidelines require sealants to be compatible with adjacent surfaces. A bead that grips vinyl but fails on weathered wood will not last.
For a longer comparison, see our guide on which type of caulk is best for exterior windows.
Do not block the drainage
Many vinyl windows have small weep holes or drainage slots along the bottom of the frame. The Forest Products Laboratory is direct on this point: caulk must not block drainage pathways in draining windows, or you will get leakage into the wall. If you are unsure whether your window drains, find the slots on the exterior bottom rail before you run a bead anywhere near them.
Wood windows
For “wood window caulking,” the sealant rules are the same as for wood siding: paintable, flexible, exterior-rated. Wood window sashes and sills see more water and more movement than vinyl, so the joint between the trim and the siding is the one to watch. Rotted sills are a repair job, not a caulking job. Sealant over soft wood is a fast way to hide a problem that will come back bigger.
Order of work
Natural Resources Canada advises that exterior caulking be done only after interior sealing is complete, so moisture is not trapped in the wall. Seal the air leaks on the inside first, then finish the outside.
How to caulk exterior wood siding, step by step
This is the process we follow. If you want a fuller walkthrough, we have a separate guide on how to apply exterior caulking.
- Inspect first. Probe the wood near joints with a screwdriver. Soft or crumbling wood needs repair before any sealant goes on.
- Remove the old caulk completely. Surfaces should be clean, dry and free of old caulk and debris. New sealant does not bond well to old sealant.
- Clean the joint. A Canadian how-to from a sealant maker recommends cleaning with isopropyl alcohol and letting the surface dry, then masking with painter’s tape for a clean line.
- Prime bare wood. Work the primer into the joint edges and let it dry.
- Check the joint size. One exterior sealant data sheet recommends joints no wider than 1 inch or deeper than 1/2 inch, using foam backer rod for deeper joints. Another gives a threshold of 9.5 mm depth before backing material is needed. Backer rod also keeps the sealant from bonding on three sides, which lets it stretch.
- Apply a continuous bead. Fill the joint, tool it smooth where the product allows, and pull the tape while the bead is still fresh.
- Let it cure. One silicone bulletin calls for 24 hours to fully cure. Do not hose it down or paint over it early.
Temperature and weather
This is where most Ontario callbacks begin. One exterior sealant’s data sheet says to apply it above 5°C and not when freezing temperatures are forecast within 24 hours. Some products list wider application ranges, and a few can be used well below freezing, but wood that is frosty or damp is still a poor surface to bond to. Late spring and early fall are the sweet spot in Durham Region. We explain the timing in our guide to exterior trim caulking above +5°C and how extreme weather affects caulking.
Joint movement
The UBC guideline says joints receiving sealant should be designed to be four times as wide as the anticipated movement, thermal and structural movement included. That is a commercial building standard, but the principle holds on a house: a hairline gap that opens and closes will tear a thin bead of caulk in a couple of winters. A joint with enough width and depth gives the sealant room to stretch.
Mistakes we fix most often
- Caulking the bottom edge of every board, which traps moisture.
- Painting over silicone and wondering why the paint beads up.
- Laying fresh caulk over old, cracked caulk.
- Applying in cold, wet or frosty weather.
- Using interior or bathroom caulk outdoors.
- Sealing over rot instead of replacing the wood.
- Plugging weep holes on windows.
We list more in caulking mistakes homeowners make, and you can plan ongoing maintenance with our exterior wall caulking schedule.
Our perspective: look at the whole wall
We have spent 25 years on Ontario houses, and the pattern is consistent. People call because water is getting in somewhere, and the first instinct is to run a tube of caulk along every line they can see. Sometimes that helps. Often it moves the problem somewhere less visible.
Our approach is to find where the water is actually entering. Usually it is a failed joint at a window or door, a butt end that was never sealed, or flashing that was installed badly. We seal those properly, with a product chosen for the surfaces involved, and we leave the drainage paths open. Quick fixes do not survive freeze-thaw cycles. A joint that is prepared, sized and sealed right the first time can keep doing its job for years.
We will also tell you when caulk is not the answer. If the wood is rotten or the flashing is missing, no sealant will fix that, and we would rather say so than take the job and watch it fail.
— Felix
Have us look at your siding
Kettle Contracting seals windows, doors, trim and full building envelopes for homes and commercial properties across the Greater Toronto Area, from Oshawa and Whitby to Ajax, Pickering, Bowmanville and Cobourg. If your siding joints are cracked, open or pulling away from the trim, our residential window caulking service covers the joints around your windows. For larger or multi-unit properties, see our building envelope sealing.

If the wood around a window or door needs repair first, we also handle window and door installation and related carpentry and masonry work. Browse the full list on our services page, or contact us through kettlecontracting.com for a straightforward assessment and an honest price.
FAQ
Do you caulk the bottom of lap siding?
No. The bottom edge and horizontal laps of lap siding are part of how the wall drains and dries. Caulking them can trap moisture behind the siding. Seal the vertical joints, butt ends, trim and corners instead.
What is the best caulk for wood siding?
A high-performance, paintable, exterior-grade sealant such as acrylic-latex, polyurethane or a terpolymer rubber is generally recommended for wood and cedar. For cedar specifically, check the siding maker’s guidance, since pure silicone is often not recommended. Make sure the product is rated for the temperature you are applying it in.
What is the best caulk for vinyl windows?
A neutral-cure silicone or a sealant made for windows, doors, siding and trim is a common choice, because the data sheets list vinyl and PVC adhesion. Silicone cannot be painted, so finish any painting first. Check that the product also bonds to the wood or brick next to the window.
Can I caulk wood siding in winter?
It is rarely a good idea. At least one manufacturer says not to apply its sealant when freezing temperatures are forecast within 24 hours, and cold, damp or frosty wood does not bond well. If a joint is wide open in winter, a temporary measure is possible, but the proper seal should wait for milder weather.
How do I know whether my siding needs caulking?
Look for cracked, shrunken or peeling caulk at windows, doors, corners and butt joints, and for gaps where trim has pulled away. Stains, peeling paint or soft wood below those joints are warning signs. If you are not sure, a contractor can check the wall before you seal anything.
Sources
- Real Cedar: How to install Western Red Cedar siding
- Forest Products Laboratory: The ins and outs of caulking
- Natural Resources Canada: Keeping the Heat In, upgrading windows and exterior doors
- UBC Technical Guidelines: Joint sealants
- Canadian Wood Council: Moisture and wood-frame buildings
- CMHC research report on wall drying
- IRC 2024 wood and hardboard siding requirements
- Exterior sealant technical data sheet, clear
- Exterior window, door, siding and trim sealant data sheet, clear
- Exterior window, door, siding and trim sealant data sheet, white and colours
- Neutral-cure silicone technical bulletin
- How to seal exterior window trim to last