
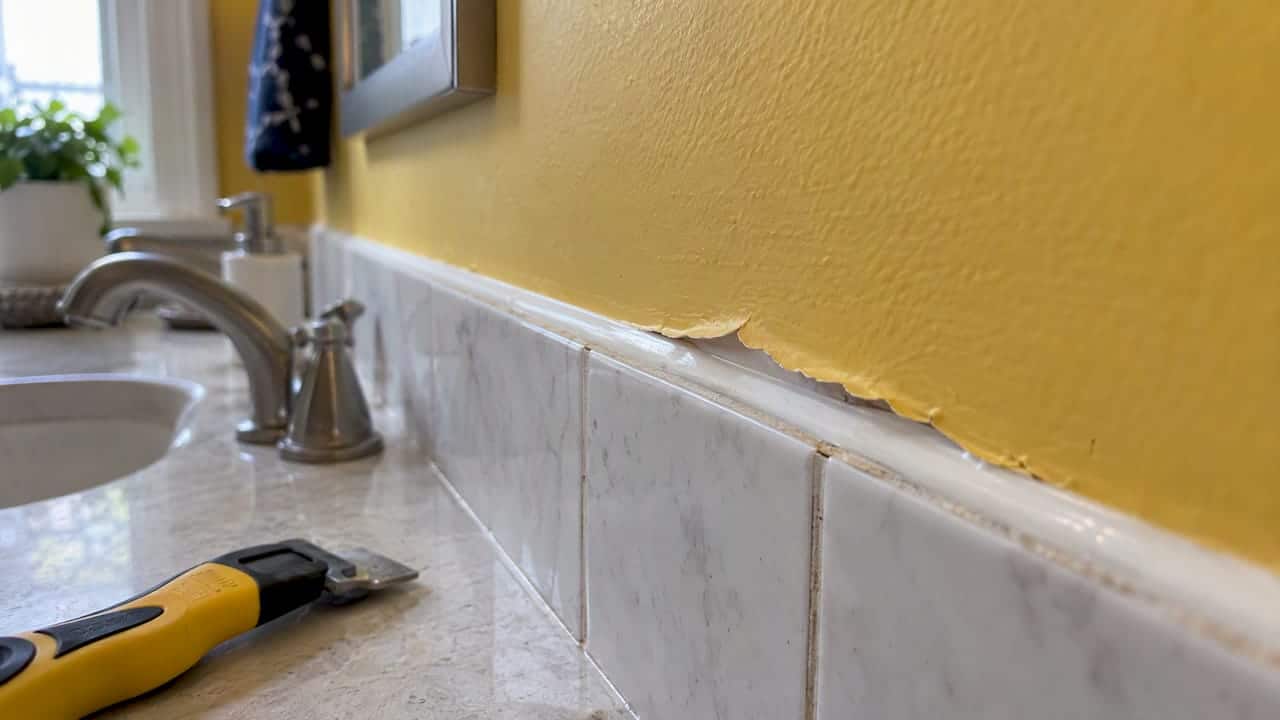
You can’t reliably paint over 100% silicone caulk. Paint beads up, peels, or crawls off the joint, and no primer trick we’d trust outdoors in Ontario changes that. The dependable fix is to cut the silicone out, clean the joint, and fill it with a paintable caulk. Below is why that is, how to do it, and how to avoid the problem next time.
TL;DR
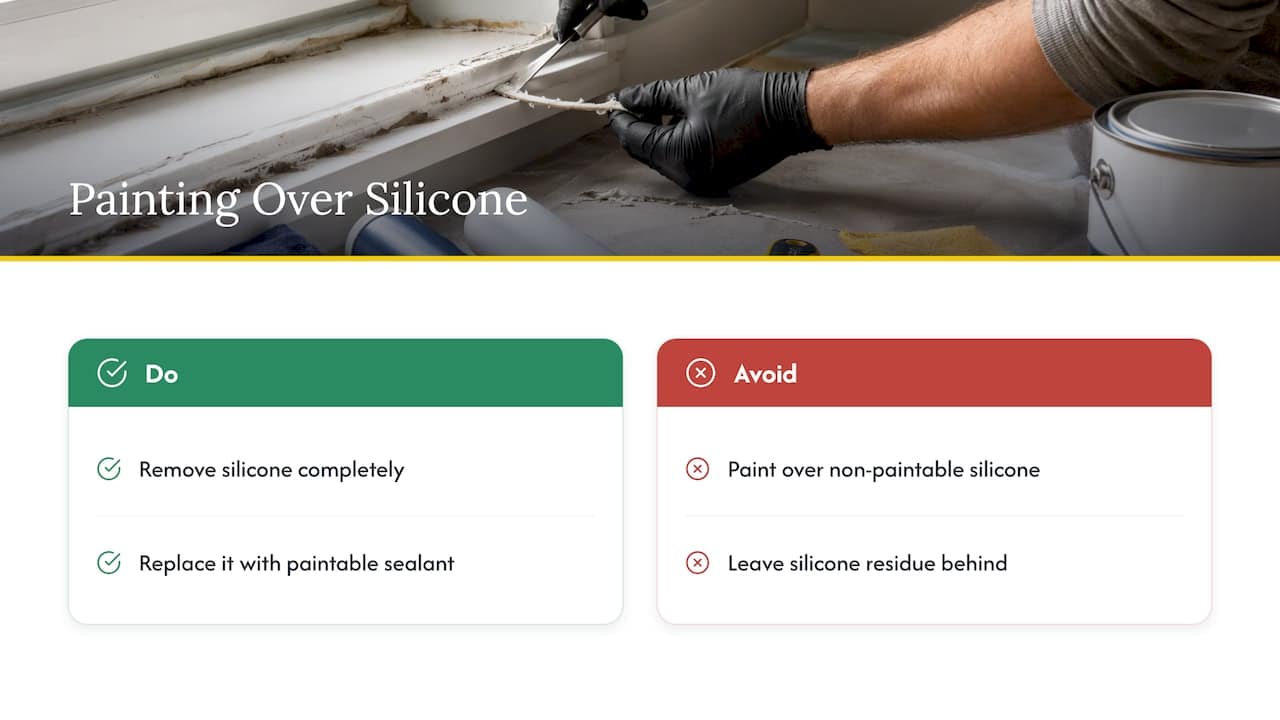
- 100% silicone caulk repels paint. The manufacturer’s guidance is to remove it completely and replace it with a paintable sealant, because paintable latex caulk won’t stick to silicone or its residue.
- Painting over it anyway usually means fisheyes, beading, peeling or cracking within a season, and worse outdoors where the joint moves with the weather.
- Order matters: acrylic (paintable) caulk goes in before paint, silicone goes on after paint.
- Removing old silicone takes a utility knife, a scraper, and isopropyl alcohol for the residue. It’s slow, but it’s the step that makes the paint job last.
- Painting a wood fence is a different question. Stain is usually the better fit, and for older treated wood it’s the safer one.
Table of Contents
- Why paint won’t stick to silicone caulk
- What happens if you paint over it anyway
- “Paintable silicone” and other shortcuts
- How to remove silicone caulk before painting
- What to put in its place: paintable caulk
- Painting over new caulk, step by step
- When it’s worth hiring it out
- Our perspective
- A quick word on fence paint vs stain
- Getting it done right
- FAQ
- Sources
Why paint won’t stick to silicone caulk
Silicone cures into a slick, flexible rubber. That’s exactly why it’s good at keeping water out of a bathroom or around a window. It’s also why paint has nothing to grip. Water-based paint sits on top of it like water on a waxed car.
We’ve been caulking in and around Oshawa for 25 years, and this is one of the most common calls we get after a paint job: someone caulked with a clear tube from the hardware store, painted the trim, and a few weeks later the paint is pulling away from the joint in a neat line. The paint isn’t bad. The caulk was never going to take it.
The manufacturer guidance is clear on this. If non-paintable 100% silicone sealant has been used and the surface now needs painting, DAP says to remove it completely and replace it with a paintable sealant, because paintable latex caulk will not adhere to silicone or to the residue it leaves behind. That last part matters. A thin smear you can barely see is still enough to stop the new caulk from bonding.
What happens if you paint over it anyway
People try it, so here’s what we typically see, from quickest to slowest failure:
- Beading and fisheyes. The wet paint pulls back from the caulk line and leaves bare patches. You’ll notice this while you’re still painting.
- Patchy coverage. You get three coats on and the silicone still shows through as a shiny stripe.
- Peeling. The paint looks fine for a few weeks, then lifts in a ribbon you can pull off with a fingernail.
- Cracking. Where the paint does hold, it’s stiff, and the caulk underneath is not. Sealants generally take more movement than the coatings applied over them, which is a known reason coatings crack along sealant joints.
Indoors, in a dry spot with little movement, you might get away with it for a while. Outdoors, around windows and doors, you won’t. Ontario’s freeze-thaw cycles open and close those joints all winter, and a painted film that can’t stretch will split. Once it splits, water gets behind it.
“Paintable silicone” and other shortcuts
You’ll see products labelled as paintable silicone, and you’ll see advice online about priming silicone with shellac-based or specialty primers, or wiping it with denatured alcohol first. Some people report luck with these on small indoor jobs.
Here’s our honest view. Where a product system is tested and the manufacturer says paint is okay over it, follow the data sheet exactly. Otherwise, treat any trick as an experiment. The long-term answer in this industry is field experience combined with lab testing, as the sealant makers themselves put it. A forum post that says “worked for me” isn’t field testing. And an experiment on an exterior joint you’ll have to redo in two years costs more than doing it properly once.
If you’re not sure whether the old caulk is silicone, here are the usual clues:
- It’s very smooth and rubbery, and it stretches like a thick rubber band.
- Water beads on it.
- The tube (if you kept it) says 100% silicone and doesn’t say paintable.
- A small dab of water-based paint on a hidden spot beads up and won’t wet out.
If you can’t tell, assume silicone and plan to replace it.
How to remove silicone caulk before painting
This is the step people skip, and it’s the one that decides how the job turns out. The approach below follows the standard removal method DAP describes.
What you’ll need
- Utility knife or razor scraper
- Caulk removal tool or putty knife
- Isopropyl alcohol and clean rags
- Paintable caulk and a caulk gun
- Painter’s tape
Steps
- Score both sides. Run the knife along each edge of the bead, cutting between the caulk and the surface. Go slowly on painted wood and vinyl so you don’t gouge the frame.
- Lift and scrape. Pull the bead out in long strips where you can. Use the removal tool or putty knife for what’s left.
- Clean the residue. Wipe the joint with isopropyl alcohol. Repeat until the rag comes away clean and the surface no longer feels slick.
- Let it dry. The joint has to be clean and fully dry before new caulk goes in.
- Check the joint. If the gap is deep, a backer rod helps the new caulk form a proper bead instead of a thick plug. If the substrate underneath is soft or rotted, that needs repair first, not caulk.
Two cautions from experience. First, don’t use a heat gun or a solvent on vinyl windows without checking what the frame manufacturer allows. Second, if you see black mould behind the old bead, or the wood is soft, you’re no longer dealing with a paint problem. That’s a moisture problem, and it needs a proper look before anything gets sealed back in.
How do you know it’s time to replace caulk anyway?
If you’re redoing the paint, it’s a good moment to judge the caulk. DAP’s guidance is to remove old caulk that shows cracks, gaps, peeling, discolouration, mould, or water leaks, and to inspect it roughly every 5 to 10 years depending on where it is and how exposed it is. Our own guides on signs your window caulk needs replacing and how often to replace exterior window caulk go further on exterior windows.
What to put in its place: paintable caulk
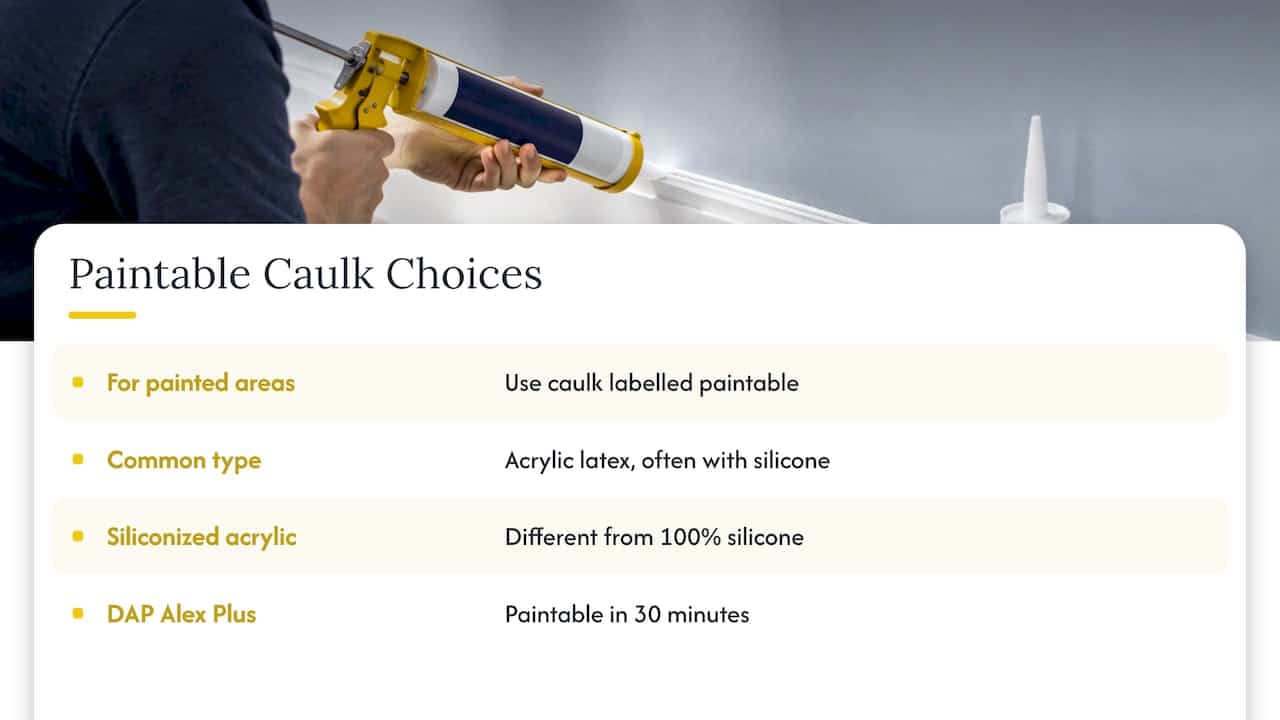
For anything that will be painted, use a caulk labelled paintable. In practice that means an acrylic latex caulk, often with a bit of silicone added for flexibility. Read the label closely: “siliconized acrylic” is a different thing from 100% silicone.
Check the cure time before you reach for the brush. As one example, DAP’s Alex Plus acrylic latex caulk with silicone is listed as paintable with latex or oil-based paint in 30 minutes. Other products take longer, and thick beads in cool, damp weather take longer again. Use the data sheet for the tube you actually bought, not a rule of thumb.
We’ve written a separate guide on choosing paintable exterior caulk, and one on silicone versus acrylic caulk for exterior windows if you want to see where each one belongs.
Which goes first, caulk or paint?
The rule is simple. Apply acrylic caulk before painting, and silicone sealant after painting. Silicone belongs where you won’t paint: inside a shower, around a sink, or along a joint you’re leaving the colour of the sealant. If you want the silicone line to match the trim, choose a colour-matched silicone rather than trying to paint it later.
Our Ontario trade tips on caulking before painting cover the order of work for a whole exterior.
Painting over new caulk, step by step
Once you have a clean joint and a paintable caulk, the sequence is short. It follows the general approach outlined by GE Sealants: remove loose or deteriorated material, clean and dry the surface, apply paintable caulk, and let it dry fully before painting.
- Prep the surface. Scrape loose paint, wash off dirt and chalk, and let everything dry. Caulk won’t grip a dusty or damp surface.
- Tape the edges. Painter’s tape on both sides keeps the bead tidy and cuts down on clean-up.
- Cut the nozzle small. A narrow opening at 45 degrees gives you control. You can always add more caulk, but removing extra is messy.
- Fill the joint in one pass. Push the gun along the joint rather than pulling it, so the caulk is forced into the gap.
- Tool the bead. Smooth it with a damp finger or a tooling spatula, then pull the tape while the caulk is still wet.
- Wait. Give it the full time the label asks for. Painting early is the most common cause of cracking and of caulk showing through the paint.
- Prime if the label or the surface calls for it, then paint. Overlap the paint slightly onto the adjacent surface so the edge is sealed. Our guide on when to prime before caulking covers the cases where primer helps.
Paint cracking over caulk, or caulk bleeding through
If you’re already past this point and the paint is misbehaving, here’s how to read it:
| What you see | Likely cause | What we’d do |
|---|---|---|
| Paint beads up or won’t stick | Silicone under the paint, or a dirty surface | Remove the caulk, clean with isopropyl alcohol, recaulk with a paintable product |
| Paint cracks along the joint | Caulk still curing when painted, joint moving more than the paint can stretch, or too thick a bead | Cut out and redo with a flexible paintable caulk, thinner bead, full cure time |
| Yellow or tan stain coming through | Moisture, tannins from the substrate, or a not-fully-cured caulk | Find the moisture source, let it dry, prime with a stain-blocking primer, repaint |
| Paint peels in a ribbon | Poor adhesion to old silicone residue | Strip it back to a clean joint and start again |
| Hairline gaps at the edge of the bead | Caulk shrinking or pulling away | Replace it; the joint is likely wider than the caulk can handle |
When it’s worth hiring it out
A bathroom edge or an interior baseboard is a fair weekend job. Exterior windows, doors and brick joints are different. The work is at height, the joints move, the substrates vary (vinyl, aluminum, wood, brick), and a mistake can let water into the wall where you won’t see it for a long time.
If you’re a property manager or landlord, the maths changes again: one failed joint pattern repeated over forty windows is a maintenance bill, not a touch-up.
Our perspective
We get asked this question a lot, usually by someone holding a half-painted window trim and a bad feeling about it. The honest answer is the same every time: silicone and paint don’t mix, and the shortcut costs you more than the fix.
After 25 years of working in Oshawa, Whitby, Ajax and the surrounding area, we’ve seen what freeze-thaw does to a joint that was sealed with the wrong product. Water gets in at the first split, sits behind the trim, and shows up later as rot, stained drywall or a draft you can’t trace. A tube of caulk costs a few dollars. The repair after the damage doesn’t.
So we do it in order. We remove the failed material, clean the joint properly, choose a sealant that suits the surface and the paint plan, and give it the time it needs. That’s slower than a quick patch. It’s also why the work holds up through the winter.
If you’ve got silicone where you wanted paint, or paint that’s already letting go, that’s a normal job for us, and we can tell you quickly whether it’s a simple recaulk or something that needs more than that.
Felix
A quick word on fence paint vs stain
People searching for this topic often have a fence on their mind too, so here’s the short version. Neither is a caulking question, but the same principle applies: pick the product that suits the material and the weather.
- Stain soaks into the wood. Translucent stain lets the grain and texture show through, while solid stain still shows texture but hides imperfections.
- Paint sits on the surface as a film. It gives a uniform colour, but a film can chip and flake as the wood moves.
- Older treated wood: for older CCA-treated structures such as fences, Health Canada recommends an oil- or water-based stain rather than paint or other film-formers, since flaking film can raise potential arsenic exposure.
For prep, clean the fence with a damp cloth, garden hose or pressure washer, then sand with 120 to 150 grit paper. For weather, check the can or technical data sheet. As an example, one manufacturer gives an optimal painting range of 2 °C to 38 °C, with low humidity and no rain, and the range differs by product. The same source suggests a rain-free, low-humidity day between 4 °C and 32 °C for staining, out of direct sun to avoid lap marks.
Getting it done right
If your windows, doors or exterior joints have the wrong caulk under the paint, we can take it out and reseal it properly. Our residential window caulking service covers removal, joint prep and recaulking with a product chosen for the surface and for Ontario weather. We also handle door caulking and weather sealing, and if painting is part of the plan, our other services include home painting.

For larger properties, see our building envelope sealing work, or contact Kettle Contracting for a straight answer on what your joints need.
FAQ
Can you paint silicone caulk?
Not reliably. 100% silicone repels paint, so it beads, peels or cracks. The manufacturer’s advice is to remove it completely and replace it with a paintable sealant, since paintable latex caulk won’t bond to silicone or its residue.
What paint will stick to silicone caulking?
No ordinary house paint is one we’d count on, especially outdoors. Some products are labelled paintable, and for those you follow the data sheet closely. If you need a painted joint, use acrylic or siliconized acrylic caulk that is labelled paintable rather than testing paint on silicone.
Do you caulk before or after painting?
It depends on the caulk. Paintable acrylic caulk goes in before you paint, and you let it cure fully first. Silicone goes on after painting, in places you’re not going to paint over, such as wet areas.
Why is my paint cracking over caulk?
Usually one of three things: the caulk wasn’t fully cured, the joint moves more than the paint film can stretch, or the bead was too thick. Sealants generally take more movement than coatings, so a stiff paint over a moving joint will split. Cut it out and redo it with flexible paintable caulk and the full cure time.
Is stain better than paint for an exterior fence?
For most wood fences, stain is the easier one to live with, since it soaks in rather than forming a film that can flake. For older CCA-treated wood, Health Canada’s advice is stain rather than paint. Check the product’s weather limits before you start.
Sources
- DAP Frequently Asked Questions
- Pecora technical notes: Which comes first, the caulk or the paint
- How to Remove Old Caulk: A Step-by-Step Guide
- DAP Alex Plus All-Purpose Caulk
- Caulk and paint: which comes first?
- Everything you need to know about caulking when painting
- How to Stain a Fence
- How to Paint a Fence