
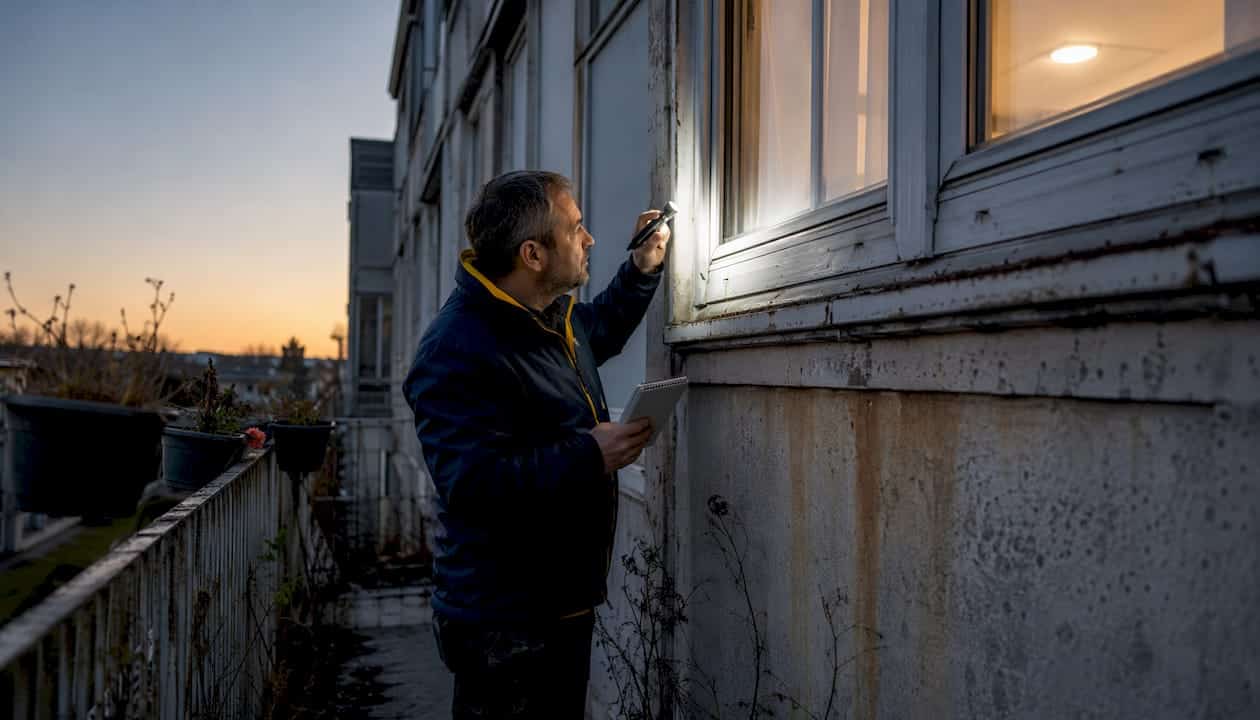
Assessing window sealing in an aging apartment building comes down to three things: the condition of the sealant at perimeter joints, the performance of the insulated glass units, and the integrity of weatherstripping and hardware. Get those three right, and you have a clear picture of what needs attention. Miss one, and you’re reacting to water damage instead of preventing it.
Quick checklist: key signs of window seal failure
Before calling in a professional, you can run through this checklist yourself. It covers the most common failure points in Canadian apartment buildings and gives you a starting point for any maintenance or replacement conversation.
- Visible cracks or gaps in perimeter caulking, especially at the junction between the window frame and the surrounding wall
- Sealant pulling away from the substrate, sometimes called adhesion loss, where the caulk lifts cleanly off the frame or masonry
- Brittleness or chalking in the sealant, a sign the material has lost its flexibility and can no longer accommodate thermal movement
- Fogging or condensation between glass panes, which indicates the seal on an insulated glass unit (IGU) has failed and humid air has entered the cavity
- Drafts or cold spots near the window frame, detectable by hand on a cold day or with a simple smoke test
- Water staining or peeling paint on interior window trim, often the first sign residents notice before a leak becomes serious
- Difficulty opening or closing operable windows, which can signal frame warping or gasket failure
- Discolouration or mould growth at window sills, pointing to chronic moisture infiltration through failed seals
Standard urethane-based sealants last typically 10–15 years in Canadian conditions before cracking and allowing water in. On south-facing facades, UV exposure accelerates that breakdown, so those elevations often need attention before the rest of the building. BC Housing and Edison Engineers both flag perimeter caulking and IGU seals as the highest-priority items in any apartment window assessment.
How to conduct a detailed inspection of window seals and glazing
A thorough inspection moves from the outside in, covering sealant joints, glass units, hardware, and weatherstripping in a logical sequence. Here is how to work through it systematically.
-
Start with a close-up exterior visual survey. Walk each elevation and look at every window perimeter joint. You are checking for adhesion loss, cohesion cracks (splits within the sealant body itself), blistering, and discolouration. Bring a flashlight for shadowed areas and a putty knife to gently probe suspect sections.
-
Inspect IGUs for fogging or moisture. Look at each glass unit from an angle in natural light. A milky film, water droplets, or a hazy residue between the panes confirms IGU seal failure. Seal failures on high-exposure facades typically appear between 15–20 years after installation, so prioritise units in older buildings or those with heavy sun exposure.
-
Check frame corners and miter joints. On vinyl and metal frames, open miters or gaps at corners allow water to drain directly into the wall cavity. These are easy to miss on a quick walk-by but show up clearly on close inspection.
-
Test weatherstripping and gaskets on operable windows. Close each operable vent and look for daylight around the perimeter. Run your hand along the frame edge on a windy day. Dislodged or compressed gaskets that no longer make full contact are a common maintenance item in buildings over 15 years old.
-
Run a smoke pencil or incense stick test for air leakage. Hold a lit incense stick near the window perimeter while someone depressurises the unit by running an exhaust fan. Smoke deflection reveals microscopic air leaks invisible to the naked eye, giving you early warning before damage sets in.
-
Inspect weep holes. Weep holes at the bottom of window frames drain any water that gets past the outer seal. Blocked weep holes cause water to back up inside the frame, accelerating deterioration.
-
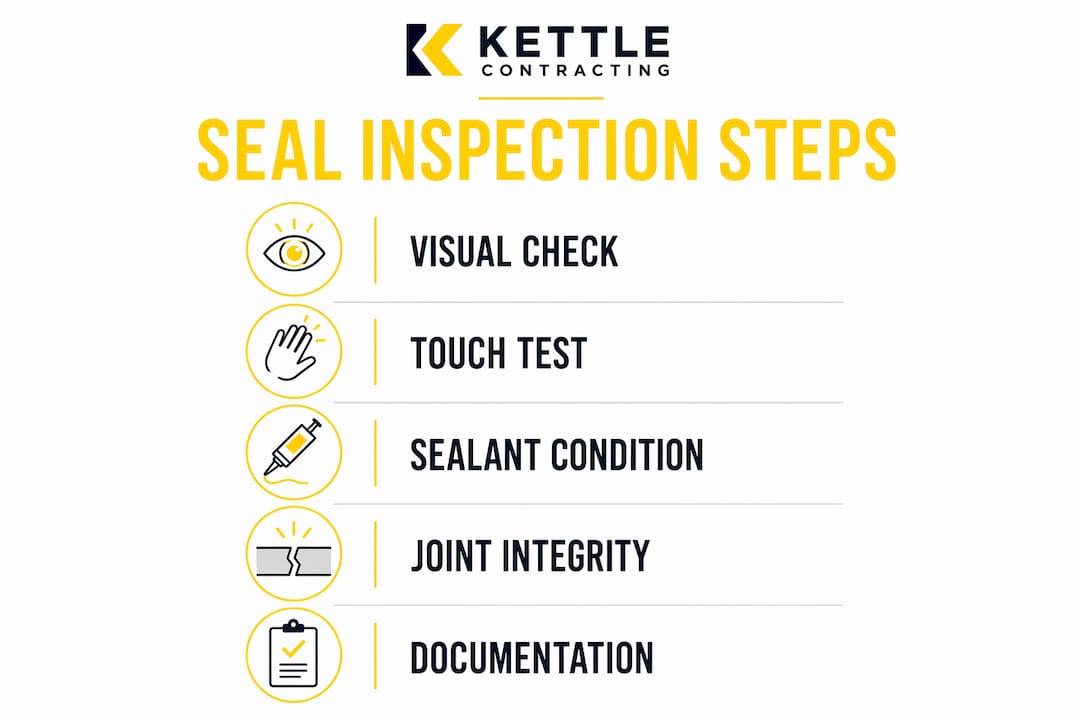
Document everything with photos and written notes. Record the location, elevation, floor level, and nature of each defect. A formal log is the foundation of any proactive maintenance programme and makes it far easier to track deterioration over time.
-
Engage a building envelope consultant for complex cases. When you find condensation at slab edges, widespread adhesion failure, or evidence of water in the wall assembly, a qualified professional should assess the full extent before any repair work begins.
Pro Tip: Interface points where the window system meets the building structure are the most common source of leaks, as detailed in common window problems and how to fix them. Perimeter caulking and gaskets at these junctions take the full brunt of thermal cycling, expanding and contracting with every temperature swing Ontario delivers. Inspect these spots first and most carefully.
What deteriorated window sealing looks like in Canadian climates
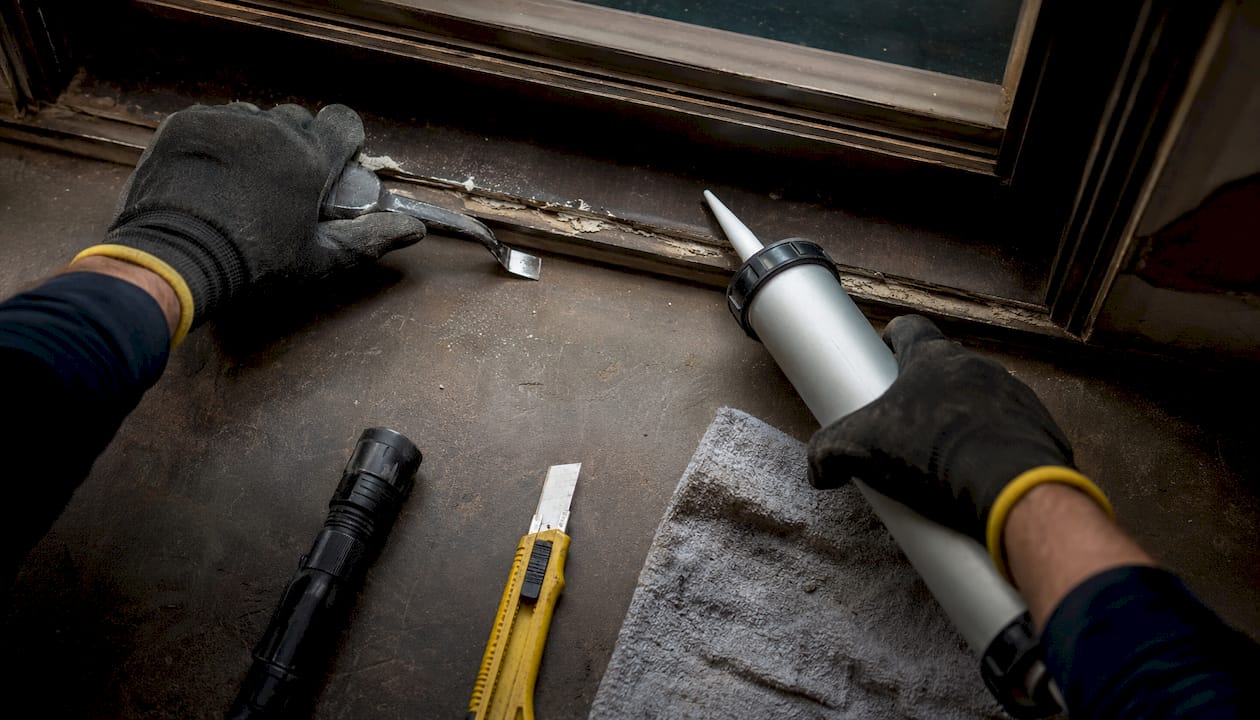
Canadian winters do not give failing seals a chance to recover. Freeze-thaw cycles force water into hairline cracks, which then expand as the water freezes, widening the gap with each cycle. By spring, what started as a minor adhesion issue can become a full-scale water infiltration problem.
The most common deterioration signs to watch for:
- Cracks running along the length of the sealant bead, not just at the edges
- Sealant that has pulled cleanly away from one substrate while remaining bonded to the other
- A hard, brittle texture when you press the sealant with a gloved finger (it should feel slightly flexible)
- Fogging between glass panes, confirming IGU seal failure
- Mould growth at window sills or on interior drywall adjacent to the frame
- Peeling or blistering paint on interior trim, often the first visible consequence of chronic moisture
The consequences of leaving these issues unaddressed go well beyond a draughty unit. Water infiltration leads to mould growth, which affects indoor air quality and tenant health. Prolonged moisture in the wall assembly causes structural damage to framing and sheathing. Energy costs rise as conditioned air escapes through failed seals, and tenant complaints follow. For property managers, chronic window sealing problems also affect property value and complicate capital planning.
Sealants are consumables, not permanent fixtures. Like brake pads on a vehicle, they wear out on a predictable schedule and need replacement before they fail completely. Treating them as a set-and-forget item is the most common and costly mistake building managers make.
Sealant lifespan varies by product type and exposure. Standard urethane sealants typically last 10–15 years in Canadian conditions; silicone sealant longevity can vary considerably depending on exposure. South-facing elevations consistently show earlier failure because of sustained UV exposure. Understanding window caulking lifespan by product type helps you build a realistic renewal schedule rather than reacting to failures as they appear.
Best practices for maintenance, repair, and replacement decisions
The goal of any maintenance programme is to catch problems at the touch-up or repair stage, before full replacement becomes necessary. Biannual inspections in late spring and early autumn are the standard in Canada: spring catches winter damage, and autumn prepares the building for the cold season ahead.
Key maintenance tasks and timing:
- Annual review of all sealant joints for the five main failure signs: adhesion loss, cohesion cracks, loss of elasticity, weathering, and improper installation
- Every two years, a maintenance contractor should assess all sealant locations and carry out localised repairs
- Every six years, replace or repair gaskets and weatherstripping as required
- After many years, check IGUs annually and develop a renewal plan, since failure rates increase noticeably at older ages.
Deciding between repair and replacement:
- Touch-up is appropriate for minor pinholes or small gaps. Recognise it as a temporary measure, not a permanent fix.
- Repair (full removal and reapplication of sealant in a failed section) is the right call when adhesion has failed over a defined area or when large splits have developed.
- IGU replacement makes sense when fogging is confirmed but the frame remains structurally sound. Window frames can last approximately 40 years, while most IGUs carry a 10-year warranty against fogging, meaning you may replace the glass unit several times before the frame needs attention.
- Full window replacement becomes necessary when frames show warping, open miters, cracked sections, or when hardware and seals throughout the building are uniformly degraded.
Matching the sealant to the substrate is not optional. Generic silicone applied to the wrong frame material can peel prematurely, trapping water behind it and causing concealed damage that is far more expensive to fix than the original seal job. A building envelope consultant or experienced caulking contractor should specify the product, not just apply it.
Maintaining a formal inspection log for every window, including dates, observed conditions, repairs made, and complaints received, is what separates proactive capital planning from emergency call-outs. BC Housing’s maintenance guidance is clear on this point: documented programmes reduce costs and prevent the kind of reactive repairs that disrupt tenants and strain budgets.
Pro Tip: Bundle sealant replacement with other exterior work like painting or cladding repairs when possible. The mobilisation cost for scaffolding or a swing stage is the same whether you are doing one trade or three, so coordinating work saves money and reduces disruption for residents.
Professional insights from Kettlecontracting on window sealing assessment
After 25 years working on buildings across the Greater Toronto Area and Oshawa, the pattern is consistent: the buildings that avoid expensive emergency repairs are the ones with a written maintenance plan and someone accountable for following it. The buildings that end up with water damage in the wall assembly are almost always the ones where window sealing was treated as a cosmetic issue rather than a building science one.
A practical example: a mid-rise apartment building in the GTA, constructed in the late 1980s, came to Kettlecontracting after residents on the upper floors reported water staining on interior walls following heavy rain. The exterior inspection found widespread adhesion failure in the polyurethane perimeter caulking, which had exceeded its service life. Several IGUs on the south elevation showed fogging. The frames were in good condition. The solution was targeted: full perimeter sealant replacement on the affected elevations, IGU replacement on confirmed failures, and a documented inspection schedule going forward. No full window replacement was needed.
The most expensive window sealing repair is always the one that gets delayed. Water finds its way into the wall assembly quietly, and by the time it shows up on the interior, the damage is already done. Early detection through regular inspection is what keeps a manageable repair from becoming a structural remediation project.
Key considerations Kettlecontracting applies to every apartment window assessment:
- Sealant compatibility: always match the product to the frame material and joint movement requirements. Polyurethane works well for exterior cladding joints; silicone is preferred for IGU perimeters.
- Interface inspection: the junction between the window frame and the surrounding wall assembly gets the most movement and the most UV exposure. It needs the closest attention.
- South elevation priority: UV degradation is faster on sun-exposed faces. Schedule those elevations for earlier inspection and replacement.
- Avoid over-caulking: applying new sealant over old without removing the failed material produces an inferior bond and masks the underlying problem.
- Tenant communication: residents are often the first to notice drafts, condensation, or water staining. A simple reporting process gets you early warning before a minor issue becomes a major one.
For property managers who want to understand the full scope of what professional caulking involves, Kettlecontracting’s guide on why caulking is trade-specific work covers the technical and liability considerations that make this a job for trained specialists, not general maintenance staff.
When you are ready to plan a window sealing assessment or schedule repairs for your building, contact Kettlecontracting for a professional evaluation tailored to your property’s age, exposure, and maintenance history.

Key takeaways
Proactive inspection of window sealants, IGUs, and weatherstripping on a documented biannual schedule is the most cost-effective way to protect an aging apartment building from water damage and energy loss.
| Point | Details |
| — | — |
| Sealant lifespan varies by product | Standard urethane sealants typically last 10–15 years in Canadian conditions; silicone sealant longevity can be quite variable depending on exposure. |
| South elevations fail first | UV exposure accelerates sealant breakdown on sun-facing walls, requiring earlier inspection and renewal. |
| IGU replacement before full window | Frames last approximately 40 years; replacing only the glass unit saves cost when the frame is sound. |
| Biannual inspections are the standard | Late spring and early autumn inspections catch winter damage and prepare the building for cold weather. |
| Formal logs prevent emergency repairs | Documented maintenance records support capital planning and reduce costly reactive call-outs. |
FAQ
How do you seal old apartment windows?
Start by removing all failed caulking down to the bare substrate, clean the joint thoroughly, and apply a sealant matched to the frame material and joint movement. For IGU failures, the glass unit itself needs replacement rather than surface caulking.
How do you fix a poorly sealed window?
The repair approach depends on the failure type: touch-up works for minor pinholes, full sealant removal and reapplication addresses adhesion or cohesion failure, and IGU replacement is required when fogging appears between panes. Applying new caulk over failed old caulk produces an inferior bond and is not a lasting fix.
How are high-rise windows replaced in apartment buildings?
High-rise window replacement requires swing stage access or scaffolding and is typically carried out by a glazier or window contractor working from a qualified professional’s scope of work. In many cases, only the IGU or sash needs replacement rather than the full window assembly, which reduces cost and disruption significantly.
When should window sealant be replaced rather than repaired?
Replace sealant when a significant portion of a given area shows failure, when the material has lost its flexibility, or when seal failure is widespread across an elevation. Localised failures in otherwise sound sealant can be repaired; systemic failure across a facade calls for full replacement.
What tools help detect air leaks around apartment windows?
A smoke pencil or lit incense stick used during building depressurisation (with exhaust fans running) reveals air infiltration at window perimeters that is invisible to the naked eye. This qualitative test is accessible to property managers and gives early warning before moisture damage develops.
