Caulking is defined as the process of sealing joints and gaps to prevent water infiltration, air leakage, and structural damage. The caulking bathroom vs exterior differences go well beyond product labels. Bathroom caulking demands mould-resistant, flexible sealants like 100% silicone, while exterior caulking must withstand UV exposure, Ontario’s freeze-thaw cycles, and significant joint movement. Using the wrong product in either location leads to premature failure, water damage, and costly repairs. This guide breaks down exactly what separates these two applications so you can make the right call the first time.
What materials differentiate bathroom caulking from exterior caulking?
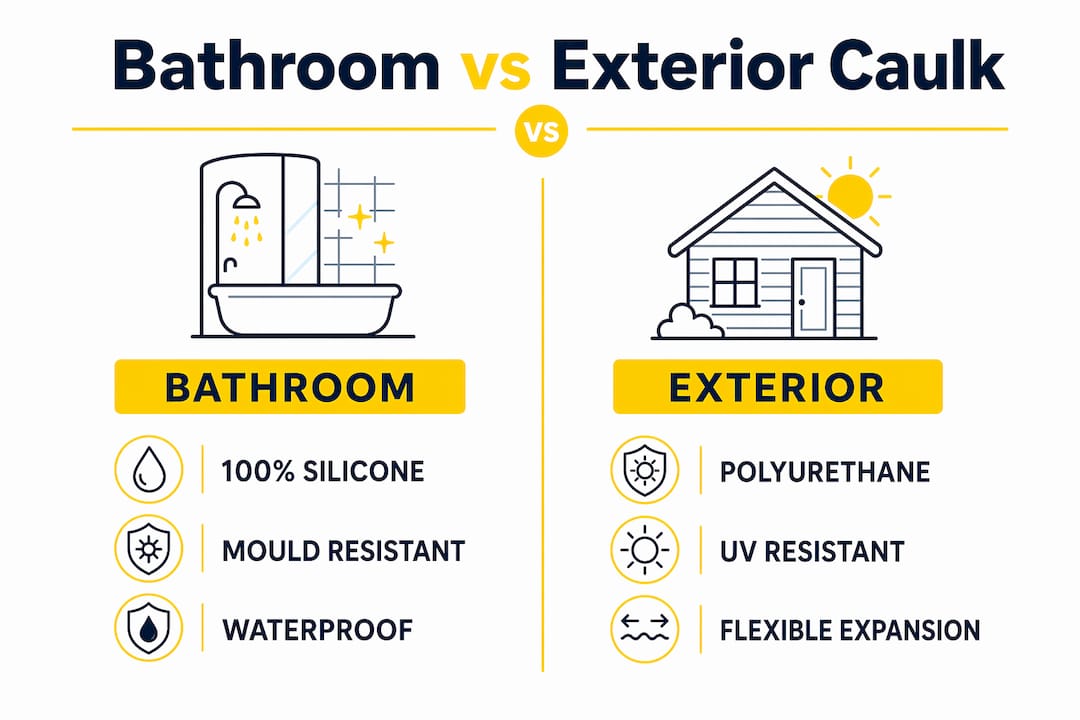
100% silicone is mandatory for high-moisture bathroom areas because it resists mould and mildew far better than any other readily available product. Silicone stays flexible, bonds tightly to tile, glass, and porcelain, and does not absorb water. The trade-off is that it cannot be painted, so colour matching matters at the time of application.
Exterior joints face a completely different set of demands. Exterior joints expand and contract up to 1/16 inch or more daily due to temperature swings. Rigid caulk cannot absorb that movement and will crack within a season. Polyurethane sealants and high-performance silicone blends are the correct choice outdoors because they flex with the joint and resist UV breakdown.
Acrylic latex caulk is suitable for interior trim in dry areas because it is paintable and easy to clean up with water. It has no place in a bathroom or on an exterior surface. Oil and resin-based caulks have service lives of only 1–4 years outdoors, making them a poor investment for any exposed joint.
Pro Tip: Look for products labelled specifically for bathroom use or exterior use. A tube labelled “interior/exterior” is often a compromise product. For bathrooms, choose 100% silicone. For exterior joints, choose polyurethane or a silicone blend rated for UV and temperature movement.
| Caulk Type | Best Environment | Key Property |
|---|---|---|
| 100% Silicone | Bathrooms, wet areas | Mould resistance, waterproof, flexible |
| Polyurethane Sealant | Exterior joints, siding | High movement tolerance, UV resistant |
| Acrylic Latex | Interior dry trim | Paintable, easy cleanup |
| Silicone Blend | Exterior windows, doors | UV stable, flexible, weather resistant |
| Oil/Resin-Based | Neither recommended | Short service life, cracks outdoors |
How does surface preparation differ for bathrooms vs. exterior surfaces?
Complete removal of old caulk and thorough cleaning is the single most important step in any caulking job. Skipping this step is the leading cause of early sealant failure, regardless of how good the product is. The preparation process differs in meaningful ways depending on where you are working.
Preparing a bathroom surface
- Remove all existing caulk using a utility knife or a dedicated caulk removal tool. Work carefully around tile edges to avoid scratching.
- Clean the joint thoroughly with a mild detergent or a diluted bleach solution to kill any mould spores present.
- Rinse the area completely and allow it to dry for a minimum of 24 hours before applying new sealant.
- Wipe the joint with isopropyl alcohol just before application to remove any remaining residue.
Moisture trapped under new silicone will prevent proper adhesion and create a breeding ground for mould. Patience here pays off.
Preparing an exterior surface
- Remove deteriorated caulk with a utility knife, oscillating tool, or caulk removal tool.
- Clean the joint with a solvent or mild detergent appropriate for the surface material, whether wood, masonry, or vinyl.
- Allow the surface to dry completely. Caulking damp or unprepared surfaces traps moisture and causes rot and structural damage.
- Check the weather forecast. Exterior application requires dry conditions and temperatures between 7°C and 32°C for proper bonding.
- For joints deeper than 1/4 inch, insert a foam backer rod before applying sealant. This controls the depth of the sealant and ensures it flexes correctly.
One detail many homeowners miss: never seal the bottom of exterior window frames. Leaving weep holes open allows any water that gets behind the frame to drain out. Sealing them shut traps water and accelerates rot.
Pro Tip: If you cannot get a surface completely dry before caulking outdoors, postpone the job. Applying sealant over damp wood or masonry is one of the most common reasons exterior caulk fails within the first year.
What are the key differences in application and curing?
Applying caulk correctly is a skill that takes some practice, but understanding a few mechanics makes a significant difference in the result.
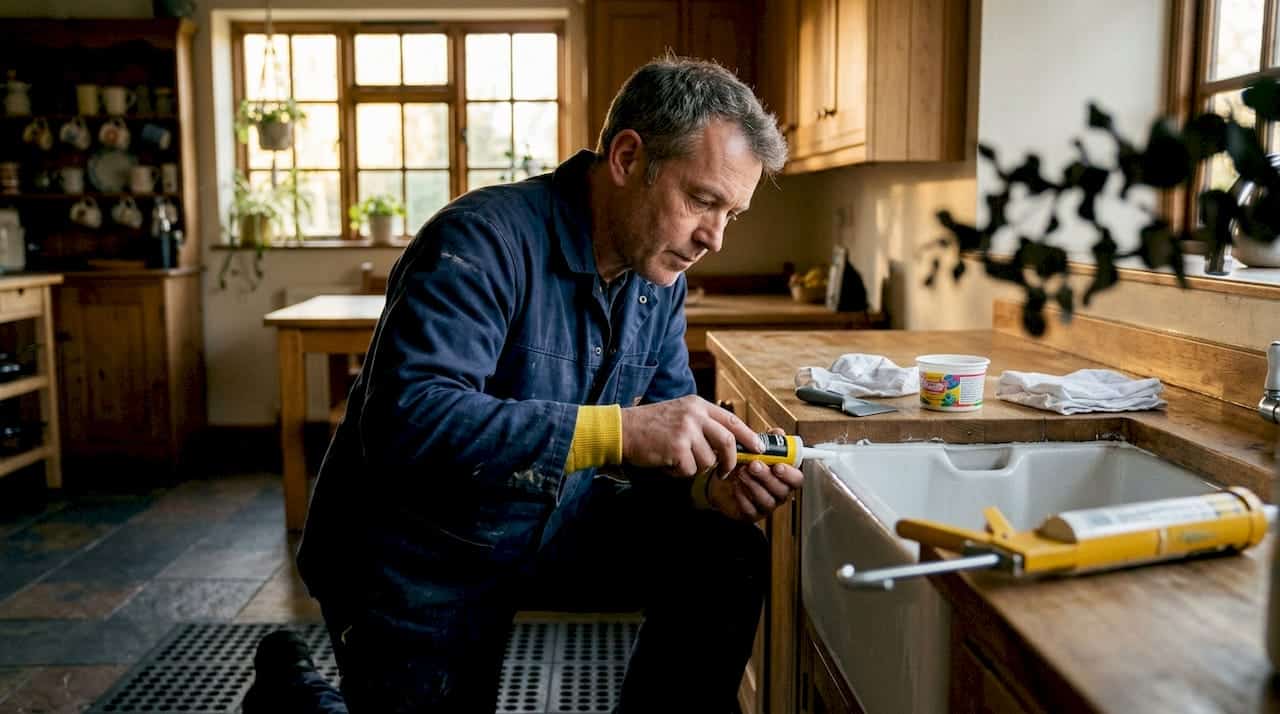
For bathroom silicone, cut the nozzle at a 45-degree angle and keep the bead consistent in size as you move along the joint. After laying the bead, wet your finger or a caulking tool and smooth it in one continuous pass. This presses the silicone into the joint and creates a clean, durable seal. Curing requires at least 24 hours without water exposure. Running the shower the next morning will compromise the seal before it has fully formed.
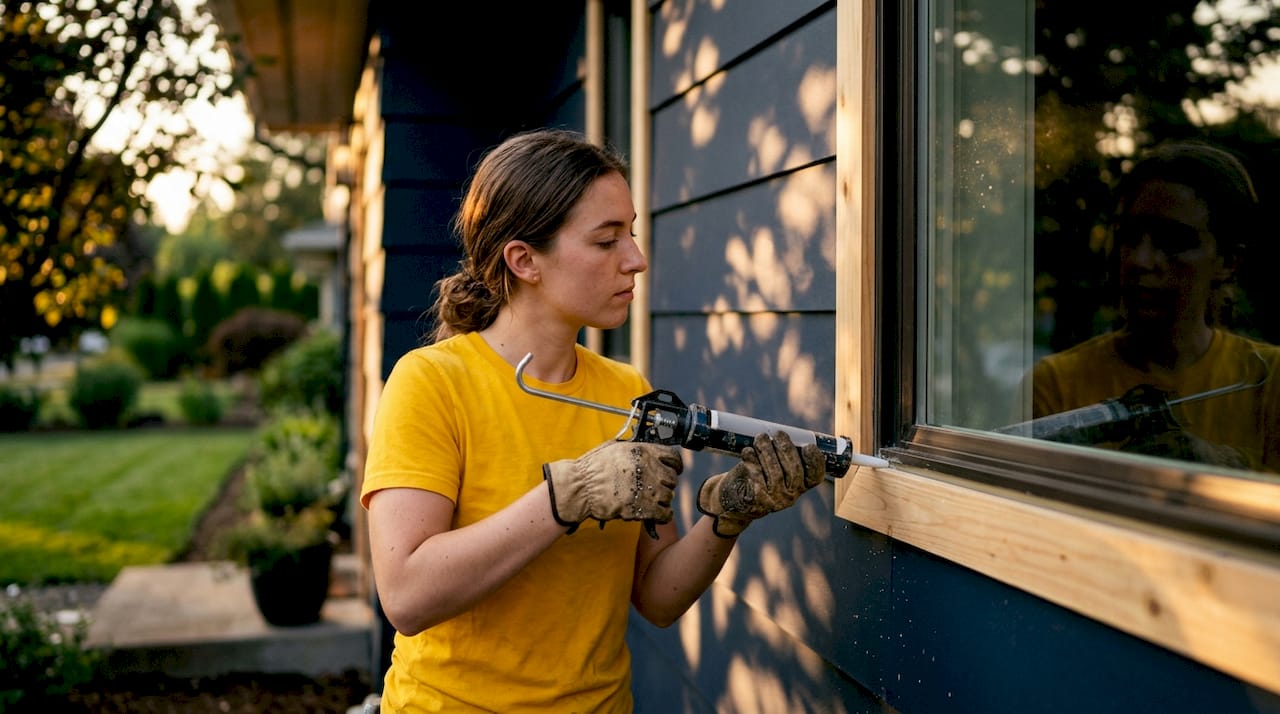
For exterior applications, the process follows a similar sequence but with added considerations:
- Load the caulking gun and cut the nozzle tip to match the joint width.
- Apply steady, even pressure on the trigger while moving at a consistent pace.
- Pull back on the rod immediately when you stop to prevent excess sealant from oozing out. Releasing the trigger alone is not enough to stop the flow.
- Tool the bead with a wet finger or caulking tool to press it into the joint on both sides.
- Allow full curing before exposing the joint to rain or extreme temperature changes. Most polyurethane sealants require 24–72 hours depending on temperature and humidity.
Temperature and humidity affect curing in both environments. Cold slows curing significantly. In Ontario, avoid exterior caulking jobs in late autumn when overnight temperatures drop below 7°C, as the sealant may not cure properly before freezing conditions arrive.
Pro Tip: For exterior joints, apply sealant in the morning on a dry day. This gives the product the maximum number of daylight hours to begin curing before evening temperatures drop.
What common mistakes should homeowners avoid?
Most caulking failures come down to a handful of predictable errors. Knowing them in advance saves you from redoing the job in six months.
- Using paintable latex caulk in bathrooms. Acrylic latex absorbs moisture over time, loses adhesion, and supports mould growth. It is not a substitute for 100% silicone in wet areas.
- Applying interior caulk on exterior joints. Interior products are not formulated for UV exposure or joint movement. They crack and peel within one season outdoors.
- Skipping backer rods on deep exterior joints. Backer rods are required for joints deeper than 1/4 inch. Without them, the sealant stretches and cracks as it cures.
- Caulking over old sealant. Applying new caulk over a failing layer does not restore the seal. The old material must come out completely. You can find detailed steps in this guide to removing old caulk.
- Sealing exterior window bottoms completely. Blocking weep holes traps water behind the frame and causes rot. Always leave drainage paths open.
- Treating caulking as cosmetic. Caulking is a moisture barrier, not a finishing touch. Choosing durability over paintability, especially in bathrooms where silicone cannot be painted, leads to far better long-term results.
The differences in caulking materials between interior and exterior products are significant enough that using the wrong one consistently causes the same failures homeowners blame on poor application technique.
How to maintain and when to re-caulk bathroom and exterior joints
Caulking does not last forever, and knowing when to replace it is as important as knowing how to apply it.
Signs that caulking has failed and needs replacement include visible cracking or splitting along the bead, peeling away from the surface on one or both sides, discolouration or black spotting from mould growth, and a soft or spongy texture when pressed. Any of these signs mean the seal is compromised.
Service life varies considerably by product and environment. Basic acrylic caulks last 1–4 years. Premium 100% silicone in a well-maintained bathroom can last 10 years or more. Exterior polyurethane sealants in Ontario conditions typically perform well for 5–10 years, depending on sun exposure and joint movement.
For re-caulking, follow these steps:
- Inspect all joints in early spring after the freeze-thaw season and again in late summer before cold weather returns.
- Remove any caulk that shows cracking, peeling, or mould. Do not apply new sealant over compromised material.
- Clean and dry the joint thoroughly as described in the preparation section above.
- Apply the correct product for the environment and allow full curing before exposing the joint to water or weather.
- For exterior joints in Ontario, schedule re-caulking between may and september to take advantage of stable temperatures and lower humidity.
Regular inspection is the simplest way to catch failures early. A small crack in exterior caulking around a window frame can allow water to penetrate the wall cavity over a single winter, leading to insulation damage, mould, and rot that costs far more to repair than a tube of sealant. Learning how to apply exterior caulking correctly the first time reduces how often you need to redo the work.
Key takeaways
Choosing the right caulking product and preparation method for bathrooms versus exterior surfaces is the single most important factor in achieving a seal that lasts.
| Point | Details |
|---|---|
| Match product to environment | Use 100% silicone for bathrooms and polyurethane or silicone blends for exterior joints. |
| Preparation determines longevity | Remove all old caulk and dry surfaces completely before applying any new sealant. |
| Exterior joints need flexibility | Rigid caulk cracks on exterior surfaces; flexible sealants absorb daily movement without failing. |
| Backer rods prevent early failure | Insert foam backer rods in joints deeper than 1/4 inch to control sealant depth and flex. |
| Inspect twice yearly in Ontario | Check joints in spring and late summer to catch failures before water damage sets in. |
What 25 years of caulking jobs taught me about getting it right
I have seen the same mistakes repeated on job sites across Oshawa and the Greater Toronto Area for decades. Homeowners buy a tube of whatever is on sale, apply it over old caulk without cleaning the joint, and wonder why it fails by the following spring. The answer is almost always the same: wrong product, wrong prep, or both.
The one thing I would push back on compared to most DIY guides is the idea that silicone in bathrooms is somehow inconvenient because it cannot be painted. That trade-off is worth it every time. I have seen acrylic latex in shower surrounds turn black with mould within 18 months. I have seen 100% silicone joints in the same conditions hold clean for eight or nine years. The choice is clear if you are thinking about durability rather than a quick finish.
Exterior caulking in Ontario is a different challenge entirely. The freeze-thaw cycle here is brutal on any sealant that lacks genuine flexibility. I have pulled out polyurethane sealant applied in the wrong season, before temperatures stabilised, and it looked like it had been there for 20 years after only two winters. Timing the application correctly matters as much as the product itself.
The other thing I tell every homeowner: do not seal water in. On exterior window frames, on siding joints, on any horizontal surface where water can collect, you need to think about drainage before you think about sealing. A weep hole left open is not a failure. It is the job done correctly.
If you are unsure about a joint, check the caulking for extreme weather guide before you start. Getting it right the first time is always cheaper than fixing it after water has found its way in.
— Felix
Let Kettlecontracting handle the hard parts
Knowing the theory behind bathroom and exterior caulking is one thing. Executing it correctly on a two-storey home with failing window joints, deteriorated siding caulk, and a bathroom that needs a full strip and reseal is another matter entirely.

Kettlecontracting specialises in professional-grade caulking for residential and commercial properties across the Greater Toronto Area. Whether you need a bathroom reseal, a full exterior envelope inspection, or help identifying caulking defects before they become structural problems, the team at Kettlecontracting brings the right products, tools, and experience to every job. Start with a proper window caulking preparation guide or reach out directly for a consultation. The right seal, done right the first time, protects your home for years.
FAQ
What is the best caulk for a bathroom?
100% silicone is the best caulk for bathrooms because it resists mould, stays waterproof, and remains flexible over time. It cannot be painted, so colour selection at the time of application matters.
Can i use interior caulk on exterior joints?
No. Interior caulks are not formulated for UV exposure or joint movement and will crack and peel within one season outdoors. Always use a polyurethane or exterior-grade silicone sealant on outside surfaces.
How often should i re-caulk exterior joints in ontario?
Inspect exterior joints twice yearly, in spring and late summer, and re-caulk whenever you see cracking, peeling, or separation. Premium exterior sealants typically last 5–10 years under Ontario conditions.
Why do backer rods matter for exterior caulking?
Backer rods prevent cracking by limiting sealant depth in joints deeper than 1/4 inch, ensuring the sealant flexes on two sides rather than stretching and splitting as it cures.
How long should i wait before using a bathroom after recaulking?
Allow at least 24 hours before exposing fresh silicone to water. Running water too soon prevents the sealant from curing fully and weakens the bond at the joint edges.