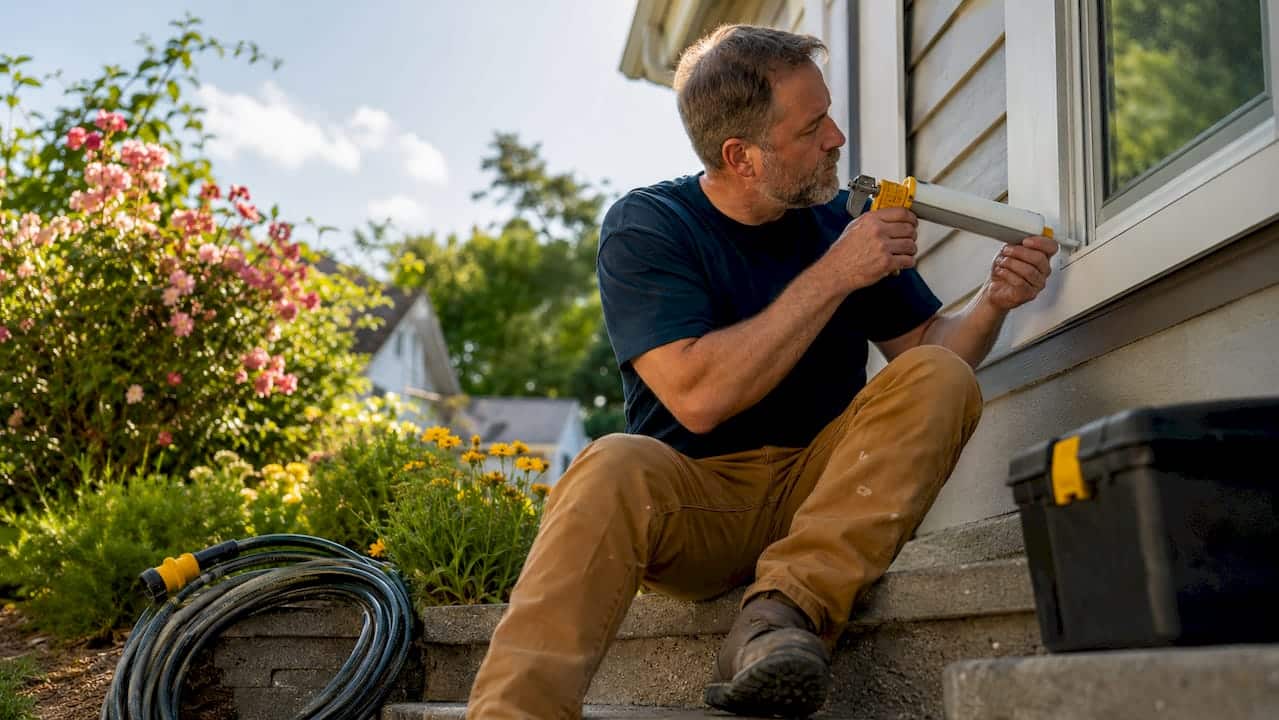
Exterior caulking is the process of sealing gaps, joints, and seams on a building’s outer shell to block moisture, air, and pests from entering. It is one of the most cost-effective ways to boost property value through exterior caulking and routine maintenance, yet it is consistently overlooked in favour of more visible upgrades. In Ontario’s climate, where freeze-thaw cycles stress every joint and seam on your home, a failing bead of caulk can quietly cause rot, mould, and structural damage that costs far more to fix than to prevent. Professional re-caulking for a whole home typically costs $200–$500, which makes it one of the highest-ROI maintenance investments available to homeowners and property investors alike.
How does exterior caulking boost property value?
Exterior caulking delivers value in two direct ways: it prevents expensive damage and it signals to buyers and appraisers that a home has been well maintained. Buyers and appraisers prioritise move-in-ready homes, and fresh, well-matched caulking removes objections before they arise during an inspection. A cracked or missing bead around a window frame tells a buyer that moisture may have already entered. A clean, colour-matched seal tells them the opposite.
The industry term for this work is “building envelope sealing,” which covers every joint, penetration, and transition on a home’s exterior. Exterior caulking is the most accessible part of that process for homeowners. When done correctly, it extends the life of paint, siding, and trim while reducing heating and cooling losses through air leakage. These are the kinds of improvements that show up in both your energy bills and your resale price.
What tools and materials do you need for exterior caulking?
Getting the right materials before you start is what separates a job that lasts ten years from one that fails in two. Here is what you need:
Caulk types suited to Ontario’s climate:
- Polyurethane caulk: The most durable option for exterior joints. It bonds to wood, masonry, and metal, and handles Ontario’s freeze-thaw cycles well. Best for expansion joints, foundation transitions, and areas with significant movement.
- Silicone caulk: Excellent for non-porous surfaces like glass and metal. It does not accept paint, so use it only where colour matching is not required.
- Siliconized acrylic (paintable silicone): A practical middle ground for most window and door frames. It is paintable, flexible, and bonds well to wood and vinyl.
- Butyl rubber caulk: Best suited for gutters, flashing, and metal-to-masonry joints. It is sticky and durable but harder to tool neatly.
Supporting tools:
- A quality caulk gun with a smooth-rod mechanism (not a ratchet gun, which is harder to control)
- A utility knife or oscillating tool for removing old caulk
- A stiff-bristle brush and isopropyl alcohol for surface cleaning
- Painter’s tape for clean lines on visible trim
- A caulk finishing tool or a gloved finger for tooling the bead
- Safety glasses and gloves
Caulk colour selection matters more than most people realise. Colour-matched caulk that blends with your trim and siding signals good maintenance to inspectors and buyers. A white bead on grey trim looks like a patch job. A grey bead on grey trim looks like the home was built that way.
| Material | Recommended caulk type | Paintable |
|---|---|---|
| Wood trim and frames | Siliconized acrylic | Yes |
| Vinyl siding and windows | Siliconized acrylic or silicone | Acrylic only |
| Masonry and concrete | Polyurethane | Yes |
| Metal flashing and gutters | Butyl rubber | Limited |
| Glass to frame joints | Silicone | No |
Pro Tip: Buy one tube more than you think you need. Running out mid-joint and returning the next day creates a visible seam and a weak point in the seal.
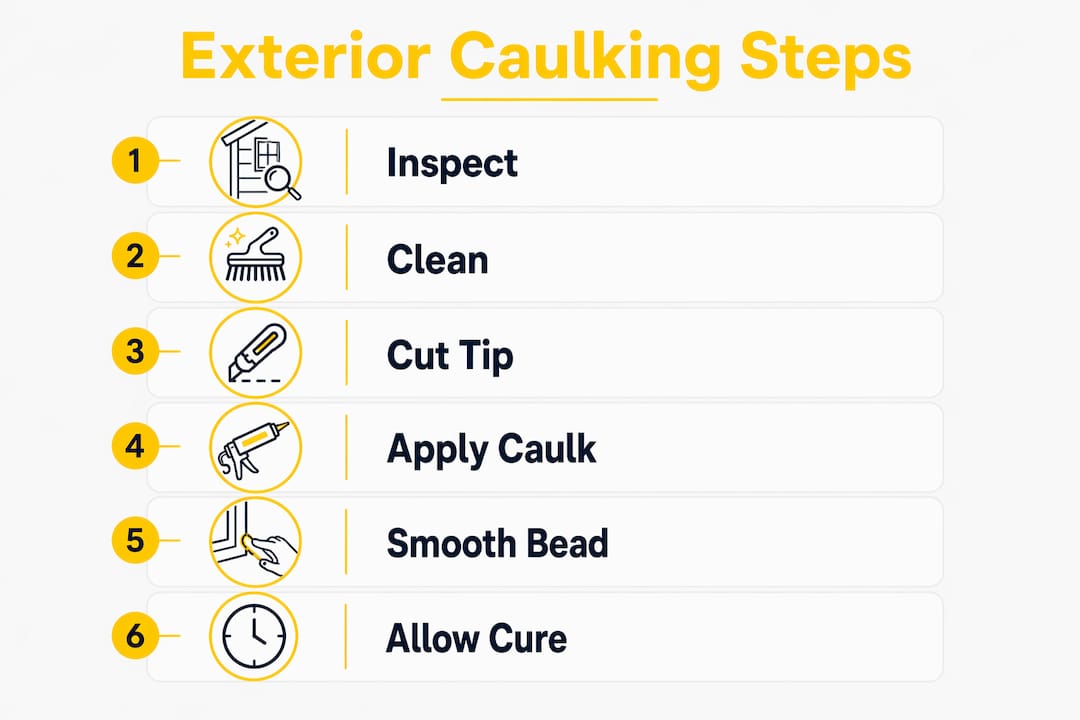
How to apply exterior caulking step by step
Correct application is what determines whether your caulking lasts two years or twelve. Follow these steps in order.
-
Inspect all joints and seams first. Walk the full perimeter of your home and mark every gap, crack, or area of failed caulk with painter’s tape. Pay close attention to window frames, door frames, corners where siding meets trim, and any penetrations for pipes or electrical.
-
Remove all old caulk completely. Use a utility knife or oscillating tool to cut out the old bead. Do not apply new caulk over old. Caulking over failed sealant traps moisture between layers and accelerates rot and structural damage.
-
Repair any damaged surfaces before sealing. Caulk is not a structural fix. If flashing is bent, trim is rotting, or wood is soft, repair those issues first. Sealing over damaged material creates a moisture trap that worsens faster than leaving the gap open.
-
Clean and dry the surface thoroughly. Scrub the joint with a stiff brush, wipe with isopropyl alcohol, and allow it to dry completely. Caulk applied to a damp or dusty surface will not bond and will fail within months.
-
Apply painter’s tape on both sides of the joint for any visible trim work. This keeps lines clean and makes the finished job look professional.
-
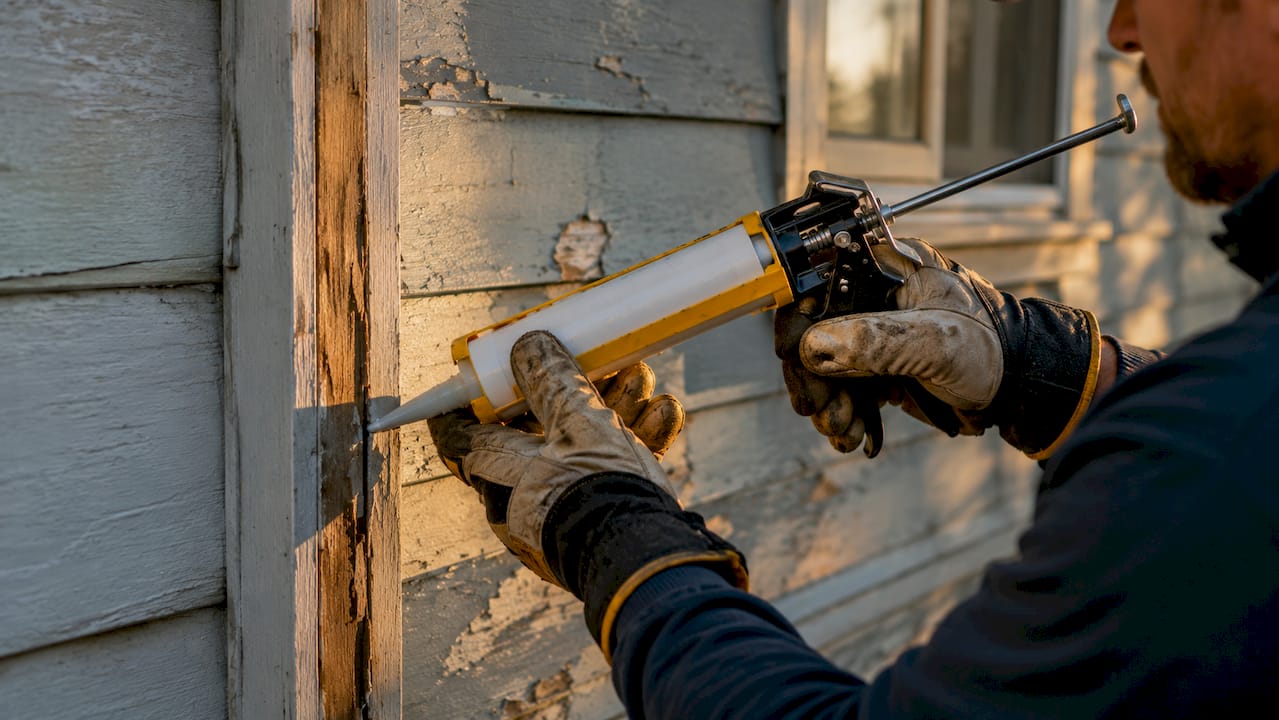
Cut the caulk tube nozzle at a 45-degree angle to a size that matches your joint width. Smaller is better. You can always apply a second pass, but you cannot take excess back.
-
Apply a smooth, continuous bead by moving the gun steadily along the joint without stopping. Inconsistent speed creates thin and thick spots that cure unevenly.
-
Tool the bead immediately using a caulk finishing tool or a wet gloved finger. Press firmly to push the caulk into the joint and create a concave profile that sheds water.
-
Remove painter’s tape before the caulk skins over. Pull it back at a 45-degree angle while the caulk is still wet.
-
Allow full cure time before painting or exposing to rain. Most exterior caulks require 24–48 hours to cure, though polyurethane products can take up to 7 days for full strength.
Pro Tip: Never caulk when temperatures are below 5°C or above 35°C. Cold caulk does not flow or bond properly, and heat causes it to skin over before it can be tooled. In Ontario, the best windows are late spring through early autumn.
How does exterior caulking improve energy efficiency and reduce costs?
Sealing air leaks is one of the most direct ways to cut heating and cooling costs in a Canadian home. The U.S. Department of Energy identifies caulking as a primary method for reducing air leakage around windows, doors, and penetrations. In Ontario, where winters are long and energy costs are high, that matters.
Here is what proper sealing prevents:
- Heat loss in winter: Gaps around window frames and door thresholds allow warm air out and cold air in. Sealing them reduces the load on your furnace.
- Moisture intrusion: Water that enters through gaps causes rot in wood framing, mould in wall cavities, and damage to insulation. These repairs cost thousands.
- Paint failure: High-quality exterior paint depends on proper caulking and sealing beneath it. Without a sealed substrate, moisture causes paint to blister and peel within a season or two, requiring repainting far sooner than planned.
- Pest entry: Gaps as small as 1/16 inch allow insects and small pests to enter. Sealing them is cheaper than extermination.
For more detail on the energy side of this, Kettlecontracting has a dedicated resource on caulking and energy savings that walks through the numbers for Ontario homes specifically.
“Caulking is foundational. No paint or siding lasts without it, especially in climates with freeze-thaw cycles.” — Advantage Painting Louisville
What are the best practices for maintaining exterior caulking?
Caulking is not a one-time job. It degrades over time due to UV exposure, thermal movement, and weathering. A consistent inspection routine keeps it working and protects your investment.
When to inspect:
- Once a year, ideally in early spring after the last freeze
- After any major storm or hail event
- Before listing a property for sale
What to look for:
- Cracks, gaps, or separation along the bead
- Caulk that has pulled away from one or both surfaces
- Discolouration or mould growth on or near the bead
- Missing caulk in joints that were previously sealed
DIY vs. professional service:
Small touch-ups on accessible trim are a reasonable DIY task if you follow the preparation steps above. Full perimeter re-caulking, high areas, or any work involving masonry and expansion joints is better left to a professional. The risk with DIY on complex joints is not the application itself. It is the preparation. Missed old caulk or a damp surface will cause the new bead to fail within a season.
Integrating caulking into your annual property maintenance routine is straightforward. The property maintenance checklist for homeowners from Yearlong includes caulking inspections as a standard spring task alongside gutter cleaning and roof checks.
Which exterior caulk is best for each surface?
Choosing the wrong caulk for a surface is the most common reason caulking fails before its time. Wrong materials fail in 1–4 years due to poor adhesion or insufficient flexibility. The table below summarises the right choice by surface type.
| Surface type | Best caulk type | Key advantage |
|---|---|---|
| Wood trim and window frames | Siliconized acrylic | Paintable, flexible, bonds well to wood |
| Vinyl siding and window frames | Siliconized acrylic | Compatible with vinyl expansion |
| Masonry, brick, and concrete | Polyurethane | Handles movement and freeze-thaw stress |
| Metal flashing and gutters | Butyl rubber | Strong adhesion to metal, waterproof |
| Glass-to-frame joints | 100% silicone | Superior water resistance, long lifespan |
Polyurethane is the professional’s choice for expansion joints and foundation transitions in Ontario because it remains flexible through wide temperature swings. Silicone is the right call for glass and metal, but it cannot be painted, so placement matters. Siliconized acrylic covers most standard residential trim and window work and is the most forgiving product for homeowners doing their own maintenance.
Pro Tip: For exterior windows specifically, Kettlecontracting has a detailed guide on choosing the right caulk by surface type that goes deeper on product selection.
Key takeaways
Exterior caulking is the single highest-ROI maintenance task available to Ontario homeowners, protecting against moisture damage, air loss, and premature paint failure while directly improving resale value.
| Point | Details |
|---|---|
| Cost vs. return | Professional re-caulking costs $200–$500 and prevents thousands in water damage repairs. |
| Preparation is critical | Removing all old caulk and cleaning surfaces completely determines whether the new bead lasts. |
| Colour matching adds value | Colour-matched caulk signals careful maintenance to buyers and inspectors, reducing objections. |
| Annual inspection protects your investment | Inspect every spring and after major storms to catch gaps before moisture enters. |
| Match caulk to surface | Polyurethane for masonry and expansion joints, siliconized acrylic for wood and vinyl, silicone for glass. |
What 25 years of caulking jobs taught me about property value
After 25 years working on homes across Oshawa and the Greater Toronto Area, the pattern I see most often is this: homeowners spend money on kitchens and bathrooms, then wonder why their home still feels drafty, their paint keeps failing, or a buyer’s inspector flags moisture damage in the walls.
The exterior envelope is where the real protection happens. I have walked properties where the interior was beautifully renovated but the caulking around the windows had not been touched in fifteen years. Water had been working its way into the wall cavity the entire time. The repair cost more than the renovation.
What I tell every homeowner is this: preparation beats product. I have seen $8 tubes of siliconized acrylic outlast $25 specialty products because the surface was properly cleaned and the old caulk was fully removed before application. The caulk itself is almost secondary. The prep is everything.
The other thing I see consistently is that colour-matched caulking gets noticed during home inspections in a way that most homeowners do not expect. A well-maintained exterior with clean, matched beads reads as a cared-for home. That perception translates directly into buyer confidence and, in competitive markets, into offers.
Do not treat caulking as a cosmetic touch-up. Treat it as the first line of defence for everything behind your walls.
— Felix
Get professional exterior caulking from Kettlecontracting
If you are preparing your home for sale, completing a renovation, or simply want to protect your investment before another Ontario winter, Kettlecontracting delivers professional-grade exterior caulking across the Greater Toronto Area. Our team handles full perimeter inspections, complete removal of failed sealant, and precise application matched to your surfaces and conditions.

Start with the right foundation. Kettlecontracting’s window caulking preparation guide walks you through every step before the first tube is opened, from surface assessment to material selection. For homeowners who want to understand the full return on this investment, our resource on the ROI of professional caulking breaks down the numbers clearly. Contact Kettlecontracting for an honest assessment and a job done right the first time.
FAQ
How much does exterior re-caulking cost for a whole home?
Professional re-caulking for a full home typically costs $200–$500, depending on the size of the property and the number of joints requiring attention. That cost is low relative to the water damage it prevents.
How often should exterior caulking be replaced?
Exterior caulking should be inspected annually, ideally in early spring. Most products last 5–10 years under normal conditions, but Ontario’s freeze-thaw cycles can shorten that lifespan, particularly on joints with significant movement.
Does caulking colour really affect home resale value?
Colour-matched caulk signals careful maintenance to buyers and home inspectors. A mismatched or patchy bead creates the impression of a rushed repair, which can raise concerns during an inspection and reduce buyer confidence.
Can I apply new caulk over old caulk?
No. Applying new caulk over old traps moisture between layers and causes the new bead to fail prematurely. Always remove the old caulk completely and clean the surface before applying a fresh bead.
What is the best time of year to caulk exterior surfaces in Ontario?
Late spring through early autumn is the best window, when temperatures are consistently between 5°C and 35°C. Caulk applied in cold weather does not bond or flow correctly and will fail sooner than product applied in proper conditions.