
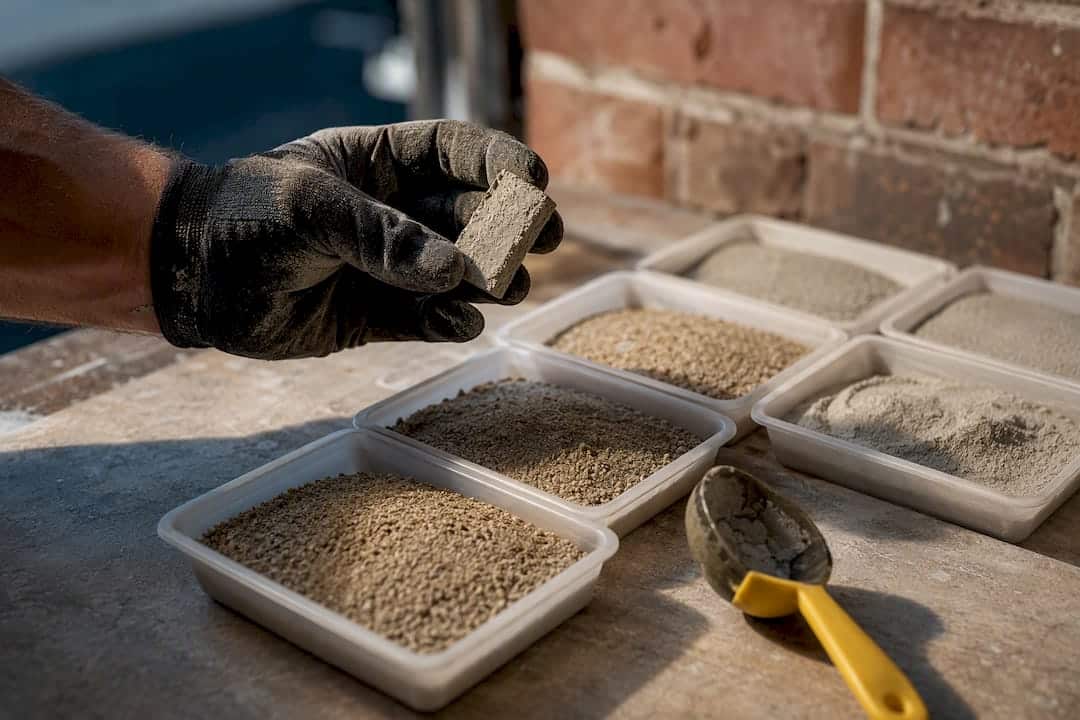
Start with sand, not pigment. Sand determines most of what your eye reads as mortar colour, so pull a sample from an unstained joint, find a similar sand and cement combination, then mix small labelled test batches and let them cure fully before you judge the result. Keep water and mixing time identical across every batch, add pigment sparingly, and skip pigments altogether if a plain sand match already looks right. Save laboratory analysis for heritage brick.
TL;DR:
- Matching mortar colour primarily depends on selecting the right sand with the correct grain size and mineral content, as it influences the final tone more than pigment.
- Proper curing takes between two weeks and six months, requiring testing in both daylight and shade before final approval to avoid colour mismatches.
- Pigment should be added to dry mix and kept within 1% to 5% of the total weight to prevent streaks, weaken the mortar, or cause oversaturation.
- Laboratory testing is essential for heritage or pre-1940 bricks, or when high compatibility is needed, but visual matching with test panels suffices for most residential repairs.
- DIY repair success hinges on documenting material sources, mixing in consistent conditions, and avoiding re-tempering mortar after the initial working window.
Table of Contents
- What determines brick mortar colour match?
- How do you match old brick mortar colour step by step?
- Mixing and pigment handling for a consistent colour
- When does brick colour compatibility need lab testing or a pro?
- Why does new mortar look different, and how do you fix it?
- Jobsite rules that save you a redo
- When it’s time to call in Kettle Contracting
- Field notes on getting the colour right the first time
- Sources
- FAQ
What determines brick mortar colour match?
Sand drives roughly the majority of what you see once mortar cures. The grain size, mineral content, and colour of the sand in the original mix set the base tone, and no amount of pigment fixes a batch built on the wrong sand. If your local supplier stocks three or four sand types, bring a chip of your existing mortar and compare it in daylight before you buy a single bag.
Cement and lime shift that base tone rather than create it. White Portland cement lightens a mix noticeably compared to grey Portland, and adding lime tends to soften and brighten the overall shade. Water content matters too. More water dilutes the paste and often produces a lighter, more washed-out finish once dry, while a stiffer mix cures darker and more consistent.
Pigment is the fine-tuning tool, not the foundation. Iron oxide pigments are the standard choice for masonry work because they hold their colour under UV exposure and don’t fade the way some organic dyes do outdoors.
- Sand: grain size and mineral colour, the biggest single variable
- Cement type: grey versus white Portland changes the base shade
- Lime content: softens and brightens the final tone
- Water ratio: more water usually means a lighter cured colour
- Pigment: iron oxide added last, for fine adjustment only
Pro Tip: If you can’t find sand that matches exactly, aim for the same overall tone rather than reaching for more pigment. Overloading a mix with pigment to compensate for the wrong sand can make mortar look painted on, and it can weaken the final cured mortar.
How do you match old brick mortar colour step by step?
Matching mortar colour isn’t guesswork if you follow the same sequence every time. Here’s the workflow that keeps a repair from standing out five years down the road.
- Expose unstained mortar. Chip into a joint that’s been protected from weather, behind a downspout or under a window sill, to see the true original colour before decades of grime and efflorescence changed it.
- Select and document your materials. Pick two or three candidate sands and a cement type, and write down exactly where each one came from. You’ll need to reorder the same sand later, and suppliers don’t always keep the same stock.
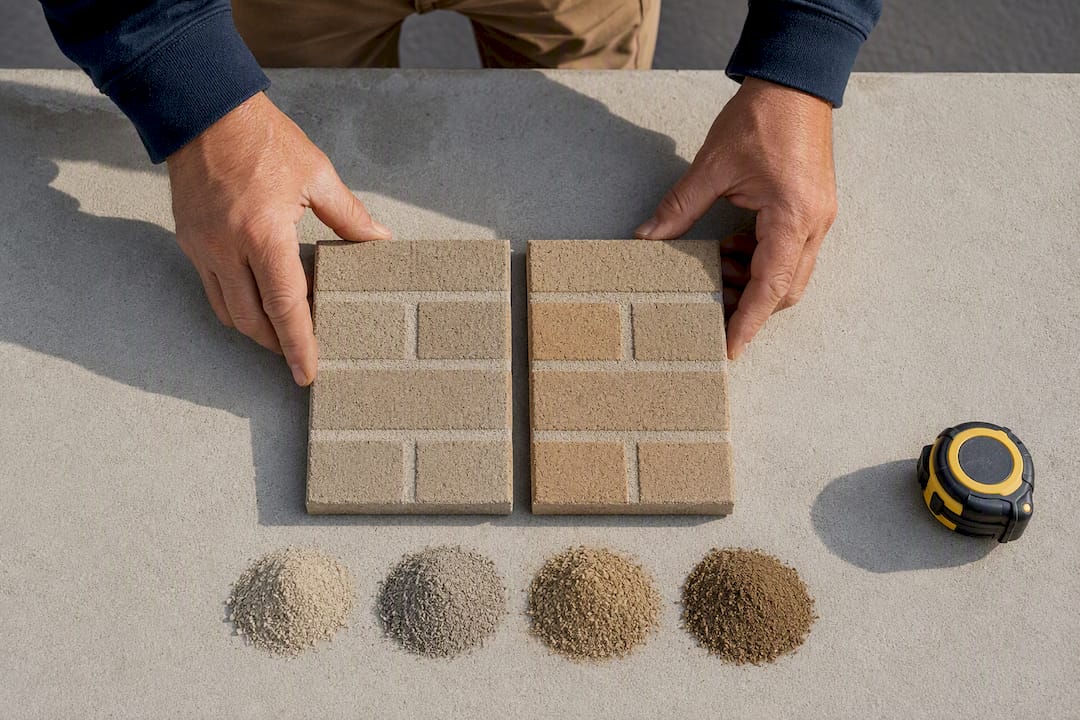
- Mix small labelled test batches. Keep every batch the same size, same water amount, and same mixing time. Change only one variable at a time, usually the pigment dose, so you know exactly what moved the colour.
- Cure and evaluate properly. Mortar looks darkest and wettest in the first few days, then lightens over one to two weeks as it dries, and the colour generally stabilizes somewhere between two and six months as weathering sets in, according to Masonry Magazine’s research on curing colour shifts. Judge your panels in both daylight and shade, photograph them beside the original brickwork, and log the mix ratio on the back of each sample.
Don’t approve a match on day one. A batch that looks perfect wet can lighten considerably by week two, and that’s the mistake that sends DIYers back to the supply yard for a second bag of the wrong sand.
Mixing and pigment handling for a consistent colour
Pigment goes into the dry mix, always, before you add a drop of water. Blending it into wet mortar creates streaks and uneven colour that no amount of stirring fixes. Industry guidance from the National Research Council puts pigment dosage at roughly 1% to 5% of total mix weight, and pushing past that range risks a chalky, oversaturated look along with reduced mortar strength.
Consistency matters more than most DIYers expect. Weigh your dry ingredients instead of scooping by shovel count, use the same water quantity every time, and mix for the same duration. The MPA Mortar Data Sheet on pigmented mortars recommends sourcing cement from a single batch or supplier run for the whole job, since even small formulation shifts between bags can shift the cured tone.
- Add pigment to dry materials first, never to wet mortar
- Stay within roughly 1% to 5% pigment by weight
- Use the same water amount and mix time for every batch
- Never re-temper a coloured mix by adding water later in the day
- Tool joints at a consistent moisture level, since early or late tooling changes surface sheen
Portland cement-lime mortar has a working window of about two hours below 25°C, or 1.5 hours above 25°C, and re-tempering a coloured batch after that window throws off both the finish colour and the mortar’s long-term integrity. Mix only what you can place and tool inside that window, and treat leftover mortar as waste once it starts to stiffen.
When does brick colour compatibility need lab testing or a pro?
Not every mortar problem is a colour problem. Buildings from before 1940 were often built with soft brick and lime putty or hydraulic-lime mortar, and a modern high-strength Portland mix can be harder than the brick itself. When that happens, the wall has no way to relieve moisture and freeze-thaw stress, and the brick face spalls instead of the mortar joint, which is the outcome you’re trying to prevent in the first place.
That’s where ASTM C1324 laboratory testing earns its cost. The test identifies binder type, aggregate composition, and mix proportions precisely, giving you an exact recipe rather than a visual approximation. It’s the right call for designated heritage buildings, but visual matching through test panels covers most residential repairs perfectly well.
- Heritage or pre-1940 masonry: get a lab analysis before repointing
- Large-scale repointing projects: budget for a proper lab-matched mix
- Signs of moisture trapped behind hard mortar: treat as a compatibility issue, not a colour one
- Standard residential patch repairs: visual matching and test panels are usually enough
If you’re already dealing with spalling brick alongside a colour mismatch, it’s worth reading through Kettlecontracting’s guide on spalling brick repair before you commit to a full repoint.
Why does new mortar look different, and how do you fix it?
Most mismatches trace back to one of four causes: wrong sand, moisture differences, surface cleaning that lightened the surrounding brick, or efflorescence leaving a white haze over the new work. Efflorescence usually clears on its own within a few months as the salts wash away with rain, so resist the urge to “fix” it with a coating right after the job.
For genuine colour gaps, a few practical options exist short of tearing out fresh mortar. Feathering a repair into a slightly larger area gives your eye more room to blend the transition, and dedicated mortar dyes can tone down a joint that cured too light. Colour washes exist too, but they sit on the surface and wear unevenly over a season or two, so treat them as a stopgap.
- Sand mismatch: the most common cause, and the hardest to disguise after the fact
- Fresh mortar looking too dark: often just moisture, and it lightens as it dries
- Efflorescence haze: usually temporary, let it weather off naturally
- If two or three test panels still don’t match: stop guessing and bring in a professional
The Prozone concrete repair guide for property managers covers a similar test-and-verify approach for concrete repairs, which follows the same logic as mortar work: confirm before you commit to the whole wall.
Jobsite rules that save you a redo
Label every sample the moment you mix it, and keep a small reserved stockpile of the matching sand in a sealed bucket. You’ll need it again in five years for a touch-up, and suppliers change their stock more often than homeowners expect.
Photograph test panels in the same light each time, log your mix ratios on paper, and never repoint when freeze-thaw risk is on the forecast. Ontario weather doesn’t forgive a rushed cure.
When it’s time to call in Kettle Contracting
There’s a point where test panels stop being a fun weekend project and start being a liability, especially on heritage brick, full-facade repointing, or any wall already showing signs of moisture getting in behind the joints. That’s exactly where experienced contractors earn their keep: sourcing matched sand locally, running controlled test batches instead of eyeballing a bag mix on site, and documenting every panel before committing to a full repoint, so what you approve is what ends up on the wall.

If your brickwork problem is really a sealing problem, cracked joints letting water behind the wall, gaps around window openings, or expansion joints that have opened up, that’s a typical area of expertise for local caulking specialists. Our brick and masonry repair and restoration services cover everything from spot repointing to full brick expansion joint resealing, and we back it with honest pricing and clear communication from the first site visit. If your expansion joints need attention specifically, check our brick expansion joint resealing page for what that job actually involves. Get in touch through our full service list and we’ll walk you through whether this is a weekend DIY match or a job worth handing off.
Field notes on getting the colour right the first time
Most colour mismatches I see aren’t pigment failures, they’re sand failures dressed up as pigment problems. Homeowners reach for a bag of oxide before they’ve even confirmed the sand is close, and that’s backwards. Get the sand right and you’ll often need little or no pigment at all.
The other habit worth building: treat water like an ingredient you measure, not a splash you eyeball. A half-cup difference between batches is enough to shift a cured shade noticeably, and that’s the kind of detail that separates a repair nobody notices from one that sticks out for a decade.
— Felix
FAQ
How do you match the colour of mortar?
Start by exposing unstained mortar in a protected joint to see the true original colour, then mix small test batches using candidate sands and cement, adjusting pigment only if needed, and judge the cured result after two to six months of natural weathering.
How do you colour match old mortar?
Old mortar is often lime-based rather than modern Portland cement, so match both the sand colour and the binder type, since a hard modern mix can trap moisture and damage soft historic brick even if the colour looks right.
How do you match old brick mortar colour on a repair?
Feather the new mortar into a slightly larger repair area to blend the transition visually, use the same sand and cement source throughout the job, and avoid re-tempering coloured batches after their working window closes.
Is there a brick matching app?
There’s no widely adopted app that reliably matches mortar colour from a photo, since lighting, camera calibration, and weathering all distort results. Physical test panels compared in real daylight remain the most trustworthy method.
When should I hire a professional instead of doing it myself?
Bring in a professional for heritage buildings, large-scale repointing, or any wall showing signs of trapped moisture, since ASTM C1324 lab testing and proper sourcing prevent damage that a DIY colour match can’t fix. Current pricing for masonry repair and restoration work is generally available on individual service providers’ websites.
