The caulking inspection cycle is the routine schedule of examining and maintaining exterior sealants to protect your building from water intrusion, air leaks, and structural damage. Most homeowners and property managers treat caulking as a one-time job, but sealants degrade over time from UV exposure, temperature swings, and moisture. A structured inspection cycle catches failures early, before water finds its way into walls, window frames, or foundations. Kettlecontracting works with properties across the Greater Toronto Area and sees the same pattern repeatedly: the buildings with the fewest water problems are the ones with a consistent caulking maintenance schedule in place.
How often should you inspect caulking?
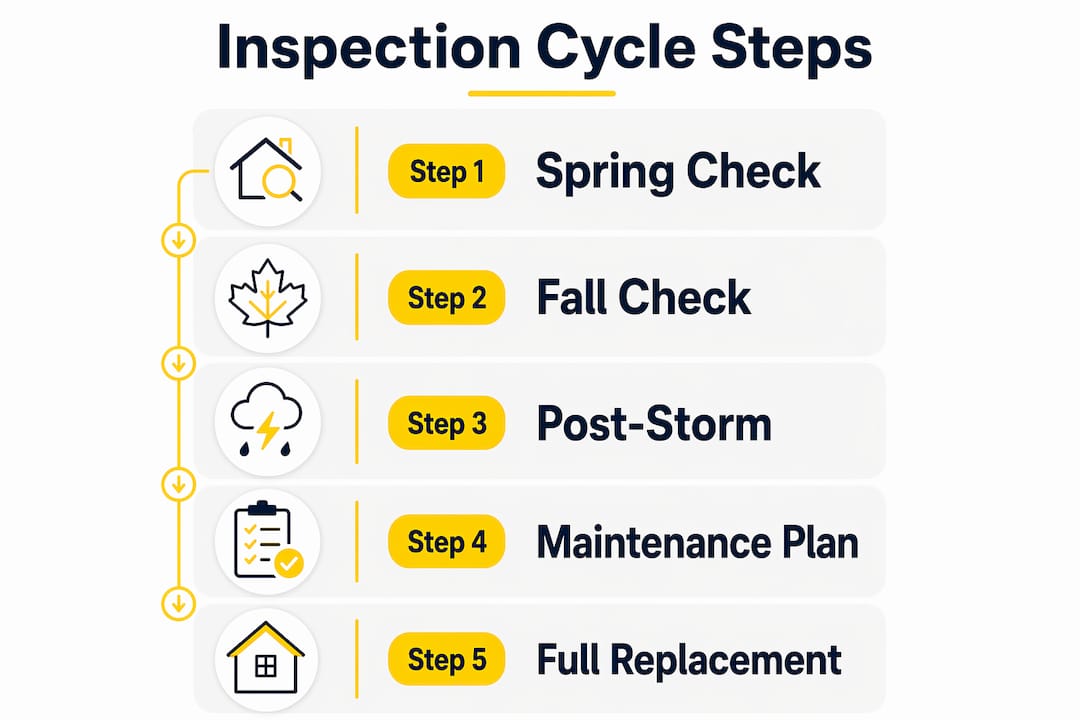
Biannual inspections in spring and fall are the industry standard for both residential and commercial properties. Spring checks catch damage from winter freeze-thaw cycles. Fall checks confirm the building envelope is sealed before temperatures drop again.
Those two scheduled inspections are your baseline. You should also inspect after any major weather event, including high winds, hailstorms, or prolonged heavy rain. A single storm can open gaps that were borderline before, and waiting until the next scheduled check gives water weeks or months to work its way in.
Inspection frequency also depends on your building type:
- Single-family homes: twice per year, with a post-storm check as needed
- Low-rise multi-unit buildings: twice per year, with closer attention to shared walls and balcony edges
- Commercial buildings over 6 stories: formal close-up inspections on a 5-year cycle are legally required in some jurisdictions, with annual visual checks in between
- High-exposure facades: south and west-facing walls take more UV and wind, so they warrant closer attention at each inspection
Full sealant replacement follows a separate timeline. Exterior caulking lasts 3–7 years depending on climate severity, material type, and exposure. In Ontario, the freeze-thaw cycle pushes most exterior sealants toward the lower end of that range. Plan for a full re-caulking assessment every 3–5 years on exposed facades.
Pro Tip: Mark your spring and fall inspections on your property maintenance calendar the same way you schedule furnace filter changes. Treating it as a fixed appointment means it actually gets done.
What are the signs of caulking failure?
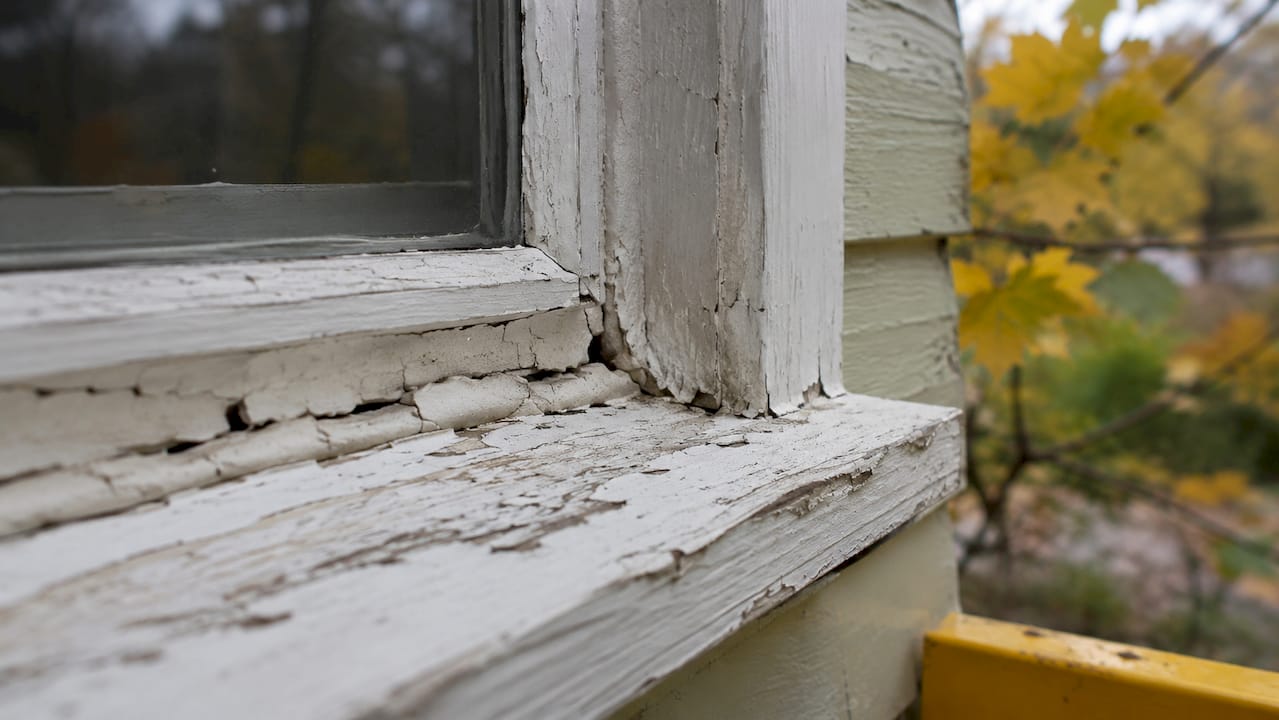
Signs of caulking failure include cracking, splitting, shrinking, discoloration, chalkiness, and visible gaps between the sealant and the substrate. Each of these tells you something specific about what went wrong and how far along the deterioration is.
Here is what to look for during a systematic check:
- Cracking and crazing: Fine surface cracks mean the sealant has hardened and lost flexibility. It can no longer move with the building as temperatures change.
- Shrinking and pulling away: When caulk shrinks back from the joint edge, the bond has broken. Water enters directly at that gap.
- Chalkiness and discoloration: UV exposure causes sealant to harden and turn chalky. This is an early warning sign, not a cosmetic issue.
- Bubbles or blistering: These indicate moisture was trapped during application or has since worked its way underneath the sealant.
- Soft or spongy texture: Sealant that feels soft and compresses easily has likely absorbed moisture and is no longer providing a reliable seal.
Visual inspection alone misses a common failure mode: adhesion loss. The surface can look intact while the sealant has already pulled away from one or both sides of the joint. A blunt probe test gently lifting the sealant edge reveals this hidden detachment. Run a blunt tool along the joint edge and feel for any give or separation.
One of the most common mistakes Kettlecontracting sees in the field is applying new caulk directly over failing old material. Applying over failed caulk leads to rapid failure because the new sealant bonds to a compromised surface. The old material must be fully removed before any new sealant goes in.
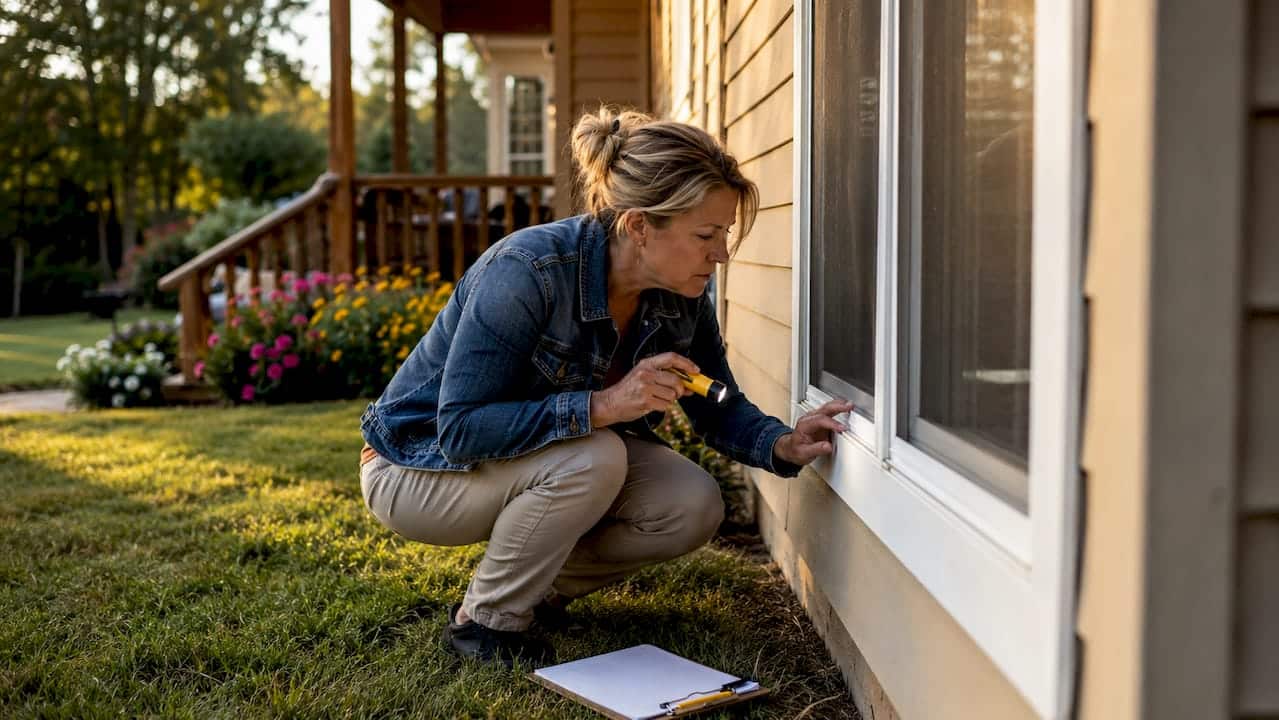
Pro Tip: Inspect caulking on a dry day with good light. Wet surfaces hide gaps and discoloration. A bright flashlight held at a low angle to the wall surface makes cracks and separations much easier to spot.
How does Ontario’s climate affect your inspection schedule?
Ontario’s climate creates specific stresses that shorten sealant lifespan compared to milder regions. UV exposure and thermal cycling are the two primary drivers of exterior sealant degradation, and Ontario delivers both in significant doses.
Freeze-thaw cycles are the most damaging factor for exterior caulking in this province. Water expands when it freezes. Any gap in the sealant allows moisture in, and repeated freezing and thawing widens that gap progressively. By the time you see visible cracking in spring, the joint may have been compromised since november or december.
UV exposure compounds the problem. South and west-facing walls receive the most direct sun, which hardens sealant faster and causes chalkiness to appear earlier. A sealant on a shaded north wall may last several years longer than the same product on a sun-exposed south facade.
| Climate factor | Effect on sealant | Inspection implication |
|---|---|---|
| Freeze-thaw cycles | Widens gaps, breaks adhesion | Inspect every spring without exception |
| UV exposure | Hardens and chalks sealant | Check south and west facades closely each fall |
| Heavy rain and wind | Forces water into micro-gaps | Inspect after major storms |
| Humidity fluctuations | Causes swelling and shrinking | Watch for shrinkage on wood-framed joints |
Climate-aware maintenance planning means adjusting your replacement timeline to local conditions rather than following a generic schedule. In Ontario, a 3–5 year replacement cycle for exposed exterior joints is realistic. A sheltered interior courtyard or covered soffit may hold up closer to the 7-year end of the range.
Kettlecontracting’s exterior wall caulking schedule guide goes deeper on timing for specific building types and exposures across the GTA.
What are the best practices for scheduling caulking inspections?
A consistent caulking check-up process does not require special equipment or professional training for the visual portion. What it requires is a system. Without a documented schedule, inspections get skipped, and small failures become expensive repairs.
Follow these practices to build an inspection routine that holds up:
- Document every inspection. Write down the date, the areas checked, and any issues found. A simple log on your phone or a shared property management spreadsheet works. Documentation shows you patterns over time and protects you if a water damage dispute arises.
- Prioritise high-risk areas first. Windows, doors, expansion joints, balcony edges, and penetrations through the building envelope (pipes, vents, electrical conduits) are where failures concentrate. Start there before checking lower-risk areas.
- Schedule professional inspections for complex facades. DIY visual checks are effective for straightforward residential properties. Multi-storey buildings, stucco facades, and properties with a history of water infiltration benefit from a professional assessment that includes adhesion testing and close-up examination of hard-to-reach joints.
- Protect fresh caulk during curing. Silicone cures in 24–48 hours; urethane takes 3–7 days. Rain or physical contact during that window compromises adhesion and long-term performance. Schedule re-caulking work during a dry weather period.
- Time repairs to avoid temperature extremes. Caulk applied below 5°C or above 35°C does not adhere or cure properly. Late spring and early fall offer the best conditions in Ontario.
Seasonal window caulking tips from Kettlecontracting cover the specific timing and preparation steps for spring and fall maintenance in the GTA.
Caulking should be a planned maintenance task, not a reactive one. Waiting until you see water stains on an interior wall means the failure has already progressed through the building envelope. At that point, you are not just replacing caulk. You may be dealing with damaged sheathing, insulation, or framing.
Key takeaways
A consistent caulking inspection cycle, performed twice yearly and after major weather events, is the most reliable way to prevent water damage and extend the life of your building envelope.
| Point | Details |
|---|---|
| Inspect twice per year | Schedule spring and fall checks to catch damage from seasonal transitions. |
| Add post-storm inspections | Inspect after high winds, hailstorms, or heavy rain, not just on the fixed schedule. |
| Know the failure signs | Look for cracking, shrinking, chalkiness, and use a blunt probe to test adhesion. |
| Plan for full replacement | Exterior sealants last 3–7 years; Ontario’s climate pushes most toward the shorter end. |
| Never caulk over old material | Remove all failing sealant before applying new caulk to get a lasting bond. |
What 25 years in the field taught me about caulking inspections
Most property owners inspect caulking the wrong way. They look at it and ask, “Does it look okay?” That is the wrong question. The right question is, “Has it held its bond?”
I have pulled back sealant on dozens of properties where the surface looked perfectly fine. Smooth, no cracks, reasonable colour. Then I ran a probe along the edge and the whole bead lifted away from the substrate with almost no resistance. The adhesion had failed months earlier. Water had been getting in through micro-gaps that were invisible from three feet away.
The other pattern I see constantly is reactive maintenance. A property manager calls because there is a water stain on a ceiling or a wall. We go out, find the failed caulking, and fix it. But by then, the water has already been sitting in the wall cavity long enough to cause real damage. The caulking repair is the easy part. The substrate damage underneath is what costs money.
The honest truth is that a twice-yearly visual inspection, done properly with a probe and good light, catches the vast majority of failures before they become expensive. It takes maybe two hours for a typical house. For a multi-unit building, a half-day walk-around covers most of the envelope. That time investment is worth far more than the repair bills it prevents.
Where I see DIY inspections fall short is on high facades, stucco systems, and anywhere with complex joint geometry. Those situations call for someone who knows what adhesion failure actually feels like and can get close enough to test it properly. For everything else, a homeowner who knows what to look for can do a solid job.
— Felix
Kettlecontracting’s caulking inspection and maintenance services
Kettlecontracting provides professional caulking inspections and re-caulking services for residential and commercial properties across the Greater Toronto Area, timed to Ontario’s seasonal cycles.

Whether you need a full building envelope assessment before winter or targeted repairs after a storm, the Kettlecontracting team brings the same attention to joint preparation, material selection, and curing conditions that separates a lasting seal from one that fails in the first freeze. Start with our guide to preparing your windows for caulking to understand what proper prep looks like before any sealant goes in. If you are dealing with visible failures already, the construction defect caulking examples page shows exactly what to look for and when to call a professional.
FAQ
How often should exterior caulking be inspected?
Exterior caulking should be inspected at least twice per year, in spring and fall, plus after any major weather event such as a hailstorm or high winds.
How long does exterior caulking last?
Exterior sealants last 3–7 years depending on climate, material type, and sun exposure. In Ontario, most exposed joints need full replacement every 3–5 years.
What are the most common signs of caulking failure?
Cracking, shrinking, chalkiness, discoloration, and visible gaps are the main visual signs. Hidden adhesion failure requires a blunt probe test along the joint edge to detect.
Can I apply new caulk over old caulk?
No. Applying new sealant over failing old material leads to rapid failure. The old caulk must be fully removed and the joint cleaned before new sealant is applied.
When is the best time of year to re-caulk in Ontario?
Late spring and early fall offer the best conditions. Temperatures between 5°C and 35°C allow proper adhesion and curing. Avoid applying caulk during rain or when frost is forecast within the curing window.