
Defining the scope of caulking work in new construction means producing a precise, written plan that covers every joint type, material specification, surface preparation requirement, application standard, and quality assurance step before a single tube is opened. In the industry, this document is formally called a caulking or sealant scope of work, and it governs how a subcontractor performs against standards like ASTM C920 and ASTM C1193. Without it, you are relying on assumptions, and assumptions on a new build in the Greater Toronto Area will cost you in change orders, callbacks, and water damage claims. This guide walks you through every stage of building that scope correctly.
What does the scope of caulking work in new construction include?
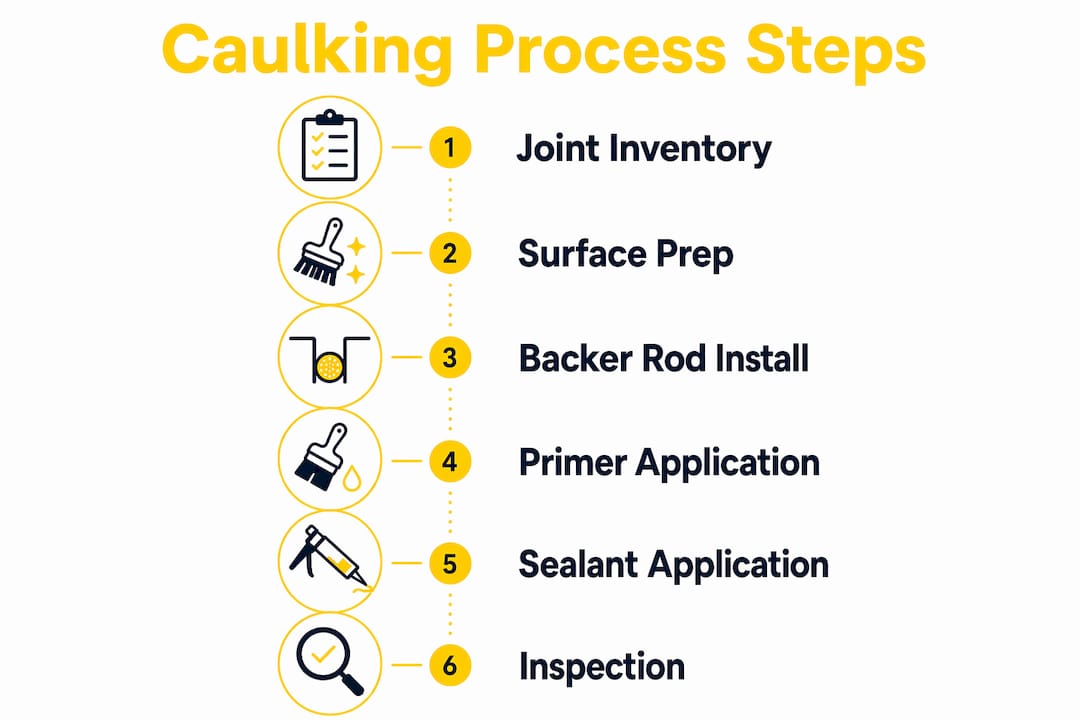
A complete caulking scope covers joint inventory, substrate preparation, backer rod installation, primer application, sealant selection, application method, quality assurance, and warranty documentation. Each of those elements is a separate line item, not a general description. The scope also defines what is explicitly excluded, which is just as important as what is included. When you leave out exclusions, every grey-area joint becomes a potential dispute.
The scope functions as the contractual baseline between the general contractor and the caulking subcontractor. It tells the sub exactly which joints they own, which materials they must supply, and what the acceptance criteria look like. A granular written scope with itemised tasks, quantities, and clear inclusions and exclusions reduces ambiguity and prevents disputes. On a mid-rise residential project in the GTA, that clarity can be the difference between a clean closeout and a six-week punch list battle.

How to conduct a joint inventory and define inclusions and exclusions
The joint inventory is the foundation of every well-written caulking scope. You walk each elevation of the building systematically, identify every joint type, measure width and depth, and record substrate conditions. The four main joint categories you will encounter on a new build are:
- Perimeter joints: Around windows, doors, curtain wall frames, and louvers where the frame meets the surrounding substrate.
- Control joints: Pre-formed breaks in cladding, masonry, or concrete designed to accommodate thermal movement.
- Transition joints: Where two different cladding materials or systems meet, such as brick to EIFS or metal panel to concrete.
- Penetration joints: Around pipes, conduits, structural supports, and mechanical sleeves passing through the building envelope.
For each joint, record the width, depth, substrate material on both sides, and any visible damage or contamination. Note whether a backer rod is already in place and whether the substrate has been primed. This data becomes the quantity take-off that drives your material estimates and your QA baseline.
Pro Tip: Document the joint inventory with photos tied to an elevation grid. When a dispute arises six months later about whether a particular penetration joint was in scope, that photo record is your clearest defence.
Inclusions should specify materials (sealant product, backer rod type, primer), labour tasks (removal of temporary sealant, cleaning, tooling), and QA activities. Exclusions should name conditions the subcontractor is not responsible for, such as joints concealed behind substrates, structural cracks requiring remediation, or damage caused by other trades after the caulking is complete. Clearly delineating inclusions and exclusions is the single most effective way to avoid costly change orders on complex multi-trade interfaces.
What materials and joint design specs belong in a new construction caulking scope?
Sealant selection is not a product preference. It is a technical decision based on substrate compatibility, movement capacity, and exposure conditions. The table below outlines the most common sealant types used on new construction in the GTA and their primary applications.
| Sealant type | Typical application | Key characteristic |
|---|---|---|
| Neutral-cure silicone | Window and door perimeters, glass interfaces | High movement capacity, UV stable, non-corrosive to metals |
| MS polymer (modified silicone) | Transition joints, mixed substrates | Paintable, strong adhesion to porous and non-porous surfaces |
| Polyurethane | Control joints in concrete and masonry | Excellent abrasion resistance, suitable for traffic-bearing joints |
| Acrylic latex | Interior joints, low-movement locations | Paintable, easy cleanup, not suitable for exterior high-movement joints |
ASTM C920 classifies sealant performance by type, grade, class, and use designation. ASTM C1193 governs joint design rules including backing rod use and width-to-depth ratios. Both standards must be referenced in your scope document. Specifying “silicone sealant” without an ASTM class designation leaves the door open for a subcontractor to install a product that technically qualifies but performs poorly in Ontario’s freeze-thaw conditions.
For joints wider than 10 mm, the standard 2:1 width-to-depth ratio applies, meaning a 20 mm wide joint should have a sealant depth of approximately 10 mm. Backer rods must be sized 25 to 30 percent larger than the joint width to seat correctly and prevent three-sided adhesion. Three-sided adhesion is one of the most common caulking deficiencies in new construction because it restricts the sealant’s ability to stretch and compress with movement, leading to cohesive failure. Correct joint geometry and backing configuration determine sealant durability more than product choice alone.
Pro Tip: Always specify the backer rod diameter by joint width range in your scope document, not just “closed-cell polyethylene backer rod.” A sub who installs an undersized rod is technically compliant with a vague spec but has still set the joint up to fail.
Primer requirements depend on substrate type and the sealant manufacturer’s published data sheets. Concrete, masonry, and some metals require primer for adequate adhesion. Your scope should state which substrates require primer and reference the specific product the manufacturer recommends for the specified sealant.
Why surface preparation and sequencing determine caulking success
Surface preparation is where most common caulking failures originate. Improper prep, including surface contamination, residual moisture, and incompatible substrate conditions, shortens sealant life regardless of product quality. Your scope must define preparation requirements as clearly as it defines materials.
The preparation sequence for new construction caulking work follows these steps:
- Remove temporary sealants and foam: Trades often use expanding foam or temporary caulk to weatherproof openings during construction. All of this must come out before the permanent sealant goes in.
- Clean the substrate: Remove dust, concrete laitance, form release agents, grease, and any other contaminants using approved solvents or mechanical methods. The substrate must be clean, dry, and sound.
- Repair minor substrate damage: Fill spalls, cracks, or voids in the substrate that would prevent full sealant contact. This is typically excluded from the caulking scope and assigned to the mason or concrete sub, so your exclusions section must say so explicitly.
- Confirm dryness: Substrates must meet the moisture content thresholds specified by the sealant manufacturer. In Ontario, this is particularly relevant in spring and fall when substrates can hold moisture from rain or frost.
- Install backer rod: Seat the rod at the correct depth to achieve the specified sealant thickness.
- Apply primer where required: Allow full cure time before sealant application.
- Apply and tool sealant: Tool to a concave profile to promote adhesion at both joint faces and shed water away from the joint centre.
Sequencing caulking work only after all adjacent trades have finished and substrates are fully prepared greatly reduces failure risk. This means the caulking sub should not be on site until scaffolding is stable, cladding is complete on each elevation, and no wet trades are working in the immediate area. Treating substrate readiness as a formal hold-point in your construction schedule, rather than a verbal agreement, is the most reliable way to avoid premature sealant failure.
Pro Tip: Build a site readiness checklist into your caulking scope and require the general contractor to sign off on each elevation before the caulking sub mobilises. This one step eliminates the majority of sequencing disputes.
You can find more detail on window joint preparation steps that apply directly to new residential construction.
How to specify quality assurance and acceptance criteria in your caulking scope
Quality assurance in a caulking scope is not a general statement about workmanship. It is a defined set of inspection activities, acceptance criteria, and remedial procedures that are agreed upon before work begins. A comprehensive QA programme includes joint inventory baselines, tooling profile verification, punch lists, and defined acceptance criteria to catch defects before subsequent trades cover the joints.
Your acceptance criteria section should address the following:
- Sealant profile: The finished joint must be tooled to a concave shape. Convex or flat profiles are rejectable.
- Bond to substrates: The sealant must show full adhesion to both joint faces with no voids, gaps, or bridging. A simple field adhesion test involves cutting a small tab and pulling it away from the substrate at 90 degrees.
- Depth and width compliance: Spot measurements should confirm the installed sealant meets the specified geometry within an acceptable tolerance.
- Continuity: No skipped sections, holidays, or thin spots along the joint length.
- Cleanliness: No sealant smears on adjacent surfaces. Masking tape use and cleanup standards should be specified.
- Defect remediation: The scope must state how defects are addressed, whether by cutting out and replacing the full joint or by spot repair, and who bears the cost.
Written warranty coverage should specify the duration, what is covered (adhesion failure, cohesive failure, discolouration), and what is excluded (substrate movement beyond design limits, damage by other trades). Reviewing common construction defect examples before writing your acceptance criteria gives you a practical reference for what failure actually looks like on site.
Poor scope clarity is responsible for a significant share of project cost overruns, and caulking scopes are no exception. A precise written scope with defined QA criteria reduces the likelihood of rework disputes and keeps your project on schedule.
Key takeaways
A well-written caulking scope of work is the single most effective tool for preventing deficiencies, disputes, and failures on new construction projects in the Greater Toronto Area.
| Point | Details |
|---|---|
| Start with a joint inventory | Walk each elevation and document every joint type, width, depth, and substrate condition before writing the scope. |
| Specify ASTM standards | Reference ASTM C920 and C1193 in your scope to define sealant performance class and joint design requirements. |
| Define inclusions and exclusions | List exactly which joints, materials, and tasks are in scope and which are excluded to prevent change order disputes. |
| Treat substrate readiness as a hold-point | Require sign-off on site readiness before the caulking sub mobilises to avoid adhesion failures from wet or unfinished surfaces. |
| Build QA criteria into the scope | Define tooling profiles, bond tests, and remediation procedures so acceptance is objective, not subjective. |
What I have learned from writing caulking scopes on GTA new builds
After 25 years of caulking work across the Greater Toronto Area, the pattern I see most often is not a product failure. It is a scope failure. A project manager hands a caulking sub a two-paragraph description and expects a building envelope that will perform through 30 years of Ontario winters. It does not work that way.
The disputes I have seen on new builds almost always trace back to one of three problems. The scope did not define which joints were included, so the sub skipped the transition joints between the brick and the EIFS because they assumed the EIFS contractor owned them. Or the scope said “prepare surfaces” without specifying what that meant, and the sub applied sealant over dusty concrete because nobody told them otherwise. Or the QA section was missing entirely, so the general contractor had no objective basis to reject a convex-tooled joint that was already starting to peel.
The fix is not complicated. Write the scope the way you would write a set of drawings: specific, measurable, and unambiguous. Reference the ASTM standards. Name the products. Specify the backer rod diameter by joint width. Define what a passing joint looks like. When you do that, the subcontractor knows exactly what they are pricing, you know exactly what you are buying, and the building gets sealed properly the first time. That is what good scope writing actually delivers.
— Felix
How Kettlecontracting supports your new construction caulking scope

Kettlecontracting develops and executes detailed caulking scopes for new residential and commercial construction across the Greater Toronto Area. Our process starts with a thorough joint inventory and elevation-by-elevation assessment, followed by a written scope that specifies materials, joint geometry, preparation requirements, and QA criteria aligned with ASTM C920 and ASTM C1193. We specialise in window and door sealing, exterior building envelopes, and expansion joints on multi-unit and commercial projects. Every project includes a documented punch list and warranty coverage so you have a clear record at closeout. To discuss your project scope or request a consultation, visit our caulking services page.
FAQ
What is included in a caulking subcontractor scope of work?
A caulking subcontractor scope of work includes a joint inventory, surface preparation requirements, backer rod and primer specifications, sealant product and ASTM class designations, application and tooling standards, QA inspection criteria, and warranty terms. It also defines explicit exclusions to prevent disputes over grey-area joints.
What are the most common caulking deficiencies in new construction?
The most common deficiencies are improper surface preparation, missing or incorrectly sized backer rods, wrong sealant-to-substrate selection, convex tooling profiles, and sealant applied over wet or contaminated surfaces. Most of these are preventable with a clearly written scope and a formal site readiness hold-point.
How is a caulking subcontractor evaluated for scope compliance?
Subcontractor evaluation covers licence and safety records, responsiveness, and demonstrated performance against the written scope. On site, compliance is measured through field adhesion tests, depth and width spot checks, profile inspections, and a documented punch list tied to the original joint inventory.
Why does joint geometry matter as much as sealant product choice?
Correct joint geometry, specifically the 2:1 width-to-depth ratio and properly sized backer rod, controls how the sealant moves under thermal cycling. Without correct geometry, even a high-performance silicone will fail in cohesion because it cannot stretch and compress as the joint opens and closes through Ontario’s freeze-thaw cycles.
How do you coordinate caulking work on an occupied or phased new construction building?
On phased or partially occupied buildings, caulking work should be scheduled elevation by elevation with confirmed site readiness sign-off before each mobilisation. Communicate hold-points to all adjacent trades in advance, and specify in the scope that the caulking sub is not responsible for damage to completed joints caused by subsequent trade activity.