
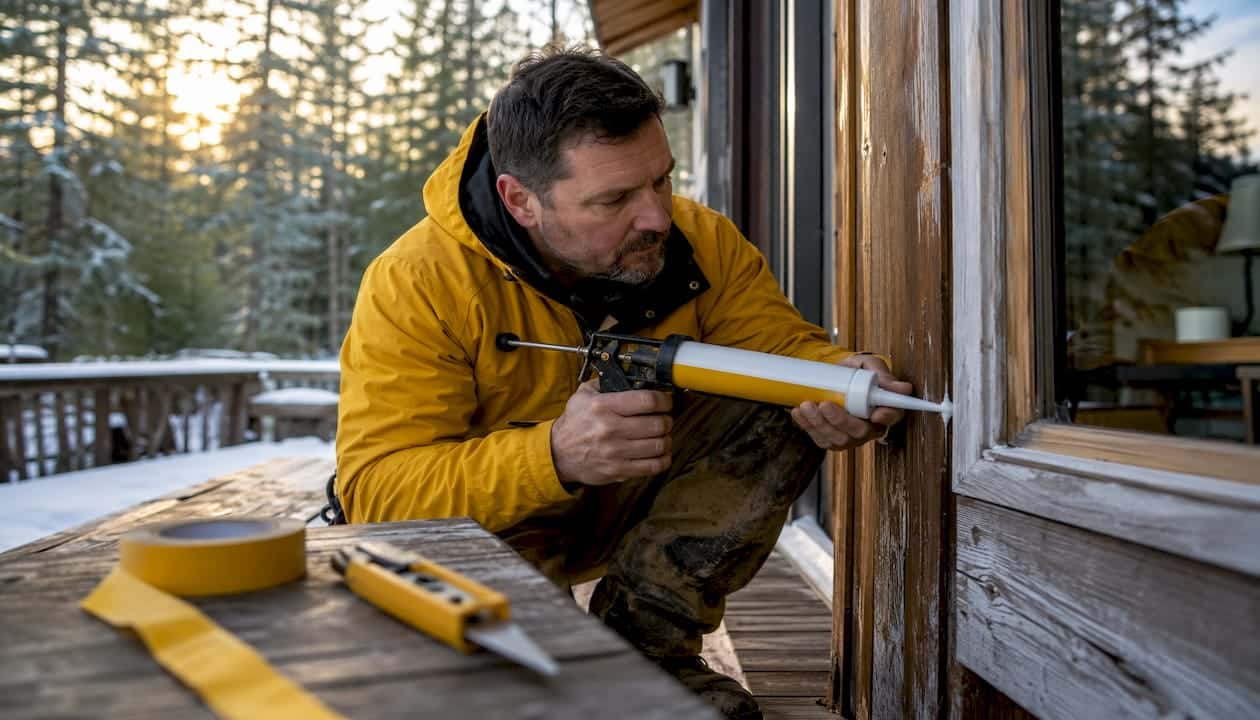
For exterior door frames in Canada, 100% silicone sealant is the right call. It stays flexible through freeze–thaw cycles, bonds to wood, brick, and metal, and won’t crack when temperatures swing from –20°C to +35°C. Your first step before applying anything new is to remove all the old caulk and clean the joint with isopropyl alcohol.
Quick TL;DR:
- Use 100% silicone sealant for exterior frames; acrylic/latex is fine for interior, paintable spots only.
- Remove old caulk completely and let the surface dry before applying anything new.
- Check door alignment and weatherstripping first. Caulk cannot fix a misaligned door or compressed weatherstripping.
Most door frame sealing jobs are DIY-friendly if the frame is in good shape. If you find soft wood, visible rot, or a door that doesn’t sit square in the frame, that’s a job for Kettlecontracting.
Table of Contents
- 1. Tools and sealant choices that actually work in Canadian conditions
- 2. Inspection and preparation before you pick up the caulk gun
- 3. How to apply caulk for a neat, durable bead
- 4. Finishing, curing times, and painting guidance
- 5. How often to inspect and re-caulk door frames in Canadian conditions
- 6. Top mistakes homeowners make and how to fix them
- 7. When should you call Kettlecontracting instead of doing it yourself?
- Key takeaways
- A pro’s honest take on what homeowners miss most
- Kettlecontracting handles the jobs that go beyond a tube of caulk
- Useful sources
- FAQ
1. Tools and sealant choices that actually work in Canadian conditions
Silicone sealant stays flexible through deep winter freezes and summer heat, which is exactly why it’s the preferred choice for exterior door frames across Ontario and the rest of Canada. Acrylic and latex caulks are more likely to crack under repeated freeze–thaw stress, so save those for interior trim work where paintability matters more than durability.
For interior door frames, a paintable acrylic latex caulk is the practical choice. It cleans up with water, accepts paint within a couple of hours, and handles the modest temperature swings of a conditioned space. For more detail on silicone vs. acrylic trade-offs, the chemistry differences are worth understanding before you commit to a product.
Essential tools and materials:
- Caulk gun (a smooth-rod gun gives better pressure control than a ratchet type)
- Utility knife or oscillating tool for removing old caulk
- Isopropyl alcohol and clean rags for surface prep
- Backer rod (closed-cell foam) for gaps wider than 6 mm
- Painter’s tape for clean lines
- Caulk finishing tool or a wet finger
- Gloves and a stiff brush for cleanup
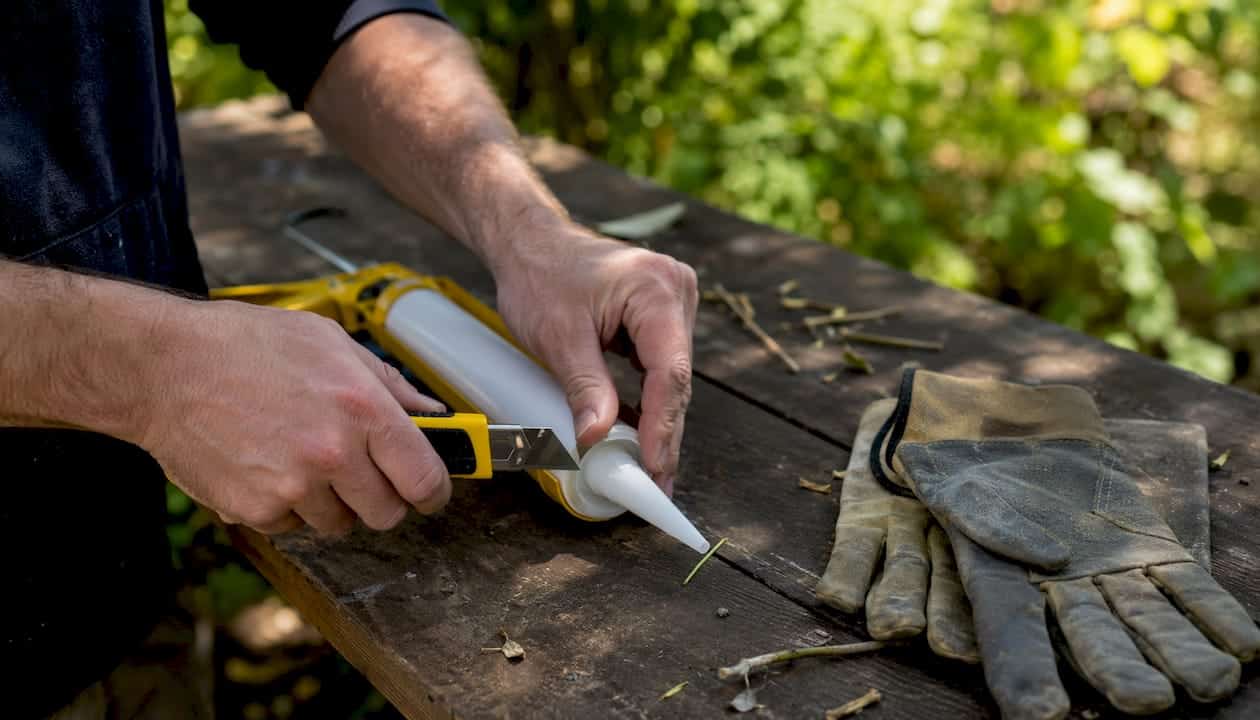
Pro Tip: Cut the nozzle smaller than you think you need. A 3–4 mm opening gives you better control on standard door frame gaps. You can always make a second pass; you can’t take back an overfilled joint.
One practical note on colour: silicone comes in white, clear, grey, and a handful of other shades. Pick the colour closest to your trim before you buy, because you won’t be painting over it.
2. Inspection and preparation before you pick up the caulk gun
Good preparation is what separates a seal that lasts two winters from one that lasts ten. Before you touch the new tube, run through this inspection.
Inspection checklist:
- Door alignment. Open and close the door. Does it sit square in the frame with even gaps on all sides? A door that binds or shows uneven gaps needs mechanical adjustment first.
- Weatherstripping condition. Press the weatherstripping with your finger. If it’s flattened, brittle, or missing sections, replace it before caulking. Caulk and weatherstripping work as a system.
- Wood condition. Press a screwdriver tip gently into the frame at the sill corners and bottom sides. If the wood gives, you have rot. Caulking over soft wood is a temporary patch at best.
- Sill pitch. The sill should slope away from the door so water drains outward. A flat or reverse-pitched sill will pool water against the frame no matter how good the caulk is.
- Drip cap and flashing. Check that the drip cap above the door is intact and that flashing isn’t buckled or missing.
Removing old caulk and cleaning the joint:
Use a utility knife or oscillating multi-tool to score and lift the old bead. A plastic scraper or caulk removal tool helps avoid gouging the wood. Once the old material is out, wipe the joint with isopropyl alcohol to remove oils, dust, and any residue. Let it dry completely. Applying new sealant to a damp surface is one of the most common reasons caulk fails early. For a detailed walkthrough, the step-by-step removal guide covers tools and safe technique.
Backer rod and gap sizing:
For gaps up to about 6 mm wide, caulk alone is fine. Gaps between 6 mm and 25 mm need a closed-cell foam backer rod pressed into the joint first. The backer rod limits how deep the caulk goes, which gives you a proper hourglass bead profile that flexes without tearing. Gaps wider than 25 mm are outside the range of standard caulk and need a contractor’s assessment.
3. How to apply caulk for a neat, durable bead
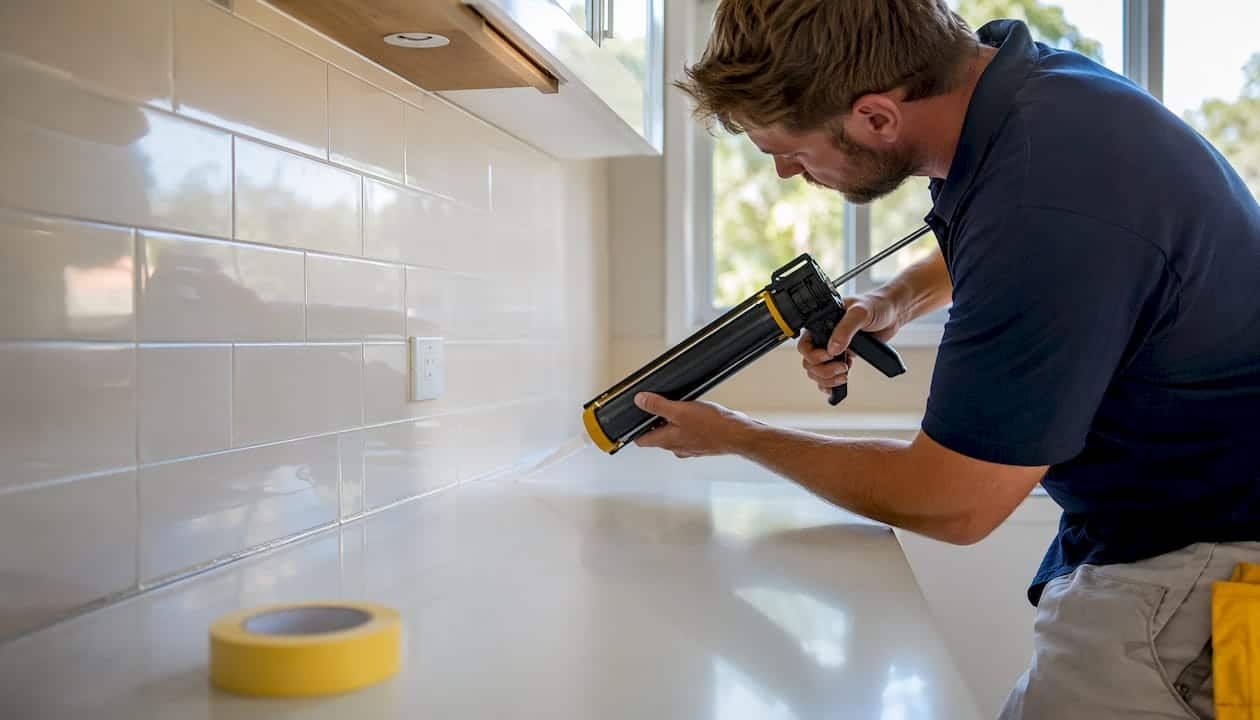
The single best technique: hold the gun at a 45° angle to the joint, apply steady trigger pressure, and move at a consistent pace without stopping. A continuous bead with no air gaps is what you’re after.
Step-by-step application:
Load and prep the cartridge. Cut the nozzle tip at a 45° angle, sizing the opening to match your gap width. Pierce the inner foil seal with a nail or the built-in puncture tool on the gun. Load the cartridge and do a short test bead on cardboard to confirm flow.
Tape the joint. Run painter’s tape along both sides of the joint, leaving the gap exposed. This gives you clean edges and makes cleanup much faster.
Start at the top corner. Begin at the upper corner of the door frame and work down one side, then across the sill, then up the other side. Keep the gun moving at a pace that fills the joint without overfilling it.
Tool the bead immediately. Wet your finger with soapy water or use a caulk finishing tool and smooth the bead in one pass before a skin forms on the surface. This presses the sealant into the joint for better adhesion and gives a clean, professional finish.
Remove the tape. Pull the painter’s tape off at a 45° angle while the caulk is still wet. If you wait until it’s cured, the tape can tear the bead edge.
Pro Tip: Dip your finishing tool or finger in a small cup of soapy water before tooling. The soap prevents the silicone from sticking to your skin and lets you smooth the bead cleanly in one motion.
For gaps wider than 6 mm where you’ve used backer rod, aim for a bead depth roughly half the gap width. That hourglass profile is what allows the sealant to flex with seasonal movement rather than tearing at the edges. If you see sags or thin spots right after tooling, you can add a small amount of sealant and re-tool before the surface skins over.
4. Finishing, curing times, and painting guidance
Cure time matters more than most homeowners realise. A bead that looks dry on the surface may still be soft underneath, and exposing it to rain too early can wash out the adhesion before it sets.
| Sealant type | Tack-free (surface dry) | Water-ready | Full cure |
|---|---|---|---|
| 100% silicone (exterior) | 30 minutes | 3 hours | 24 hours |
| Paintable acrylic latex | 30 minutes | 1–2 hours | 24 hours |
| Hybrid silicone-acrylic | 30 minutes | 3–6 hours | 24 hours |
Cure times are typical manufacturer ranges. Always check the specific product data sheet, as temperature and humidity affect results.
The paintability rule is straightforward: 100% silicone is not paintable. Paint simply won’t bond to a cured silicone surface. If you need a painted finish, use a paintable acrylic latex for interior work or a hybrid silicone-acrylic product for exterior spots where some flexibility is needed. Hybrids accept paint once fully cured, though they don’t match pure silicone’s long-term flexibility.
For cleanup, remove excess silicone with mineral spirits before it cures. Acrylic and latex caulks clean up with water while still wet. Once either product has cured, mechanical removal is the only option.
5. How often to inspect and re-caulk door frames in Canadian conditions
Annual inspection is the baseline. BCHousing’s maintenance guidance recommends reviewing sealants every year and planning for renewal based on exposure and sealant type, with some products lasting up to 10 years in favourable conditions.
Annual inspection checklist:
- Look for cracks, shrinkage, or gaps along the bead, especially at corners.
- Press the bead gently. If it’s hard and brittle, it’s no longer doing its job.
- Check for mould or mildew on or near the bead, which signals moisture is getting past the seal.
- Look for adhesion gaps where the caulk has pulled away from the frame or wall.
- Inspect weatherstripping at the same time. Compressed or cracked weatherstripping means the whole sealing system is compromised.
| Maintenance task | Recommended interval |
|---|---|
| Visual inspection | Annually (fall recommended) |
| Homeowner re-caulk | Every 2–3 years |
| Professional installation | Up to 10 years depending on conditions |
Typical homeowner re-caulk intervals run every 2–3 years for exterior frames. Professional installations using premium sealant systems can last considerably longer. Exposure matters: south- and west-facing frames take more UV and rain, and frames near driveways or walkways are exposed to salt splash in winter, all of which shorten the interval.
Pro Tip: Do your caulk inspection in October, before the ground freezes. Combine it with paint touch-ups at the bottom of the frame and clearing any debris from the threshold. One afternoon of maintenance prevents a lot of winter water damage.
Combining caulking with other maintenance tasks like clearing thresholds and replacing tired weatherstripping materially reduces the risk of recurring water damage.
6. Top mistakes homeowners make and how to fix them
Most caulking failures trace back to a short list of avoidable errors. Knowing them ahead of time saves you from redoing the job in six months.
Common mistakes:
- Using the wrong sealant. Acrylic latex on an exterior frame in Ontario will crack within a season or two. Match the product to the exposure.
- Skipping surface prep. Caulking over dust, old residue, or a damp surface is the single fastest way to get adhesion failure. Isopropyl alcohol and a dry surface are non-negotiable.
- Overfilling the joint. A thick bead doesn’t flex as well as a properly sized one. More caulk is not better caulk.
- Skipping backer rod on wide gaps. Without backer rod, sealant in a wide gap cures in a flat profile that tears under movement rather than stretching.
- Painting over silicone. Paint won’t stick. It will peel within weeks. Use a paintable product if the surface needs paint.
- Caulking over rotted wood. Failed caulking over soft wood is cosmetic at best. Water continues to enter behind the frame where rot worsens unseen.
Troubleshooting common problems:
Peeling or lifting bead: Almost always a prep failure. Remove the bead completely, clean with isopropyl alcohol, let it dry, and reapply. A partial patch over a peeling bead won’t hold.
Gaps appearing after one season: Check whether the frame is moving. A door that’s settling or a frame with soft wood will keep breaking the seal. Caulk is not a structural fix.
Mould on the bead: Surface mould on silicone can be cleaned with a diluted bleach solution. If mould keeps returning, moisture is getting behind the bead, which means the seal has failed at the substrate level. Remove and reapply.
Cosmetic sags: If you catch them while the caulk is still wet, re-tool with a damp finger. Once cured, a small sag can be cut out and filled locally without removing the entire bead.
For a broader look at common caulking mistakes and how to correct them, the patterns are consistent across door and window frames.
7. When should you call Kettlecontracting instead of doing it yourself?
DIY caulking works well when the frame is structurally sound, the door sits square, and the job is straightforward maintenance. There are situations where it’s worth calling a professional before you start.
Hire a pro when you see:
- Soft or spongy wood anywhere on the frame, especially at the sill corners and bottom sides.
- A door that doesn’t close squarely or shows uneven gaps around the perimeter.
- Recurring leaks that come back within a season of re-caulking.
- Gaps wider than 25 mm, or gaps with visible daylight that suggest the frame has shifted.
- Damaged or missing flashing above the door.
- Visible water staining or discolouration on interior walls near the frame.
Beyond caulking, a professional can assess and repair the full system: frame repair or replacement, sill pitch correction, flashing installation, weatherstripping replacement, and warranted sealant applications. Caulking is trade-specific work when the underlying structure is compromised, because the sealant is only as good as what it’s bonded to.
Pro Tip: If you press a screwdriver tip into the frame at the sill corner and it sinks more than a few millimetres without much resistance, stop. That’s rot, and no amount of caulk will fix it. Call a contractor before the damage spreads to the rough opening.
A professional installation also comes with the advantage of product knowledge and application equipment that produces a more consistent bead, better adhesion, and longer service life. For property managers and landlords, that translates directly to fewer call-backs and lower long-term maintenance costs.
Key takeaways
Effective door frame sealing in Canada depends on choosing the right sealant, preparing the surface properly, and inspecting the frame annually to catch failures before water gets behind the trim.
| Point | Details |
|---|---|
| Sealant selection | Use 100% silicone for exterior frames; acrylic latex for interior paintable applications only. |
| Surface preparation | Remove all old caulk, clean with isopropyl alcohol, and let the surface dry completely before applying. |
| Backer rod rule | Use closed-cell foam backer rod for any gap wider than 6 mm to achieve a proper flexible bead profile. |
| Inspection and re-caulk intervals | Inspect sealants every year; homeowners should expect to re-caulk every 2–3 years for basic maintenance, while premium professional installations may last up to 10 years depending on conditions. |
| Kettlecontracting | For frames with rot, misalignment, or recurring leaks, Kettlecontracting provides professional caulking and structural repair across the Greater Toronto Area. |
A pro’s honest take on what homeowners miss most
The thing I see most often on jobs across the GTA is homeowners who’ve done everything right with the caulk itself but skipped the inspection step. They’ve bought a quality silicone, cut the nozzle properly, tooled a clean bead. And then six months later they’re calling because it’s already pulling away from the frame. Nine times out of ten, the wood underneath was soft and nobody checked.
After 25 years doing this work in Oshawa and across the region, my rule of thumb is simple: if the wood gives, don’t caulk. Repair first. A sealant is a surface treatment, not a structural fix. The best caulk in the world won’t hold on a substrate that’s moving or deteriorating. Get the frame solid, get the door square, make sure the weatherstripping is doing its job, and then seal it. That order matters.
The other thing worth saying plainly: silicone not being paintable trips up a lot of DIYers. They apply a quality exterior silicone, then try to paint over it to match the trim, and the paint peels within a few weeks. Decide on your colour before you buy the tube. It’s a small thing, but it saves a lot of frustration.
Kettlecontracting handles the jobs that go beyond a tube of caulk
When the frame is sound and the job is straightforward maintenance, the steps above will get you a durable, professional-looking seal. When it’s not, Kettlecontracting’s team brings 25 years of field experience to door caulking, frame repair, flashing, weatherstripping replacement, and full building envelope sealing across the Greater Toronto Area.

Before booking an estimate, have a few things ready: the door location (exterior/interior, which elevation), a description of what you’re seeing (gaps, drafts, water staining, soft wood), and the approximate age of the current caulk if you know it. That lets the team give you an accurate scope and quote without surprises. For jobs where the exterior sealant protects your asset long term, getting the right product and application method from the start is worth the call.
Contact Kettlecontracting to book an estimate and get a clear picture of what your door frames actually need.
Useful sources
These references are worth bookmarking before you start any door frame sealing project. Always check the specific product data sheet for cure times, temperature limits, and paintability before applying.
- GE Sealants — How to seal around the exterior of a door: Step-by-step application guidance from the manufacturer, including nozzle cutting, tooling technique, and cure time ranges for their silicone product lines.
- BCHousing Maintenance Matters — Residential Windows and Exterior Doors: Canadian maintenance guidance covering inspection cadence, sealant lifespan, and what to look for during annual checks.
- Ontario Building Code — OBC 9.20.13.11 Caulking at door and window frames: The code requirement for sealant at frame-to-masonry junctions, including references to ASTM C920 and performance criteria for weather-resistant sealants.
- Torwin — How to winterize your Canadian home: Practical Canadian winter-proofing advice with product category recommendations for extreme cold.
- Masterdoor — Tips for weatherproofing your exterior door: A clear overview of the annual inspection and re-caulking process for exterior doors, including the four-step caulking sequence.
- One Day Doors & Closets — How to winterize your doors: Guidance on sealant selection and door prep for harsh winter conditions, useful for product category decisions.
FAQ
How do you properly caulk a door frame?
Remove all old caulk, clean the joint with isopropyl alcohol, and let it dry completely. Apply a continuous bead at a 45° angle, tool it immediately with a wet finger or finishing tool, then remove the painter’s tape while the caulk is still wet.
What are the most common caulking mistakes to avoid?
The most frequent errors are using acrylic latex on exterior frames (it cracks in freeze–thaw conditions), skipping surface prep, and caulking over soft or rotted wood. Painting over 100% silicone is another common mistake, as paint won’t bond to a cured silicone surface.
Should you caulk the top of a door frame?
Yes. The top of the exterior door frame, including the area under the drip cap, should be sealed to prevent water from running behind the trim. Check that the drip cap and flashing are intact before caulking, since caulk alone can’t compensate for missing or damaged flashing.
What is the best overall strategy for door frame caulking?
Treat caulking as one part of a system. Confirm the door is square, the weatherstripping is in good condition, and the wood is solid before applying any sealant. Use 100% silicone for exterior frames, inspect annually, and plan to re-caulk every 2–3 years for homeowner jobs; professional installations can last up to 10 years depending on product and application.
