
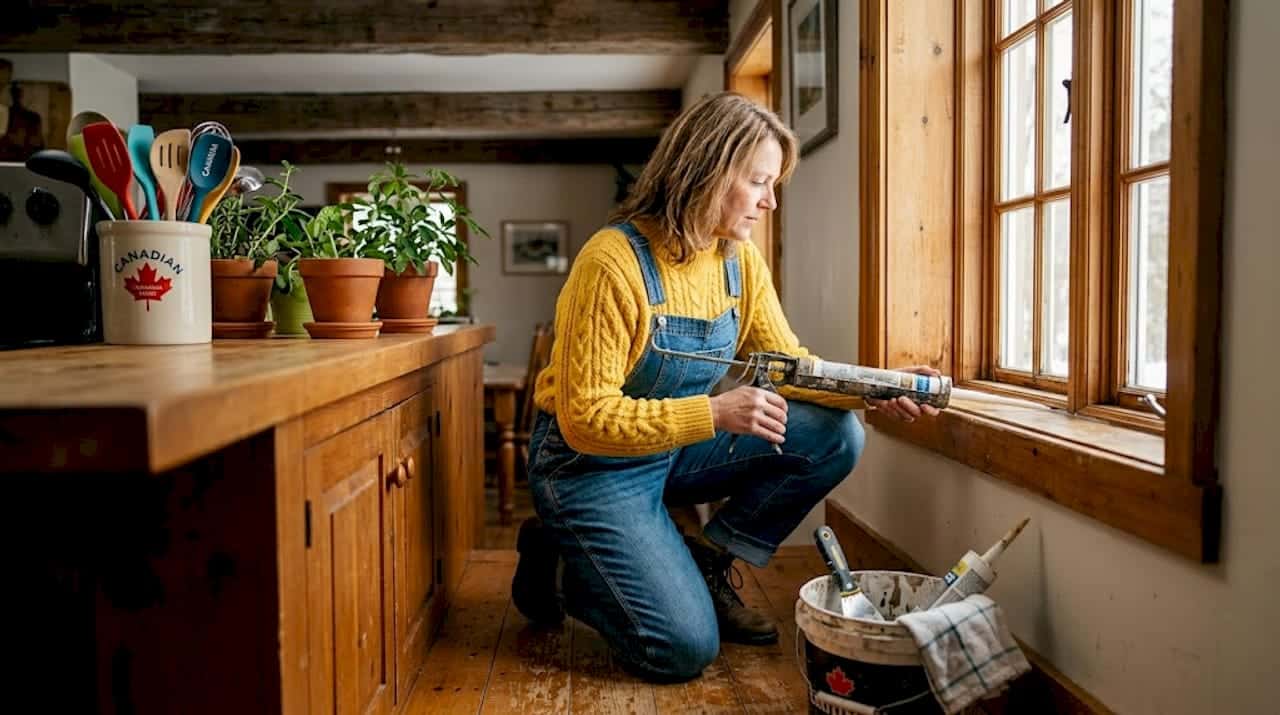
Most homeowners have no idea how much energy disappears right through their walls, windows, and doors every single day. Uncontrolled air leakage accounts for 25 to 40% of heating and cooling energy loss in a typical home. That is a significant portion of your energy bill going nowhere. The good news is that the energy saving home sealing benefits available to you are well within reach, and the return on investment is faster than most people expect. This article walks you through the top sealing methods, what to look for before you start, and how to make smart choices that will last through Ontario’s climate.
Table of Contents
- Key takeaways
- 1. Key criteria for evaluating home sealing projects
- 2. Caulking windows and doors for immediate impact
- 3. Weatherstripping for movable joints
- 4. Spray foam for air barriers and thermal resistance
- 5. Foam sealants in rim joists and attics
- 6. Comprehensive building envelope sealing
- 7. Comparison of common sealing methods
- 8. Home insulation advantages linked to sealing
- My honest take on why sealing gets skipped
- Get the most out of your sealing project with Kettlecontracting
- FAQ
Key takeaways
| Point | Details |
|---|---|
| Air leaks cost you more than you think | Up to 40% of heating and cooling energy is lost through unsealed gaps and cracks. |
| Seal before you insulate | Air sealing must happen first; insulation alone cannot stop air movement through gaps. |
| ROI arrives quickly | DIY sealing projects can recover costs in under a year; professional sealing in one to three years. |
| Sealing improves more than bills | Comfort, indoor air quality, moisture control, and noise reduction all improve with proper sealing. |
| Professional sealing goes deeper | Blower-door testing identifies leaks you cannot see, achieving 30 to 70% reduction in air leakage. |
1. Key criteria for evaluating home sealing projects
Before you pick up a tube of caulk or call a contractor, it pays to understand what actually makes a sealing project worth doing. Not all gaps are equal, and not all materials are suited to every situation.
Here is what to assess before committing to any sealing approach:
- Effectiveness against drafts and energy loss. Target areas with the highest air movement first. Windows, exterior doors, rim joists, attic hatches, and utility penetrations are the biggest culprits.
- Durability in Ontario’s climate. Freeze-thaw cycles in this part of the country are punishing. Choose materials rated for wide temperature swings. Silicone caulk and closed-cell spray foam hold up far better than basic latex in harsh conditions.
- DIY vs. professional application. Simple caulking around window frames is manageable for most homeowners. However, sealing a full building envelope or addressing hidden leaks in wall cavities calls for professional equipment and experience.
- Cost and return on investment. DIY air sealing costs $100 to $350 in materials. Professional work runs $1,000 to $3,000 but delivers a more thorough result with measurable air leakage reduction.
- Compatibility with insulation and ventilation. Sealing too aggressively without considering ventilation can trap moisture and reduce air quality. A professional assessment helps you get the balance right.
Pro Tip: If you notice condensation on windows in winter or cold floors near exterior walls, those are strong signals that air sealing will make a noticeable difference in your comfort and your bills.
2. Caulking windows and doors for immediate impact
Caulking is the most accessible and cost-effective sealing method available to homeowners. It works by filling the static gaps between fixed surfaces, specifically around window frames, door frames, and any penetration where a pipe or wire passes through an exterior wall.
The key is using the right product for the right surface. Silicone caulk performs best on non-porous surfaces like glass and metal. Paintable latex silicone blends work well on wood trim. For larger gaps up to about 3 centimetres, a backer rod paired with caulk gives a durable, weather-resistant seal.
The energy bill savings from door caulking alone can be measurable within a single heating season. Windows and doors combined are responsible for a large share of residential air leakage, so addressing them is never wasted effort.
3. Weatherstripping for movable joints
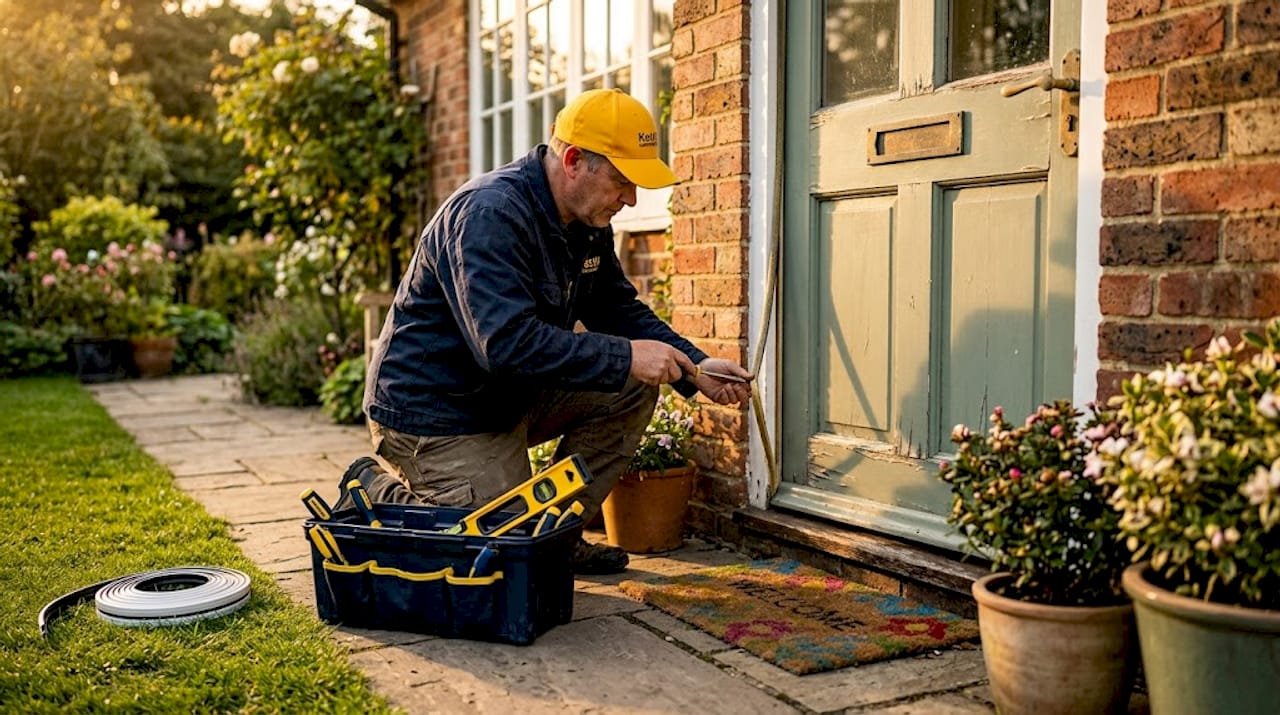
Weatherstripping handles what caulk cannot: the gaps around moving parts. Every time a door or operable window opens and closes, the seal between the frame and the sash or door panel degrades over time.
Foam tape is the simplest option and works on low-traffic windows. V-strip or tension seal weatherstripping lasts longer on frequently used doors. Door sweeps address the gap at the bottom of exterior doors, which is often one of the worst sources of cold-air infiltration in winter.
Replacing worn weatherstripping on two or three exterior doors takes under an hour and costs under $30. The benefits of sealing drafts this way show up immediately in how the home feels, especially in rooms near the front or back entrance.
4. Spray foam for air barriers and thermal resistance
Spray foam is the most versatile sealing product available because it does two jobs at once. It blocks air movement and adds thermal resistance in the same application. This makes it especially valuable in areas where both problems exist together, such as rim joists, behind electrical outlets on exterior walls, and around HVAC penetrations.
Spray foam provides both insulation and air barrier qualities, which is what makes it so effective for comprehensive sealing projects. Closed-cell spray foam in particular offers a high R-value per centimetre and resists moisture absorption, making it well-suited to Ontario’s climate.
For homeowners tackling this themselves, single-component expanding foam in a can works well for gaps around pipes and cables. Larger applications are better handled by a professional with two-component equipment, which creates a denser, more uniform air barrier.
5. Foam sealants in rim joists and attics
The rim joist is the band of framing that sits on top of your foundation wall and connects to your floor system. It is one of the most energy-leaking areas in a typical Ontario home, and one of the most overlooked.
Cold air enters through the rim joist cavity and drops directly into your living space above. Spray foam applied directly to the rim joist from the interior creates an immediate and durable air and thermal barrier. Attic hatch openings are another high-priority target. An unsealed attic hatch with no insulation above it is essentially an open window to the coldest space in your home.
Addressing these two areas alone can deliver a 15 to 30% reduction in heating costs in older homes where these gaps have never been addressed.
6. Comprehensive building envelope sealing
The building envelope refers to all the surfaces that separate your conditioned interior from the outdoors: walls, roof, foundation, windows, and doors together as a system. Sealing the envelope comprehensively, rather than spot-treating individual gaps, is what delivers the largest and most lasting energy efficiency improvements.
Strategically sealing the building envelope reduces the workload on your HVAC system significantly. When your furnace or air conditioner does not have to compensate for constant air exchange, it runs fewer cycles, uses less fuel, and lasts longer.
Professional envelope sealing often involves a blower-door test, which pressurises the home to identify exactly where air is escaping. This method confirms which areas are losing the most energy and allows the contractor to prioritise accordingly.
7. Comparison of common sealing methods
Here is a side-by-side look at the most common sealing approaches to help you make a practical decision.
| Method | Approx. cost | Energy savings | Durability | Best used for |
|---|---|---|---|---|
| Caulking (DIY) | $30 to $80 | 5 to 15% bill reduction | 5 to 10 years | Windows, door frames, penetrations |
| Weatherstripping (DIY) | $20 to $60 | 3 to 10% bill reduction | 2 to 5 years | Exterior doors, operable windows |
| Expanding foam (DIY) | $40 to $120 | 10 to 20% bill reduction | 10+ years | Rim joists, pipes, cables, gaps |
| Professional caulking | $300 to $800 | 10 to 20% bill reduction | 10 to 20 years | Full window and door perimeters |
| Professional envelope sealing | $1,000 to $3,000 | 20 to 45% bill reduction | 15 to 25 years | Whole-home air barrier with testing |
DIY materials are affordable and deliver real results. Professional air sealing reduces air leakage by 30% or more and includes verification through testing, which DIY work cannot replicate.
8. Home insulation advantages linked to sealing
Sealing and insulation are closely related, but they are not the same thing. Insulation slows heat transfer through solid surfaces. Air sealing stops air from moving through gaps entirely. You need both, but the order matters.
Installing insulation without first sealing air leaks makes the insulation far less effective. Air bypasses insulation by moving through the gaps around it, carrying heat with it. Seal the gaps first, then insulate, and you get the full benefit of both.
The combined home insulation advantages include:
- Reduced moisture infiltration. Sealed gaps prevent warm, humid interior air from contacting cold surfaces, which is where condensation and mould begin. Proper sealing helps preserve timber integrity and indoor air quality over the long term.
- Extended HVAC lifespan. When your system runs fewer cycles because the home holds its temperature better, the components wear out more slowly. Sealing extends HVAC equipment lifespan by reducing its overall workload.
- Improved indoor air quality. Sealed homes draw air through filtered intake points rather than through random cracks, which keeps allergens, pollutants, and pests out. If you are curious about this specifically, the connection between door caulking and allergies is worth understanding.
- Noise dampening. Dense sealing materials significantly reduce noise pollution, which is a comfort benefit most homeowners do not think about until they experience it firsthand.
- Mould prevention. Sealing the building envelope keeps moisture out of wall cavities and helps stop mould from returning after remediation.
My honest take on why sealing gets skipped
I have been doing this work for 25 years, and the pattern I see consistently is this: homeowners invest in new windows, new insulation, a new furnace, and then wonder why their bills barely moved. The answer is almost always that nobody sealed the building envelope properly before the other work went in.
Sealing is foundational. Treating the home as an integrated system yields the best efficiency. Everything else you spend money on, whether insulation or HVAC equipment, performs better when the air leaks are addressed first.
The other mistake I see is timing. Delaying sealing or separating it from other renovations reduces cost-effectiveness significantly. If you are already having exterior work done, that is the right moment to seal. Waiting until later means paying to access the same surfaces again.
My advice: before your next major home improvement project, ask a professional to assess your air sealing first. It is the step that makes everything else work better.
— Felix
Get the most out of your sealing project with Kettlecontracting
If you are ready to move from understanding the benefits to actually getting the work done, Kettlecontracting is here to help. We specialise in professional-grade caulking and sealing for homes across the Greater Toronto Area, with a focus on materials and methods that hold up through Ontario’s climate year after year.
Whether you are preparing for a window replacement, addressing moisture issues, or simply want to reduce your energy bills, we will assess your home and recommend the right approach. Start with our guide to preparing windows for caulking to see what proper surface preparation looks like, or read up on long-lasting caulk selection to understand why material choice matters so much. Reach out to Kettlecontracting directly to book an assessment and get honest, straightforward advice on where to start.
FAQ
How much energy can home sealing actually save?
Proper air sealing combined with insulation can reduce heating and cooling costs by an average of 15%, and up to 45% in older homes where gaps have never been addressed. The exact savings depend on the home’s current condition and which areas are treated.
Should I seal my home before or after adding insulation?
Always seal first. Air moves through gaps around insulation, not through it, so sealing those gaps before installing insulation is what allows the insulation to perform at its rated value.
Is DIY home sealing worth it?
Yes, for accessible areas like window frames, door frames, and small gaps around pipes. DIY materials cost $30 to $350 and can recover that cost within a single heating season through energy savings.
What areas of a home lose the most energy through air leaks?
Rim joists, attic hatches, window and door perimeters, electrical outlets on exterior walls, and utility penetrations are consistently the highest-impact areas. Addressing these first delivers the most noticeable results.
When is professional sealing worth the cost?
Professional sealing is worth it when you want whole-home results confirmed by blower-door testing. It achieves 30 to 70% reduction in air leakage rates, which DIY methods cannot match, and the energy savings over time easily justify the upfront cost.
