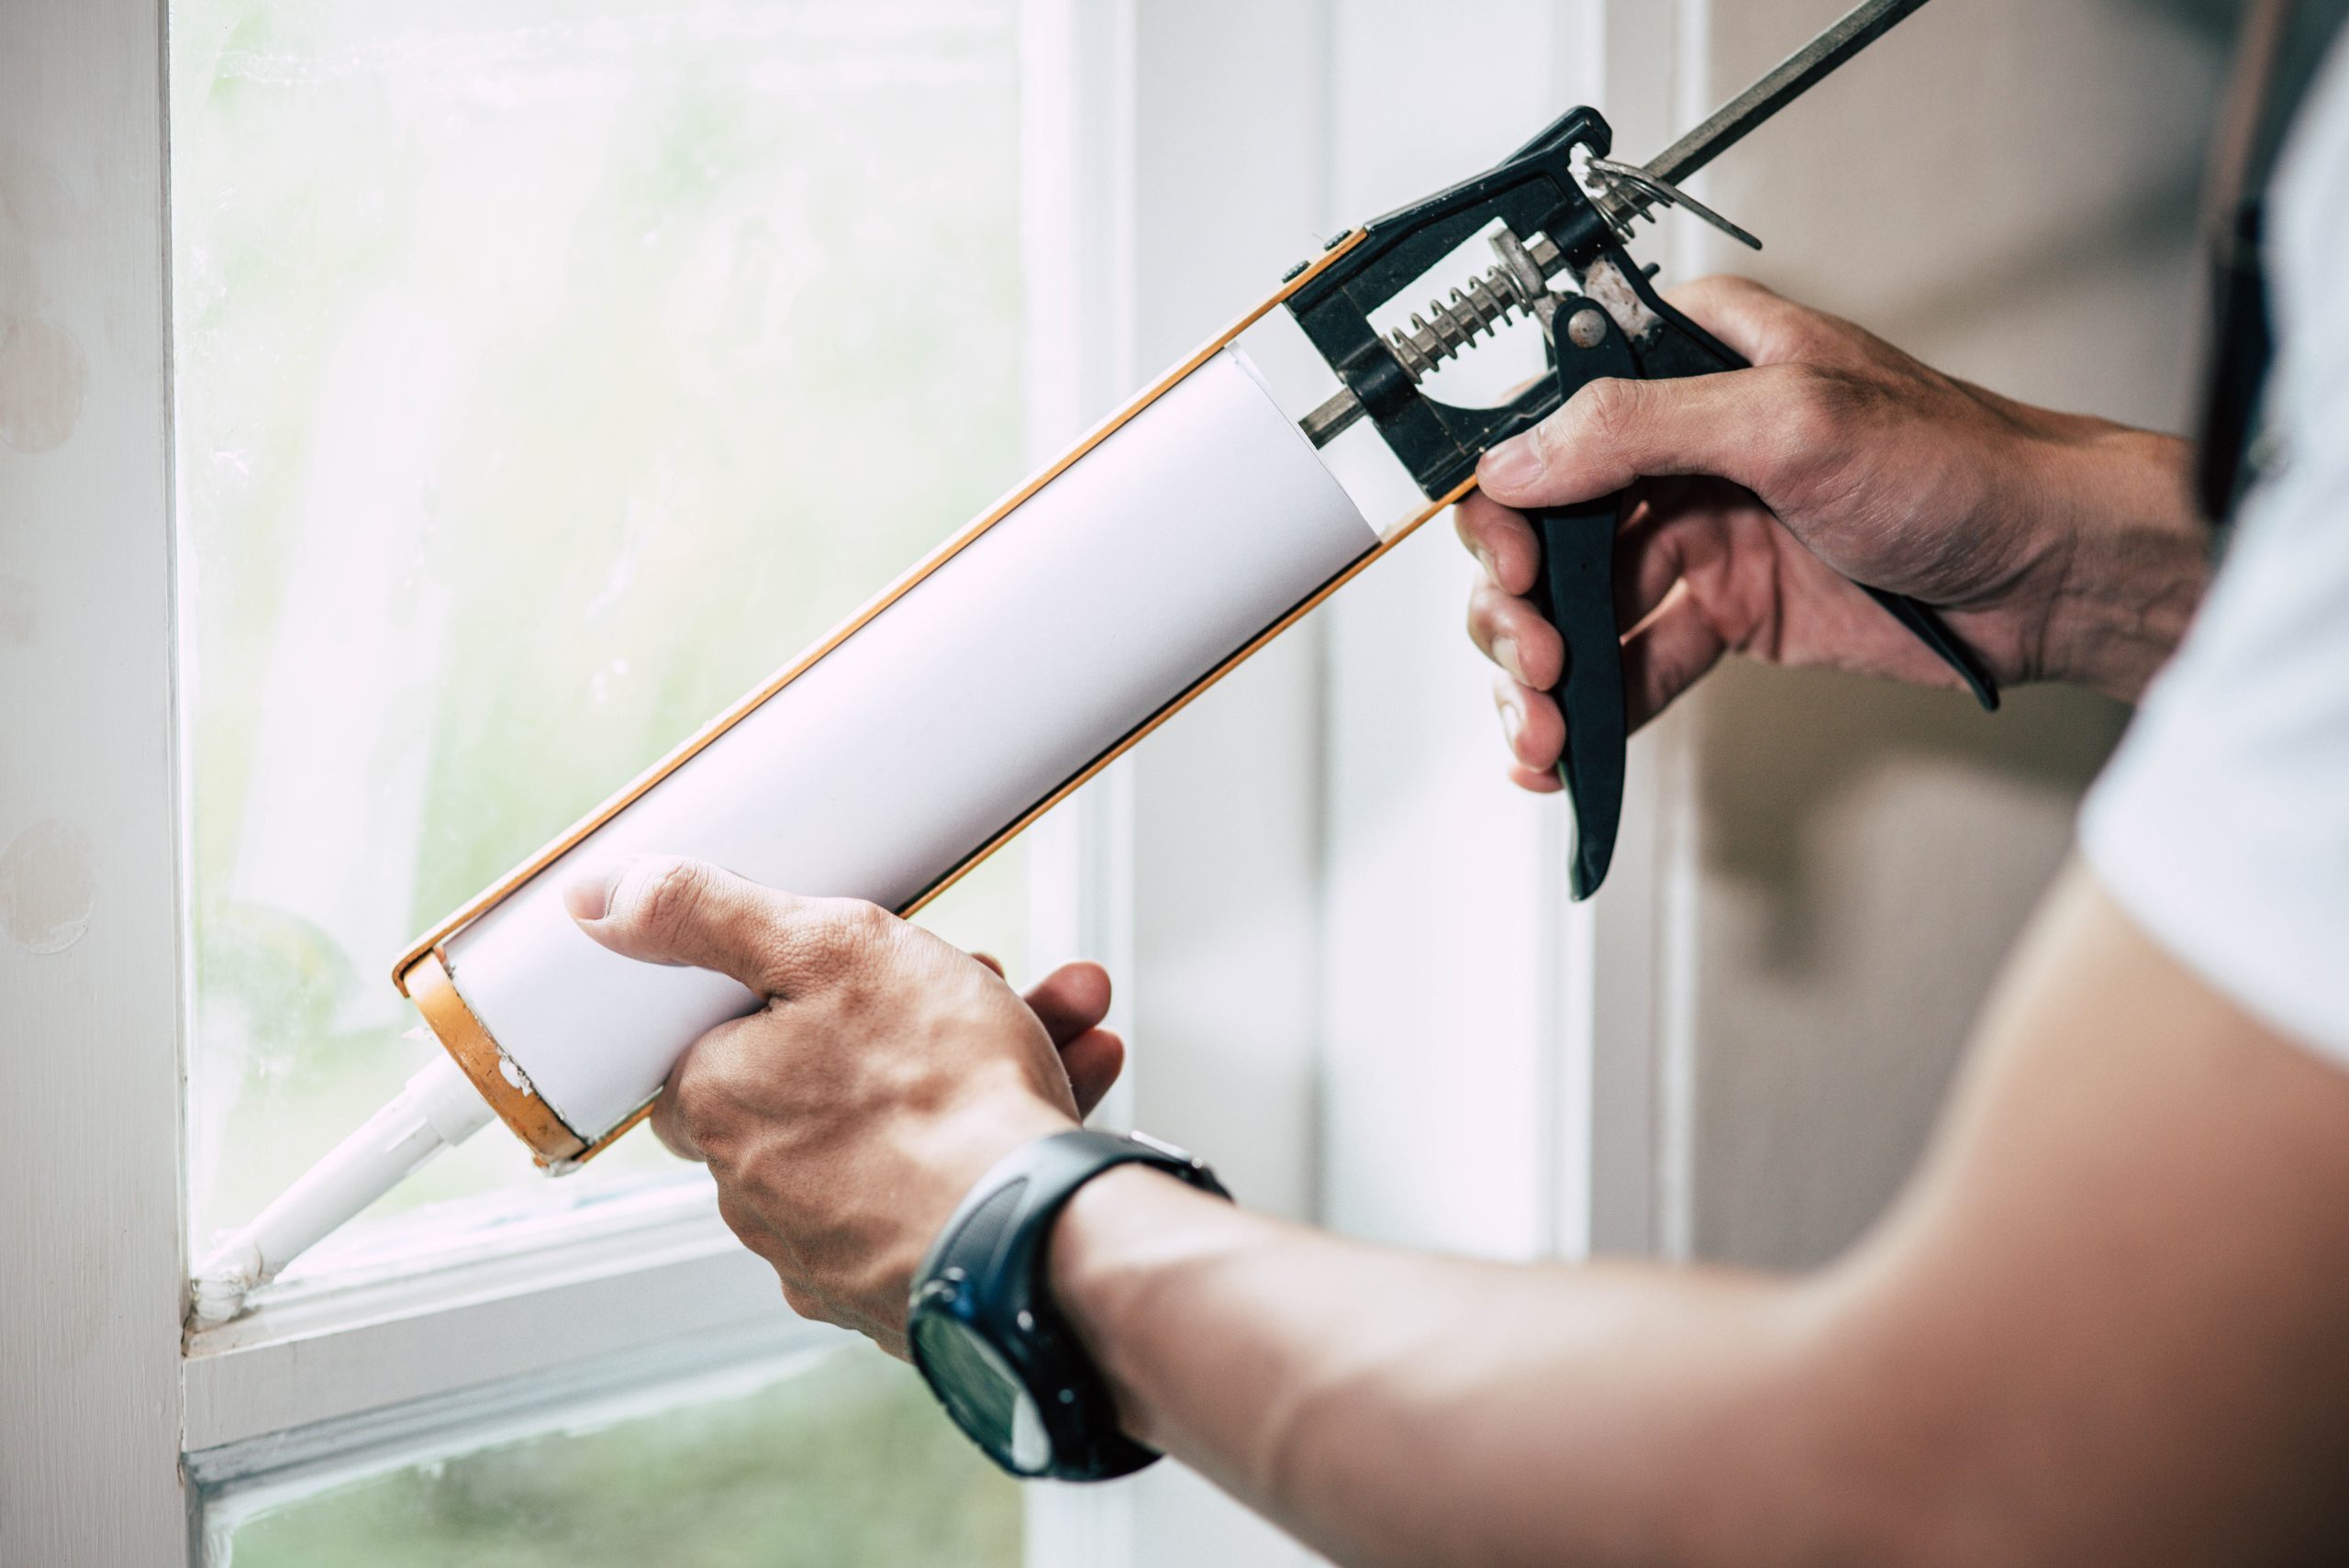
Caulking may seem like a small detail in your home, but it plays a big role in sealing gaps, preventing moisture buildup, and keeping out drafts. Over time, caulk can crack, shrink, or even grow mold, leading to common caulking problems that can affect both the look and function of your space. With the right approach, you can fix these issues like a pro, giving your caulking a fresh, durable finish. Here’s how to tackle the most common caulking problems with confidence!
Why Proper Caulking Matters
From keeping water out of your bathroom to sealing kitchen gaps, well-applied caulk prevents moisture, drafts, and even pest entry. Whether you’re addressing “cracked caulk” in the bathroom or worn-out kitchen caulking, these steps will ensure your repairs are strong and long-lasting. Ready to DIY? Let’s dive in!
Common Caulking Problems (And How to Fix Them!)
1. Cracked Caulk
- Why it Happens: Caulk cracks often from shrinkage, temperature changes, or improper application.
- Solution: Remove the old caulk carefully with a caulk remover or utility knife. Clean the surface well and ensure it’s dry. Choose a flexible, waterproof caulk (especially important for bathrooms) and apply a smooth, even bead. Let it cure fully for maximum durability.
- Recommended Product: Look for “mold-resistant caulk for bathrooms” if you’re caulking in high-humidity areas.
2. Shrinking Caulk
- Why it Happens: Shrinkage occurs when the caulk wasn’t applied thick enough or dried out over time.
- Solution: Remove any loose or shrunken caulk. Reapply a fresh bead using “waterproof caulk” to withstand damp areas, pressing down firmly to seal any gaps. Smooth the caulk with a wet finger or tool for an even finish.
3. Moldy Caulk
- Why it Happens: Mold grows in moist environments like bathrooms if the caulk isn’t mold-resistant.
- Solution: Scrape away all moldy caulk and clean the area thoroughly with a mold-killing solution. Replace it with “mold-resistant caulk for bathrooms.” Regular cleaning and ventilation will help prevent future mold growth.
4. Peeling Caulk
- Why it Happens: Peeling often results from poor surface prep, causing caulk to detach over time.
- Solution: Remove all peeling caulk. Clean the surface, ensuring it’s free of dirt, grease, and moisture. Apply a fresh, high-quality caulk that bonds well to both surfaces. If the area is frequently wet, opt for a waterproof product.
5. Gaps in Caulk
- Why it Happens: Gaps appear when caulk hasn’t been applied in a thick enough bead or has separated due to shifts in materials.
- Solution: Use “caulk removal and replacement” methods to take out the old caulk. When applying new caulk, make sure to fill the gap fully. For larger gaps, use a backer rod before caulking for better adhesion.
Pro Tips for Successful Caulking Repairs
1. Choose the Right Caulk
Not all caulk is the same. For kitchens and bathrooms, use a waterproof, mold-resistant caulk to handle moisture and prevent mold. For outdoor caulking, choose a weather-resistant type.
2. Prep the Surface
Clean, dry, and smooth surfaces ensure the best results. Any dust, grease, or moisture can prevent proper adhesion, leading to peeling and cracking over time.
3. Apply the Caulk Evenly
A steady hand helps, but so does using a caulking tool or a damp finger to smooth the bead. Avoid over-applying; too much caulk can look messy and take longer to cure.
4. Allow for Proper Drying Time
Rushing the drying process can lead to cracks and peeling. Follow the manufacturer’s recommended cure time before using the area.
Step-by-Step Guide to Caulking Repairs
1. Remove Old Caulk: Use a caulk remover tool or utility knife to carefully cut away old, damaged caulk.
2. Clean the Surface: Wipe down the area with a cleaner to remove dirt, grease, and any loose particles.
3. Dry the Surface: Moisture will prevent caulk from adhering properly. Make sure the area is completely dry.
4. Apply New Caulk: Use a caulking gun to apply an even bead along the joint or crack. For small spaces, you can use a squeeze tube.
5. Smooth the Caulk: Use a damp finger or caulk-smoothing tool to even out the bead, removing any excess.
6. Let it Cure: Allow the caulk to dry fully before exposing it to water or heavy use.
How to Avoid Caulking Problems in the Future
- Regular Maintenance: Check caulking around sinks, tubs, and windows every few months to spot issues early.
- Choose the Right Products: For best results, select “mold-resistant caulk for bathrooms” or “best caulk for kitchens” depending on the area.
- Hire a Pro for Large Projects: Some jobs require a steady hand and expert technique. Search for “caulking repair services near me” or “professional caulking repair” for professional help.
Need Help with Caulking?
If you’re in Oshawa, Ajax, Pickering, or Toronto, Ontario, and want expert results without the hassle, Kettle Contracting is here to help! Our team provides quality caulking repair services for kitchens, bathrooms, windows, and more. Contact us today to get lasting, professional caulking results for your home.
Don’t let caulking issues damage your home. Get in touch with Kettle Contracting for a flawless finish that lasts.


