
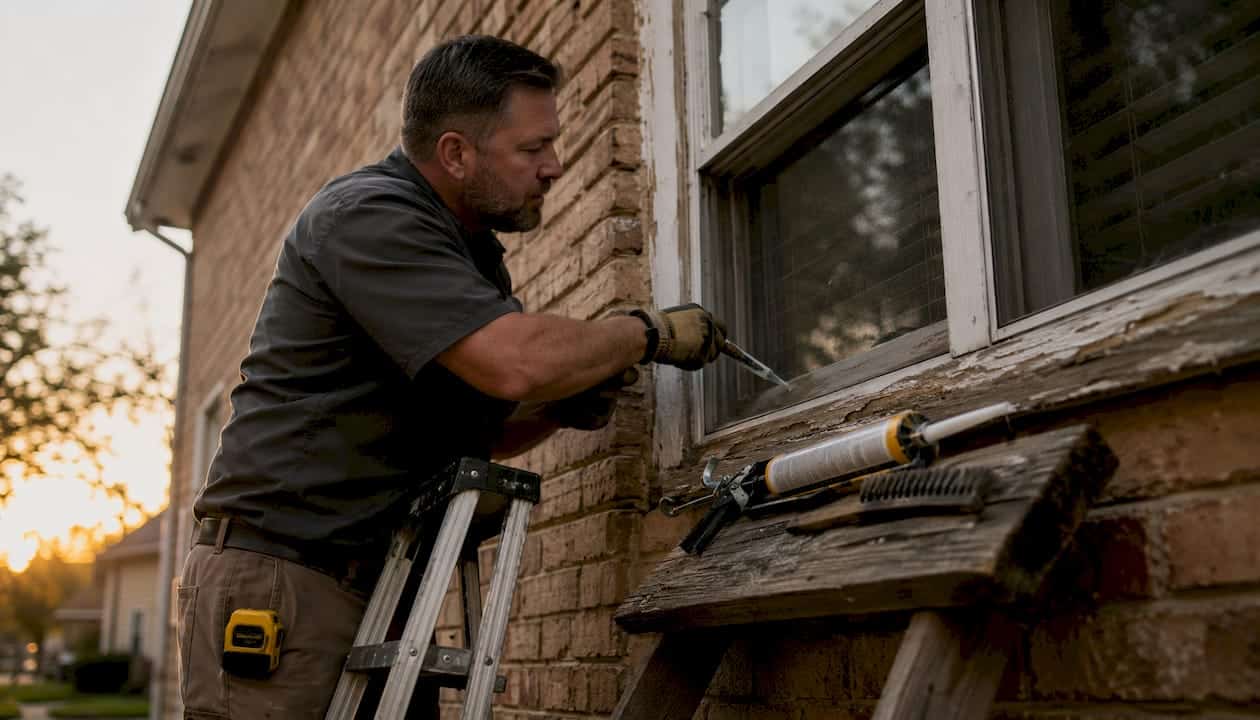
Renovation caulking is fundamentally different from new construction sealing because the substrate is already compromised. Old sealant residue, paint layers, settled framing, and absorbed moisture all change what you can apply and how long it will hold. In new construction, trades work on clean, dry, dimensionally stable surfaces in a planned sequence. In a renovation, you inherit whatever was done before, and preparation matters far more than which tube you pick up at the hardware store.
BC Housing’s maintenance guidance recommends treating sealants as an annually inspected building envelope element and calls for professional diagnosis before any resealing work begins. That advice exists precisely because renovation joints are not the same as fresh ones. Kettlecontracting has seen this play out on hundreds of GTA and Oshawa properties: the homeowner buys a premium tube, squeezes it over a cured old bead, and calls back six months later wondering why it’s peeling.
The three things that actually matter in renovation caulking: inspect and often remove the old sealant entirely; match the sealant chemistry to the specific substrate (silicone for non-porous surfaces, polyurethane for porous masonry, MS polymer hybrids for mixed assemblies); and schedule the work for the right surface temperature and drying conditions.
Table of Contents
- How do renovation joints behave differently from new construction?
- Which sealants work best for renovations vs new construction?
- Why surface prep matters more in renovations than product choice
- How does joint geometry change in renovated assemblies?
- When should you schedule exterior caulking in Canada?
- How long does renovation caulking last, and when should you inspect it?
- What are the most common caulking mistakes to avoid?
- On-site lessons and a specification checklist from Kettlecontracting
- When should you hire a professional, and how do you write a clear spec?
- Key takeaways
- Kettlecontracting’s renovation caulking service: what to expect
- Authoritative Canadian sources and recommended reading
- FAQ
How do renovation joints behave differently from new construction?
The short answer is that renovation joints carry history, and that history works against adhesion. Three root causes drive most failures.
Substrate contamination is the most common. Paint overspray, old sealant residue, grime, efflorescence on masonry, and mould all sit between the new sealant and the surface it needs to grip. Even a thin film of silicone residue left from a previous bead will prevent a new bead from bonding reliably, regardless of product grade.
Movement and irregular geometry compound the problem. A window frame that has settled over 20 years no longer sits square. Gaps widen on one side and close on the other. Trim boards get shimmed, caulked, painted, and caulked again. The joint you are working with in a renovation is rarely the clean, consistent width that joint-design standards assume.
- Paint layers and previous sealant residues reduce adhesion to the actual substrate.
- Settlement and differential movement create irregular gap shapes that are harder to tool correctly.
- Efflorescence on brick or concrete blocks chemical bonding for most sealant chemistries.
- Overlapping trim and shimmed frames make backer-rod placement difficult or impossible.
- Hidden defects, including failing flashing, lifted trailing edges, and trapped moisture, are common behind old beads.
Consider a brick-veneer house in the GTA where a wood window frame meets porous masonry. Over time, the original sealant hardens, cracks at the masonry edge, and lets water wick into the brick. The homeowner caulks over the crack. Water continues to track behind the bead, saturates the masonry, and freezes in winter. By spring, the brick face is spalling and the frame is soft. Flashing and drainage failures are frequently the root cause in these situations; caulking a compromised assembly is a temporary measure at best.
Which sealants work best for renovations vs new construction?
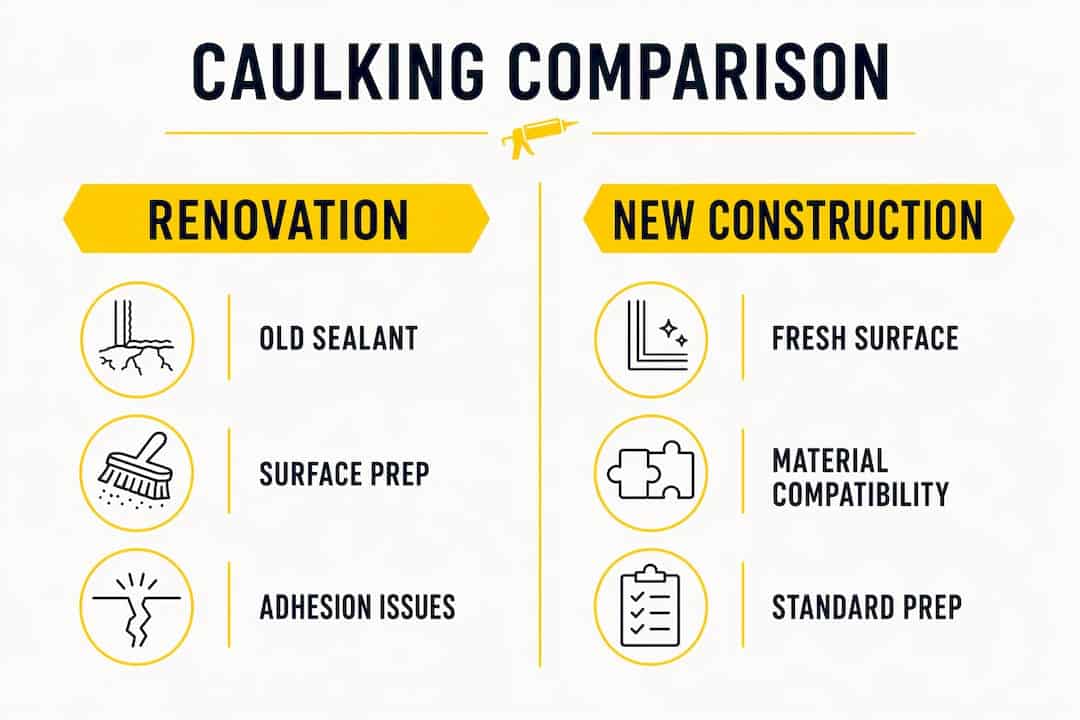
Choosing the right chemistry is where caulking for renovation diverges most sharply from new construction sealing techniques. New builds use pro-grade products like OSI QUAD MAX or Titebond WeatherMaster on clean, primed substrates in a planned sequence. Renovations require matching the product to whatever surface condition you actually have.
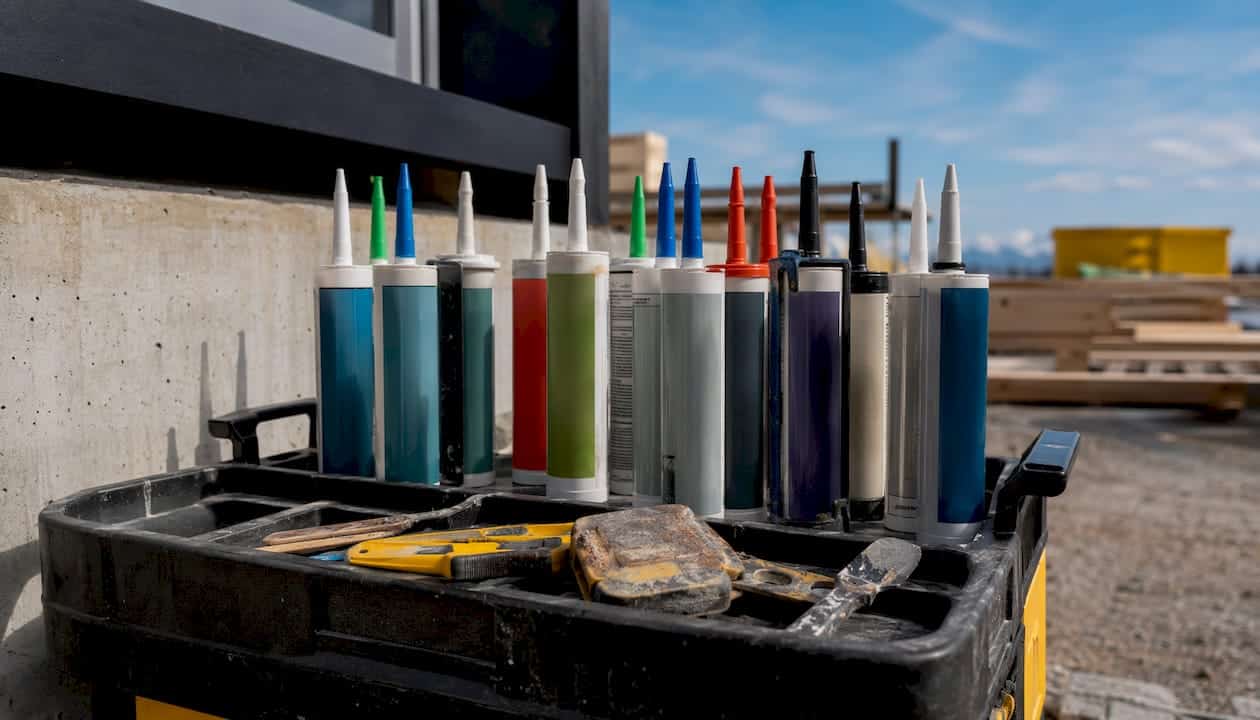
Here is how the main chemistries compare across the dimensions that matter most in renovation work:
| Chemistry | Substrate prep required | Adhesion & flexibility | Paintable / UV resistant | Movement accommodation | Lifespan (renovated conditions) | Cure window / temp limits | Cost & labour |
|---|---|---|---|---|---|---|---|
| 100% Silicone | Full removal of old sealant; solvent wipe | Excellent on glass, vinyl, aluminium; poor on porous masonry | Not paintable; excellent UV resistance | High elongation | 20+ years on non-porous | +5°C minimum; avoid frost | Moderate material; high labour if removal needed |
| Polyurethane | Full removal; primer often required on masonry | Excellent on porous masonry; bonds into substrate | Paintable after cure; degrades under UV if unpainted | Good; less than silicone | 5 years depending on UV protection | +5°C minimum; avoid damp | Moderate; solvent cleanup |
| MS Polymer / Hybrid | Moderate; tolerates slightly damp surfaces | Good on mixed substrates; bonds to most materials | Paintable; good UV resistance | Good; mid-range elongation | 10–20 years typical | Wider window; some products rated to 0°C | Higher material cost; easier application |
| Acrylic / Paintable Latex | Minimal; good for interior trim | Low flexibility; poor on non-porous | Paintable; poor UV resistance outdoors | Low; cracks under movement | 3–5 years outdoors; longer indoors | Broad; not for freezing temps | Lowest cost; water cleanup |
Silicone bonds best to non-porous surfaces like glass, vinyl, and aluminium, and its UV resistance is unmatched. Polyurethane grips into porous masonry but needs paint or a UV-protective coating to reach its full service life. MS polymer hybrids are the practical choice when a renovation joint mixes substrate types, or when scheduling constraints mean the surface may not be perfectly dry. Acrylic latex belongs indoors on trim and painted surfaces only; using it on an exterior joint is one of the most common and costly mistakes in renovation caulking.
Pro Tip: Never apply new sealant over a cured old bead of a different chemistry. Cured silicone and polyurethane do not bond reliably to each other, and layering chemistries is a leading cause of callbacks. If you are not sure what is in the joint, remove it entirely.
Why surface prep matters more in renovations than product choice
Prep quality influences sealant performance more than product grade. A mid-range sealant applied to a clean, dry, primed joint will outlast a premium tube squeezed over a contaminated surface. This is the single most important thing to understand about the difference in caulking methods between renovation and new construction work.
Here is the order of operations for a renovation joint:
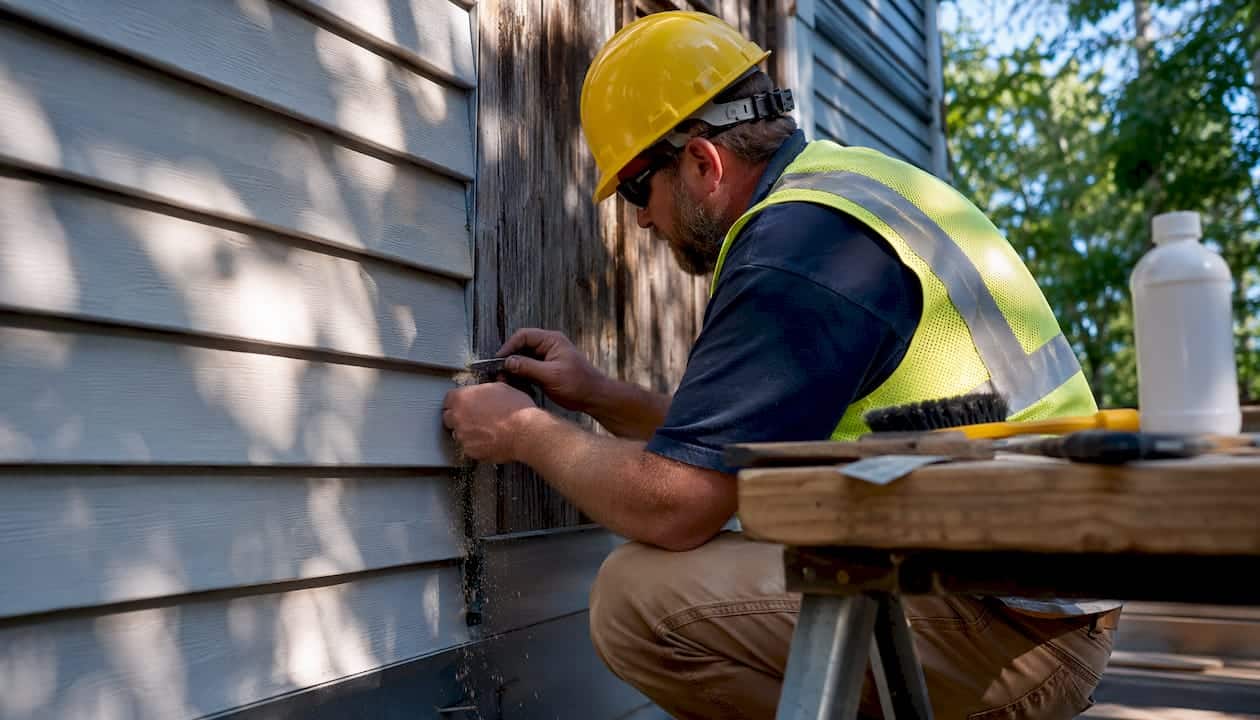
- Inspect the existing bead. Check adhesion by pressing a knife blade under the bead edge. If it lifts cleanly, the bond has already failed. Note how many layers are present and what chemistry each appears to be.
- Soften and cut. For silicone, apply a caulk-remover gel and allow it to dwell before cutting. For latex, mechanical removal with a putty knife is usually sufficient. Use an oscillating tool for long runs.
- Scrape and clean. Remove all residue. Silicone residue requires a solvent wipe (acetone or isopropyl alcohol). Latex residue can be scrubbed with warm water. Leave no film behind.
- Inspect the substrate. Probe for soft rot in wood, check flashing integrity, and look for efflorescence or moisture staining on masonry. If the substrate is damaged, address it before sealing.
- Dry completely. Allow 24–48 hours drying time in wet areas before applying new sealant. Masonry needs longer after rain.
- Prime porous masonry where required. Check the product’s technical data sheet (TDS) for primer requirements. Skipping primer on bare brick or concrete is a common cause of polyurethane adhesion failure.
Full removal is mandatory when you find multiple layers of different chemistries, biological contamination (mould or mildew behind the bead), failed flashing or evidence of trapped water, or a bead that has lost adhesion on both sides.
Pro Tip: An acetone wipe on a clean white cloth confirms whether silicone residue remains. If the cloth picks up any oily film, the surface is not ready. Apply new sealant only when the cloth comes away clean.
How does joint geometry change in renovated assemblies?
Joint design is where residential renovation work most often cuts corners, and the consequences show up within a season or two. The standard guidance from ASTM C1193 calls for a joint width-to-depth ratio of roughly 2:1, with backer rod controlling depth and a bond-breaker tape preventing three-sided adhesion. Three-sided adhesion restricts the sealant’s ability to stretch and compress, which causes tearing at the substrate interface.
The rule on backer rod: if the gap is deeper than it is wide, you need backer rod. A sealant bead that fills a deep gap cannot move freely, and movement is what exterior joints do constantly in Ontario’s climate.
In renovation assemblies, irregular gaps are the norm. Settled frames, shimmed trim, and overlapped paint layers mean the gap width varies along its length. Where the gap narrows, the bead is too thin to accommodate movement. Where it widens, the bead is too thick and may skin over before the interior cures. The practical approach is to use closed-cell backer rod to bring the depth to roughly half the width, then tool the bead slightly concave so it can flex without tearing.
Leave drainage paths open. On window sills, weep holes at the sill-to-frame junction must stay clear. Filling them with sealant traps water and accelerates frame rot. This is a detail that gets missed on renovation jobs more often than on new builds, where the drainage path is designed in from the start.
When should you schedule exterior caulking in Canada?
Ontario’s climate narrows the reliable application window more than most product labels suggest. Surface temperature matters more than air temperature, and masonry holds cold and moisture long after the air warms up. Even with +8°C air in early April, a north-facing brick wall can be near 0°C and damp in its pores. Applying sealant to that surface causes adhesion failures during the first thaw cycle.
| Season | Ontario/GTA surface conditions | Recommended for exterior masonry? | Notes |
|---|---|---|---|
| May–June | Surfaces warming and drying; overnight frost risk low after mid-May | Yes — preferred window | Confirm surface temp above +10°C before starting |
| July–August | Hot and dry; ideal cure conditions | Yes | Avoid direct sun on dark masonry; surface can exceed product limits |
| September–early October | Cooling but stable; low frost risk | Yes — second preferred window | Check overnight lows; stop before consistent sub-zero nights |
| Late October–March | Freeze-thaw cycles; surfaces cold and damp | No for masonry; limited for sheltered joints | Some hybrid products rated to 0°C but not recommended for masonry |
| April | Air warming but masonry still cold | Caution — test surface temp | Wait until surface consistently above +10°C |
Shoulder seasons from May through early October give the most reliable results for exterior masonry work in the GTA. For a seasonal caulking guide specific to Canadian homes, the timing rules apply to both windows and doors. Always read the product TDS for minimum surface temperature, primer requirements, and cure rate. Allow full cure before the joint is exposed to driving rain or painted over.
MS polymer hybrids genuinely earn their place in renovation scheduling because several products tolerate slightly damp surfaces and wider temperature windows. On a property manager’s tight schedule, that flexibility can mean the difference between getting the work done in October and waiting until spring.
How long does renovation caulking last, and when should you inspect it?
Lifespan depends on chemistry, substrate condition, and how well the joint was prepared. In renovated conditions, expect these ranges:
- 100% silicone on non-porous surfaces (glass, vinyl, aluminium): 20+ years with no maintenance.
- Polyurethane on porous masonry, painted and maintained: moderate service life depending on UV exposure and paint condition.
- MS polymer hybrids: typical service life is substantial in moderate conditions.
- Acrylic latex outdoors: tends to last only a few years before cracking and adhesion loss.
BC Housing’s guidance is clear: sealants should be inspected annually as part of a building envelope maintenance programme, with professional assessment to determine whether selective repair or total removal is required.
Annual visual inspection is the minimum. Walk the perimeter after the first hard freeze of the season and again in spring. Look for adhesion loss at the substrate edge, surface cracking or alligatoring, delamination between layers, and any discolouration that suggests moisture is tracking behind the bead. After a severe weather event, check high-exposure joints immediately.
Plan a full strip and reseal when you find adhesion loss on both sides of the bead, biological growth behind the joint, or a bead that has hardened and lost elasticity. Spot repair is acceptable only when adhesion is intact on both sides and the failure is a surface crack, not a substrate separation. A preventive maintenance programme extends asset life and avoids the much higher cost of water-damage remediation. For property managers, a building maintenance caulking schedule makes inspection cadence systematic rather than reactive.
What are the most common caulking mistakes to avoid?
Most renovation caulking failures trace back to a short list of avoidable errors:
- Caulking over cured old caulk. New sealant bonds to the old bead, not the substrate. When the old bead fails, it takes the new one with it.
- Using acrylic latex outdoors. It cracks within a few seasons and is not waterproof. Acrylic is for interior trim and painted surfaces only.
- Ignoring flashing and drainage. Caulking over a failed flashing detail delays the problem by one season. The water will find another path.
- Overfilling joints. A thick bead cannot flex. It tears at the substrate edge under thermal movement.
- Applying in the wrong season. Cold or damp surfaces cause adhesion failure regardless of product quality.
- Skipping primer on porous masonry. Many polyurethane products require primer on bare concrete or brick; skipping it cuts lifespan significantly.
Red flags that signal the job needs a professional: multiple sealant layers of unknown chemistry, persistent damp or staining behind trim after previous caulking attempts, recurring leaks at the same joint, or any sign of mould behind the bead. For a detailed breakdown of common caulking mistakes and how to address them, Kettlecontracting has published a practical guide for homeowners.
Before calling a contractor, photograph every joint from multiple angles and note any history you know: when it was last done, what product was used if you have it, and whether leaks appeared after specific weather events. That information cuts diagnostic time and helps the contractor scope the job accurately.
On-site lessons and a specification checklist from Kettlecontracting
After 25 years on the job across Oshawa, the GTA, and surrounding Ontario communities, the pattern is consistent: the jobs that fail early almost always skipped either removal or substrate drying. The jobs that hold for decades started with a thorough inspection and honest scoping.
Here is the specification checklist Kettlecontracting uses on renovation caulking jobs:
- Inspection: Document existing bead chemistry, layer count, adhesion condition, flashing integrity, and substrate moisture.
- Removal method: Specify chemical softener, mechanical, or oscillating tool based on chemistry and access.
- Substrate drying time: Minimum 24 hours after rain for wood; 48+ hours for masonry; confirm with moisture meter on problem areas.
- Primer: Specify primer type and coverage where the TDS requires it for the selected product and substrate.
- Backer rod: Specify diameter and material (closed-cell polyethylene) to achieve correct width-to-depth ratio.
- Sealant chemistry: Specify by product name and TDS reference, not just generic type.
- Tooling and finishing: Concave bead profile, weep paths left open, no bridging over gaps wider than the product’s rated span.
- Cure verification: Note minimum cure time before rain exposure and before painting; schedule re-inspection at 30 days.
The most useful thing a homeowner can do before calling for a quote is take photos of every joint and write down the history. When we arrive knowing that a window was resealed three years ago with an unknown product and has leaked twice since, we can scope the job in 20 minutes instead of an hour.
On some renovation calls, caulking solves the problem completely. On others, particularly where flashing has lifted or a sill pan is missing, window perimeter failures require assembly repair before resealing will last. Kettlecontracting scopes those situations honestly and will tell you when caulking alone is not the right answer. For a full breakdown of how renovation caulking is quoted, including line items for inspection, removal, primer, and labour, see the GTA renovation bid guide.
Pro Tip: Ask any contractor you are considering to reference the TDS for the product they plan to use. If they cannot name the product or explain why it suits your substrate, that is a signal to keep looking.
When should you hire a professional, and how do you write a clear spec?
DIY is reasonable for small, accessible interior joints with a single sealant layer and no flashing concerns. Exterior masonry, multi-storey access, multiple failed layers, or any sign of moisture behind the assembly are situations where professional diagnosis pays for itself. A property maintenance guide can help you assess where caulking fits within a broader maintenance plan.
When you are getting quotes, use this checklist to make bids comparable:
- Ask about the inspection method. Does the contractor probe for moisture, check flashing, and document existing conditions before pricing?
- Ask what removal approach they plan. Chemical, mechanical, or oscillating? Full removal or spot repair, and why?
- Ask for the product name and a TDS reference. What chemistry, what substrate rating, what minimum temperature?
- Ask about primer. Is it included in the quote? Which product and coverage rate?
- Ask about warranty. What does it cover, for how long, and what voids it?
- Review the quote line items. Inspection fee (if any), removal hours, primer, backer rod, sealant material, labour, and a scheduled re-inspection should all appear separately. Labour for inspection and removal often drives cost more than material on renovation jobs; itemised quotes let you compare bids accurately.
A quote that lumps everything into a single line is harder to evaluate and harder to dispute if something goes wrong. Insist on itemisation.
Key takeaways
Renovation caulking requires full removal of old sealant, chemistry-matched product selection, and proper surface preparation before any new sealant is applied.
| Point | Details |
|---|---|
| Prep beats product | A clean, dry, primed substrate with correct backer rod outperforms premium sealant on a contaminated surface every time. |
| Remove old sealant fully | New sealant over a cured old bead bonds to the bead, not the substrate, and fails when the old bead fails. |
| Match chemistry to substrate | Silicone for non-porous surfaces (20+ years); polyurethane for porous masonry (5–15 years); hybrids for mixed assemblies. |
| Schedule for Ontario conditions | Aim for May through early October for exterior masonry work; confirm surface temp above +10°C before applying. |
| Kettlecontracting’s approach | Full inspection, honest scoping (including flashing assessment), itemised quotes, and documented cure verification on every renovation job. |
What Felix sees most often on renovation calls
The most common scenario on a renovation call is a homeowner who has already caulked the joint once or twice and is frustrated that it keeps failing. Almost every time, the original removal was incomplete. The new bead bonded to the old one, the old one let go, and the whole thing peeled. It is not a product problem. It is a prep problem.
The second most common issue is a joint that genuinely cannot be fixed with caulking alone because the flashing behind it has failed. Caulking over that situation buys a season, maybe two. Then the call comes back. The honest answer in those cases is that the assembly needs repair first, and caulking is the last step, not the first.
If you are planning a renovation caulking project, photograph every joint before you touch it. Note what you know about the history. That information is worth more than any premium product you can buy.
Kettlecontracting’s renovation caulking service: what to expect
Renovation caulking done right is not just about filling gaps. It is about protecting your building envelope from water infiltration, air leakage, and the kind of slow damage that shows up as rot, mould, and rising energy bills years later.

Kettlecontracting brings full inspection, honest scoping, and documented cure verification to every renovation caulking job across the Greater Toronto Area. For residential owners, that means a clear explanation of what needs to come out, what goes back in, and why. For property managers and strata boards, it means itemised quotes with separate line items for inspection, removal, primer, backer rod, sealant, and labour, so bids are comparable and budgets are accurate. When the assessment reveals that flashing or assembly repair is required before resealing will hold, Kettlecontracting says so directly rather than applying a temporary fix.
To request an inspection or get a quote for your property, visit Kettlecontracting’s caulking services page. Response and scheduling are straightforward: describe the property, the location of the joints, and any history you know, and the team will confirm availability and next steps.
Authoritative Canadian sources and recommended reading
| Resource | What it covers | Where to find it |
|---|---|---|
| BC Housing Maintenance Matters #5 | Annual inspection guidance, sealant removal assessment, professional diagnosis | bchousing.org |
| Natural Resources Canada (OEE) | Caulking energy-efficient windows; installation and sealing guidance | ostrnrcan-dostrncan.canada.ca |
| Product TDS (manufacturer) | Minimum surface temperature, primer requirements, cure rate, paintability | Available from product manufacturer or distributor |
| Kettlecontracting blog | GTA renovation bid itemisation, seasonal timing, common mistakes, maintenance schedules | kettlecontracting.com |
Reading a product’s TDS before you buy resolves most questions about primer, temperature limits, and paintability. Manufacturer limits matter more in renovation work because substrates vary so widely; a product that performs well on clean vinyl may require primer on aged masonry, and the TDS will tell you that where the label will not.
FAQ
Is renovation caulking the same as new construction caulking?
No. Renovation caulking requires removing old sealant, cleaning contaminated substrates, and matching product chemistry to aged surfaces. New construction applies sealant to clean, stable, primed joints in a planned sequence.
Does silicone caulk expand and contract with temperature changes?
Yes. 100% silicone offers high elongation and a wide service temperature range, making it well-suited to Ontario’s freeze-thaw cycles on non-porous surfaces like glass, vinyl, and aluminium.
What are the most common caulking mistakes to avoid?
The most common errors are applying new sealant over cured old caulk, using acrylic latex on exterior joints, and skipping primer on porous masonry. All three cause premature adhesion failure.
When is the best time to caulk exterior joints in Ontario?
May through early October is the reliable window for exterior masonry work in the GTA. Surface temperature should be above +10°C; avoid applying within 24 hours of rain or when overnight frost is forecast.
Should I hire a professional or do it myself?
DIY is reasonable for small, accessible interior joints with a single sealant layer. Exterior masonry, multiple failed layers, flashing concerns, or any sign of moisture behind the assembly are situations where professional diagnosis from a specialist like Kettlecontracting is the more reliable choice.
This article provides general information about caulking and sealant practices. For your specific situation, confirm current product requirements with the manufacturer’s technical data sheet and consult a qualified contractor.
