Exterior caulking is a central maintenance task to shield your home from moisture, drafts, and pests. Frequently applying caulk around windows, doors, and other openings can help maintain the integrity of your home exterior. Whether you’re sealing gaps, cracks, or joints, proper caulking helps prevent water infiltration and enhances energy efficiency. This guide presents a straightforward process to apply exterior caulking effectively.
Tools and Materials You’ll Need
- Caulking gun
- Utility knife
- Exterior caulk
- A clean piece of cloth
- Caulk refinement tool
Applying Exterior Caulking Requires Some Steps. Take a Look of a Step by Step Guide:
Step 1: Prepare the Surface: The preliminary and most important is to prepare the surface. Make sure the surface is dirt-free. You can also clean the area with a damp cloth and mild soap to remove dirt, then dry that area completely. Additionally, ensure that you have removed any old caulk; for this purpose, you can also use a utility knife.
Step 2: Choose the Right Caulk: Select a high-quality exterior caulk suitable for your project. Due to their durability and flexibility, silicone or polyurethane-based caulk works well for most outdoor applications.
Step 3: Load the Caulking Gun: Open the caulk gun, insert the caulk tube, and push the plunger until the caulk is at the tip. Use a utility knife to cut the caulk tube’s end at a 45-degree angle. The hole size will depend on the gap width you’re filling. Before applying, squeeze the trigger to ensure an even flow of caulk.
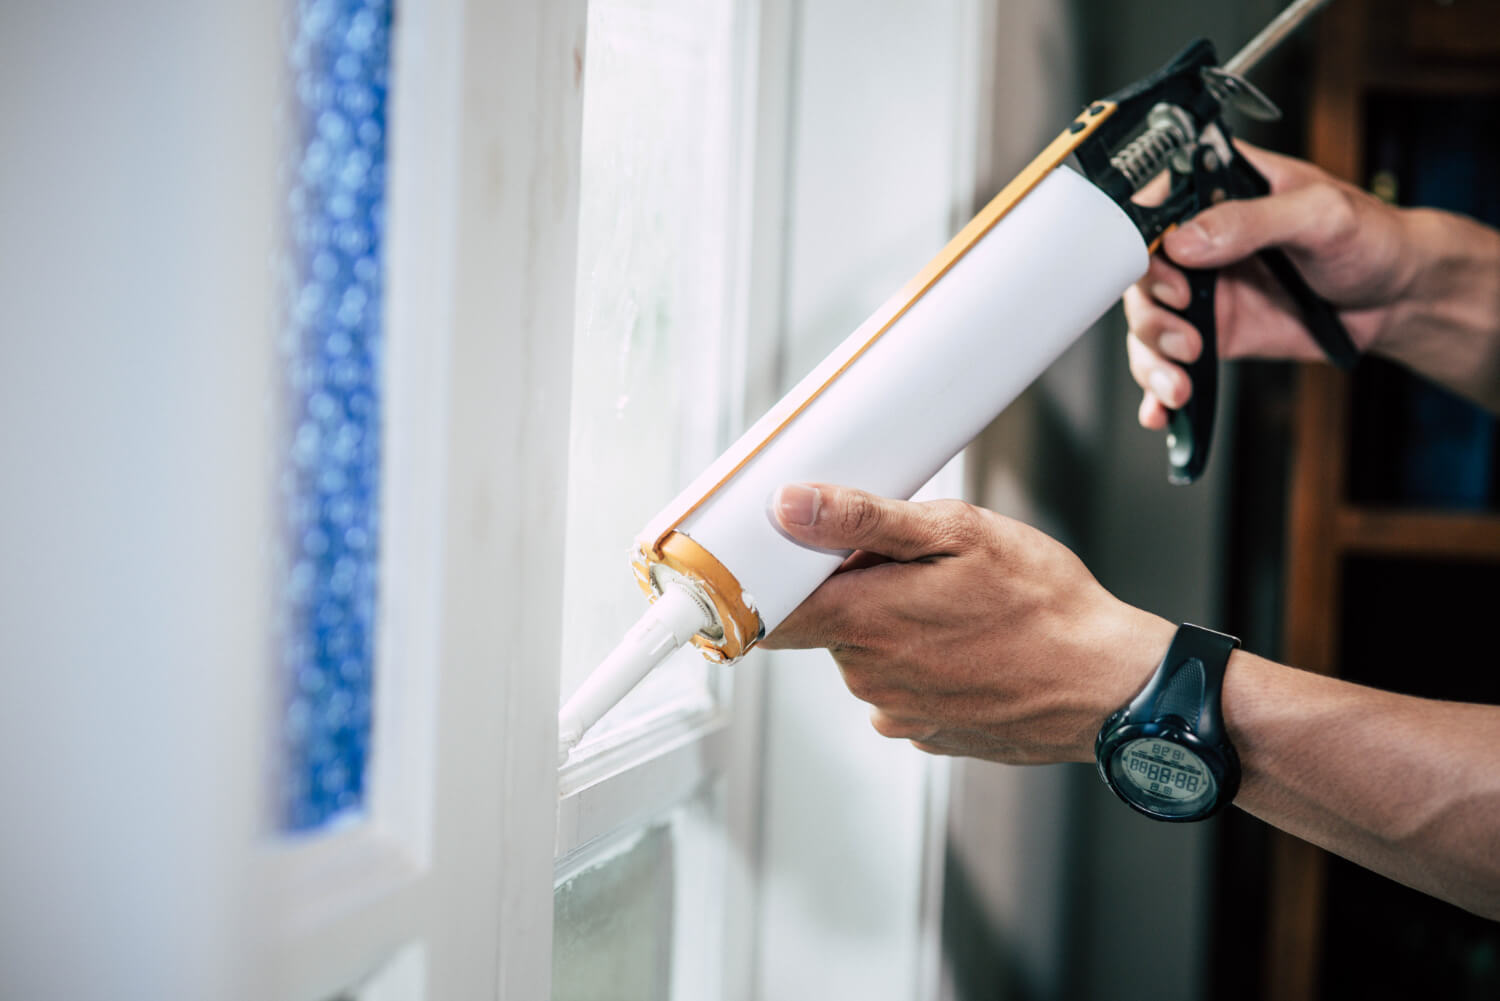
Step 4: Apply the Caulk: Position the caulk gun at a 45-degree angle to the gap and apply gentle pressure on the trigger. Now, move the gun steadily along the gap while squeezing the trigger consistently for a uniform flow of caulk. Take your time to ensure the caulk fills the gap adequately, providing adequate sealing. If you want a clean edge, apply painter’s tape on both sides of the hole before caulking.
Step 5: Smooth the Caulk: Using a caulk smoothing tool or your finger, carefully smooth the caulk along the gap. Run your moistened finger along the caulk bead to create a smooth finish. This seals the gap effectively and provides a neat and professional finish.
Step 6: Removing Excess Caulk: If excess caulk smudges onto the surface, use a damp cloth to wipe it away immediately. If you used painter’s tape, carefully remove it before the caulk dries to achieve clean edges.
Step 7: Check for Gaps: Ensure no missed spots or gaps exist. If you find any, repeat the caulking process in those areas.
Step 8: Wait to dry completely: Check the caulk tube for recommended drying times. It’s usually best to avoid disturbing the caulk until scorched.
Step 9 Inspect and examine: Once it is entirely dried, apply caulk to the gaps. Furthermore, if you locate any issues, apply a tiny amount of additional caulk to the hitched areas.
Step 10: Regular Maintenance: Supervise the caulked areas off-and-on and reapply the caulk if you detect any signs of wear, cracking, or gaps. Proper maintenance extends the life of your caulk and ensures your home remains well-protected.
Conclusion
Applying exterior caulk from Kettle Contracting is a task that offers noteworthy long-term benefits. These steps can seal gaps and improve your home’s energy efficiency. Invest a little time on this maintenance task, and you’ll take pleasure in a more comfortable and well-maintained living spaces.