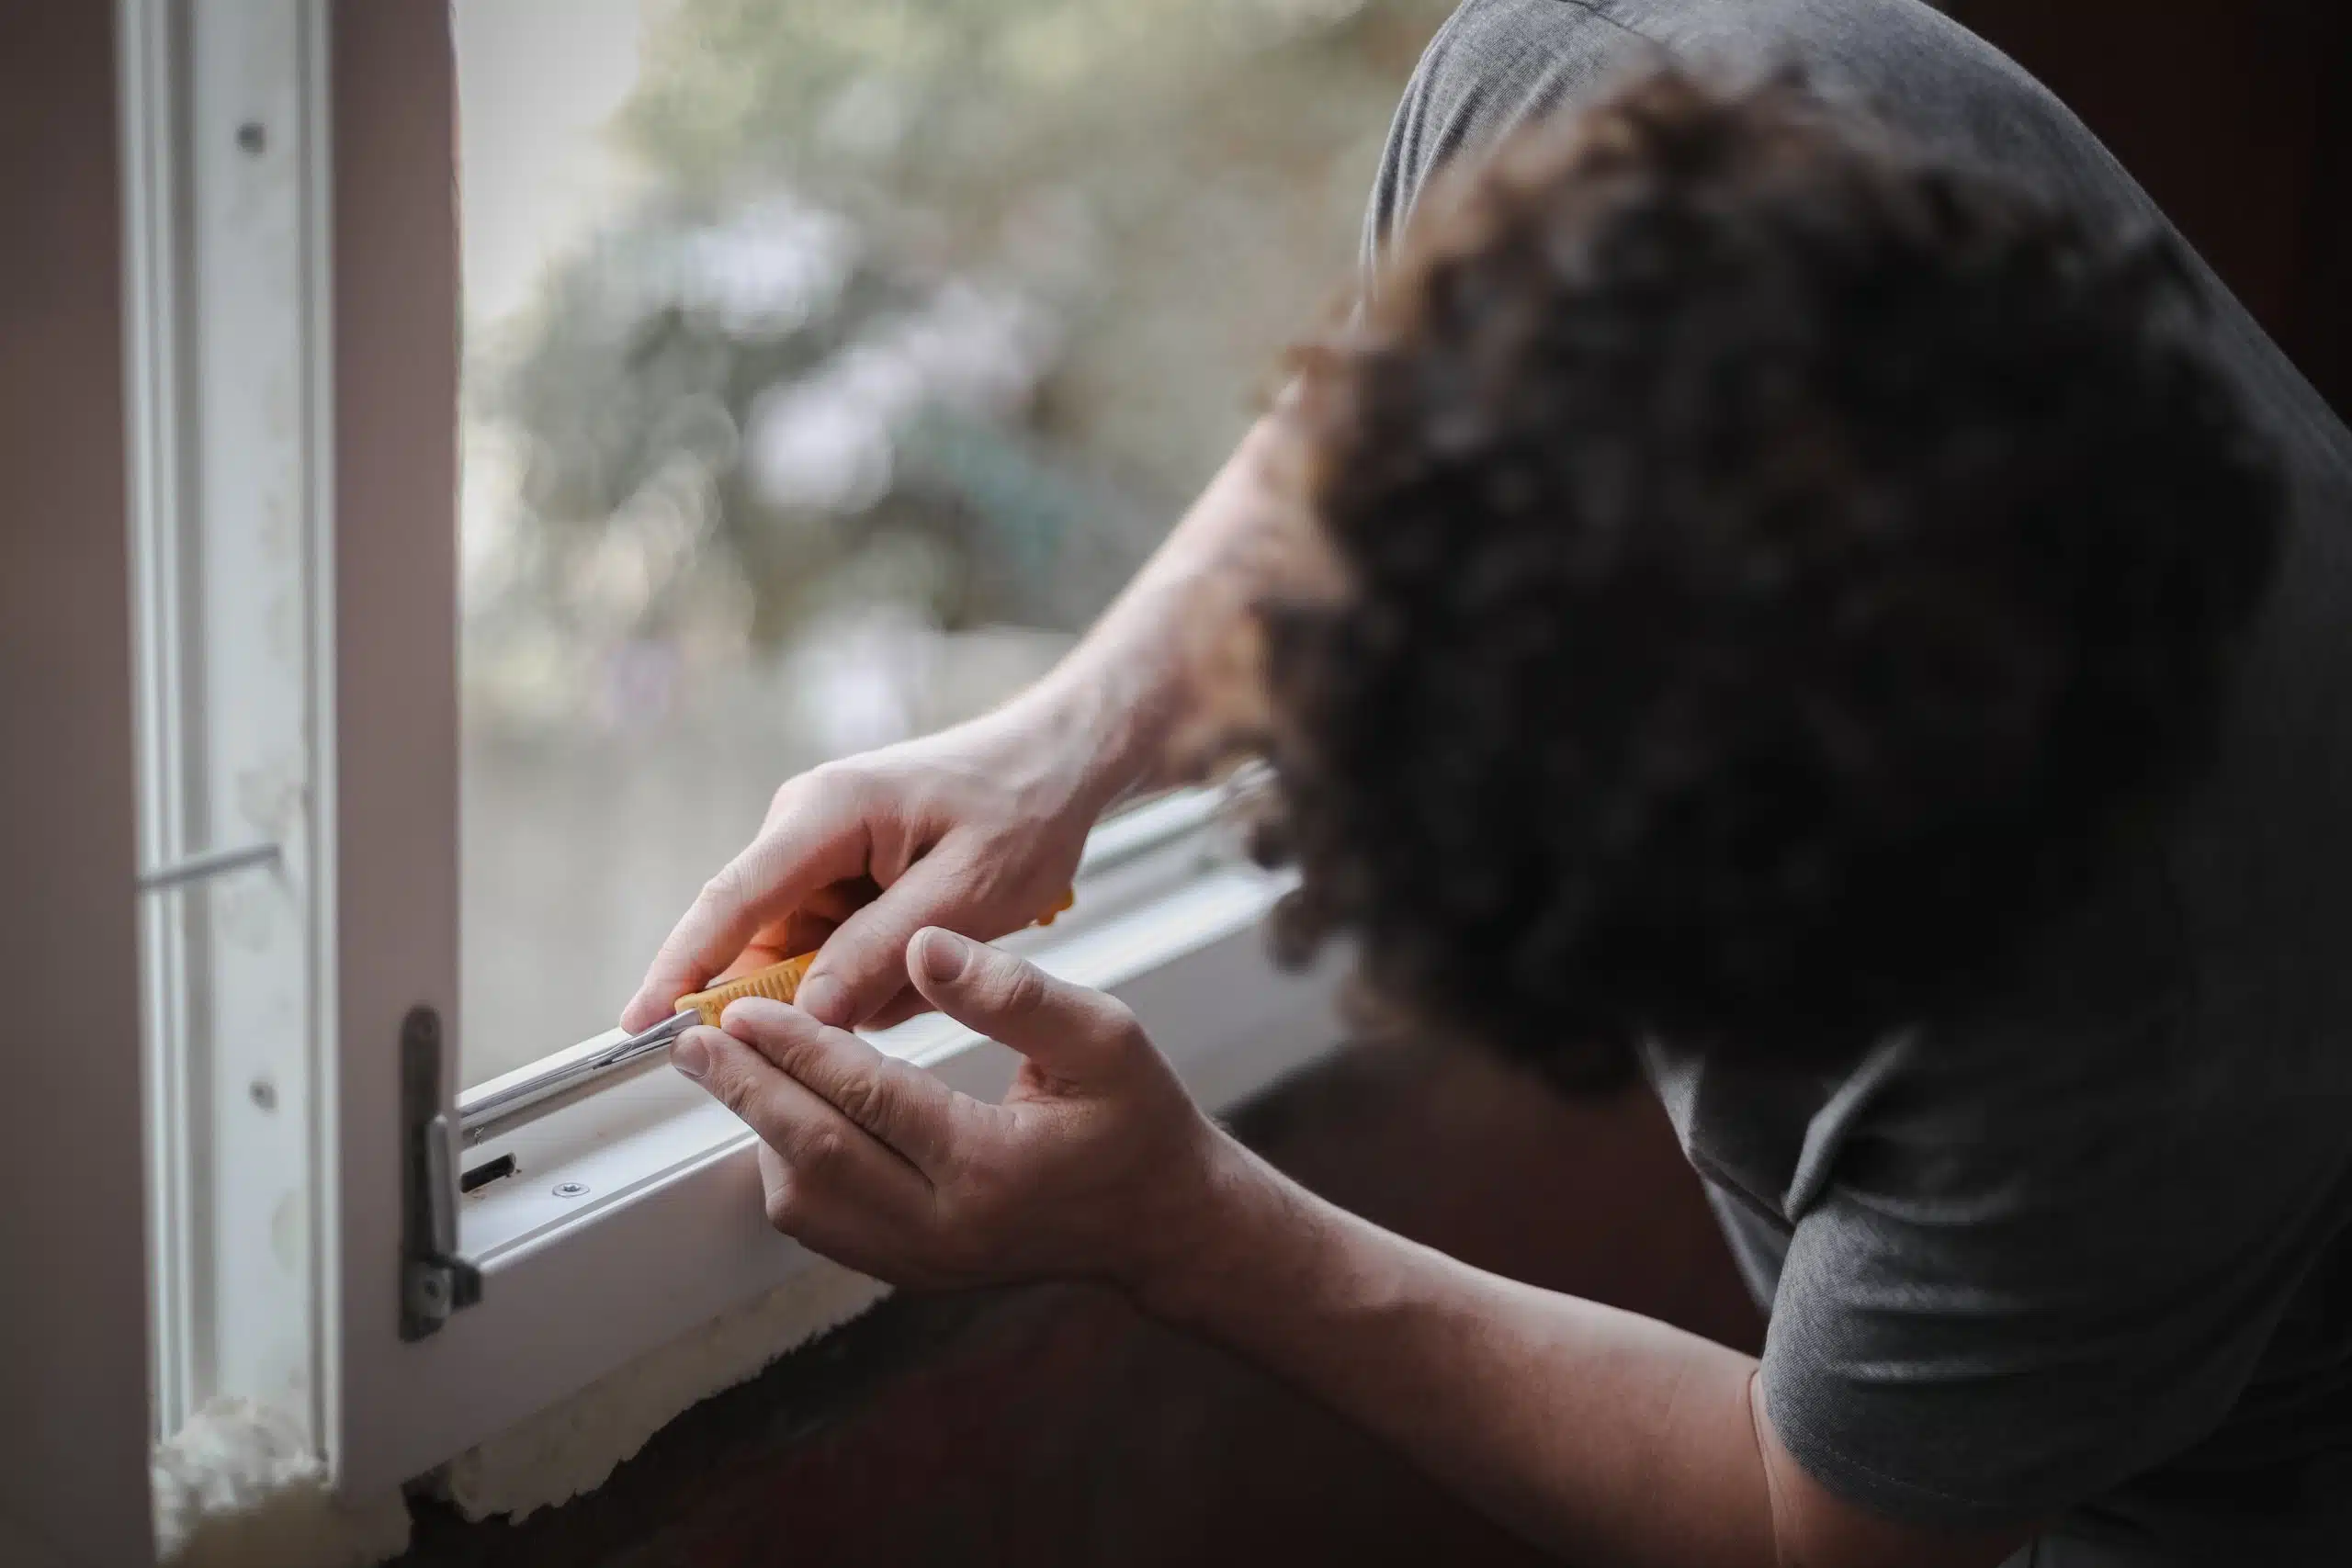
Old window caulk can affect your home’s insulation and energy efficiency. Removing and replacing it not only keeps your windows looking fresh but also ensures your home stays warm in the winter and cool in the summer. Here’s a simple DIY guide to help you safely and effectively remove old caulk from your windows like a pro.
Why Removing Old Caulk Is Important
Over time, window caulk can crack, peel, or lose its seal, leading to drafts, moisture damage, and higher energy bills. By replacing old caulk, you enhance your home’s insulation and keep your windows in top condition.
When to Remove Old Caulk
Signs that it’s time to remove and replace your window caulk include visible cracks, peeling, or gaps. If you notice drafts or increased energy costs, inspecting your window caulking is a good idea.
Tools You’ll Need
Using the right tools makes the job easier and more effective. Here are the essentials:
- Caulk removal tools
- Utility knife or razor blade
- Soft-bristled brush or vacuum
- Isopropyl alcohol or caulk remover solution
- Clean cloth or sponge
- Protective gloves
- New caulk and caulking gun
You can buy caulking removal tools and supplies online or from local hardware stores in Oshawa, Ajax, Pickering, or Toronto.
Step-by-Step Guide to Removing Old Window Caulk
- Prepare Your Workspace
Wear gloves to protect your hands and ensure the area around the window is clean and clutter-free. Remove any curtains or blinds to access the entire window frame. - Soften the Old Caulk
Use isopropyl alcohol or a caulk remover solution to soften the old material. Apply it along the caulk line and let it sit for 15–20 minutes. This step makes it easier to scrape away. - Remove the Old Caulk
Using a caulk removal tool or utility knife, carefully scrape the softened caulk. Work in small sections to avoid damaging the window frame or glass. Use a soft-bristled brush or vacuum to clean away debris. - Clean the Surface
Wipe down the area with a clean cloth or sponge soaked in isopropyl alcohol to remove any residue. A clean surface ensures the new caulk adheres properly. - Inspect for Damage
Check the window frame and surrounding areas for signs of damage. If you notice cracks or wood rot, consider hiring window caulking specialists for repair before reapplying caulk.
Tips for Safe and Effective Caulk Removal
- Use tools specifically designed for caulking removal to avoid scratching or damaging surfaces.
- Work slowly and carefully to ensure all old caulk is removed.
- If you’re unsure about the process or notice significant damage, consult local window repair and caulking services.
Reapplying New Caulk
Once the old caulk is removed, you’re ready to reapply fresh caulk. This step improves insulation and prevents drafts. If you prefer professional results, consider contacting affordable window caulk replacement services in your area.
Getting Started
Removing old caulk can be a simple DIY project, but sometimes professional help ensures the job is done right. For expert window caulking services in Oshawa, Ajax, Pickering, Whitby City, and Toronto, contact Kettle Contracting today. We offer same-day window caulk replacement services and home caulking maintenance deals to keep your windows efficient and looking great. Let our window caulking specialists help you maintain your home’s energy efficiency and comfort. Reach out now to get started!


