
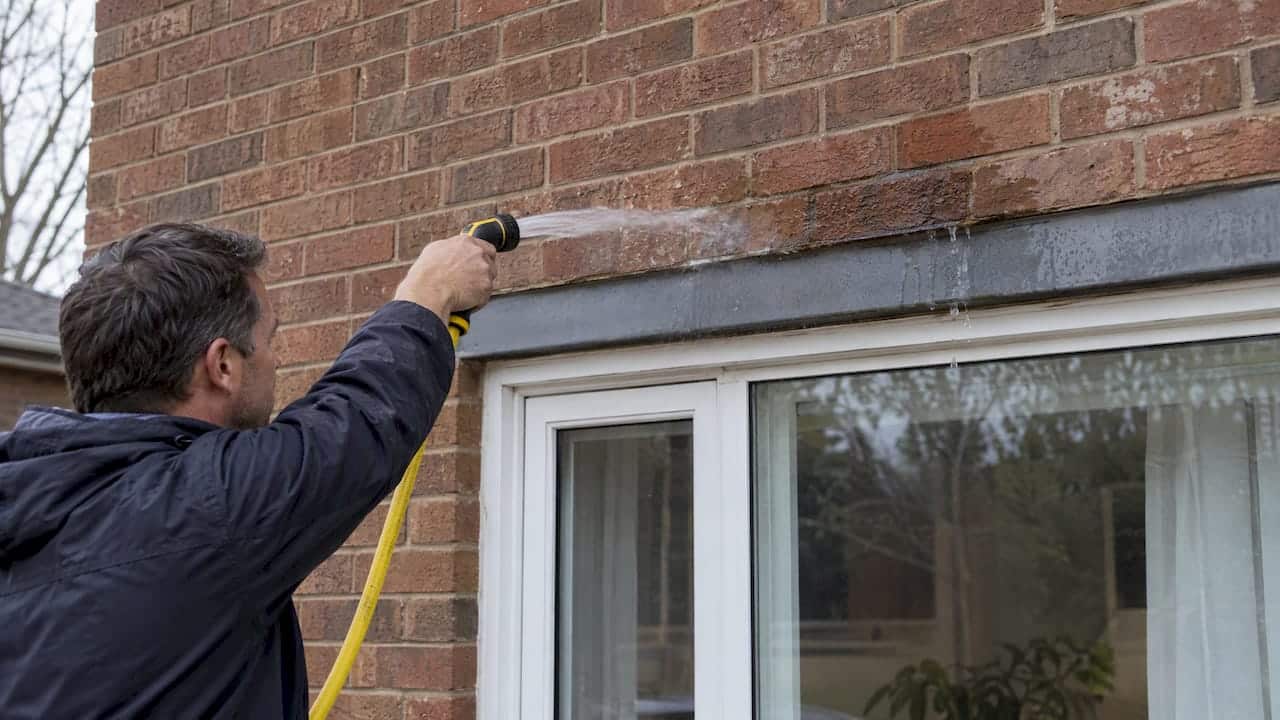
Most water showing up at a window head comes from failed flashing or blocked drainage above the lintel, not from the window itself. Protect the interior first with a bucket or towel, then run a hose test to confirm the source. If the leak is heavy, repeats after every rain, or you see rust streaks on brick, it’s time to call a contractor rather than reach for a tube of caulking.
TL;DR:
- Most water leaks at a window head originate from failed flashing, blocked drainage, or a rusting lintel, not the window itself.
- Visual checks, a hose test, and inspecting weep holes are essential for diagnosing water entry points accurately.
- Temporary fixes like sealant and guttering help limit interior damage but do not address the root causes.
- Proper long-term repairs require replacing or repairing flashing, cavity trays, and the lintel while restoring the masonry around it.
- Significant or active leaks, structural movement, or extensive interior damage necessitate immediate professional assessment and often involve multiple trades.
Table of Contents
- Common causes of leaks at the window head and lintel
- How to diagnose it: visual checks, the hose test, and the right tools
- Temporary fixes to stop interior damage while you plan a repair
- Durable repair options: flashing, cavity trays, and lintel work
- When to call a specialist, and what drives cost and timeline
- Hands-on notes from the field: testing, sealing, and documentation
- Why thorough repairs matter more than quick patches
- FAQ
- Sources
Common causes of leaks at the window head and lintel
Water at a window head usually travels one of a few paths, and knowing which one you’re dealing with saves you from chasing the wrong fix. Research on window leakage paths identifies the window-to-wall interface as one of the most common entry points, often alongside poor flashing and drainage detailing rather than a defect in the window unit itself.
A few patterns show up again and again on job sites:
- Flashing above the lintel has failed, cracked, or was never sloped correctly to shed water outward.
- A cavity tray is missing entirely, so water tracks down the inner wall instead of draining out.
- Weep holes at the base of the brick veneer are clogged with mortar droppings or debris.
- A steel lintel has started rusting, which expands and cracks the mortar around it.
- Freeze-thaw cycles widen small mortar cracks every winter until they become real gaps.
Once the mortar opens up, water finds its way behind the brick faster with every freeze. That’s why a small leak in October can turn into a soaked header by March.
How to diagnose it: visual checks, the hose test, and the right tools
Before you touch any sealant, figure out exactly where the water is getting in. Interior clues matter: staining below the window, a white chalky residue called efflorescence, rust streaks running down from the lintel, or plaster that feels soft when you press it.
Here’s the sequence we walk through on most calls:
- Check inside first. Note the location, shape, and colour of any staining, since rust-tinted streaks usually point to a corroding lintel rather than a simple sealant gap.
- Step outside and look at the flashing above the window. It should slope outward and extend past the brick face, not sit flush or tilt inward.
- Find the weep holes along the base of the brick course above or below the window and confirm they’re open, not packed with mortar or paint.
- Run a five-minute hose test: starting at the bottom of the window and working upward, spray a section at a time for several minutes while someone watches inside. Water appearing only after you reach the lintel area narrows the source considerably.
- If the leak doesn’t reproduce easily, a moisture meter or thermal camera can pick up concealed wetness in the wall cavity that a visual check misses.
Pro Tip: Run the hose test on a calm day, not during wind-driven rain. Wind can push water through gaps that a steady stream won’t reveal, so repeat the test if your first result seems inconclusive.
Temporary fixes to stop interior damage while you plan a repair
Once you’ve confirmed where the water’s coming from, your first job is limiting damage, not solving the root cause. Indoors, that means collecting standing water, pulling back wet drywall or trim before mould sets in, and running a fan or dehumidifier to dry the cavity; when you need professional help, consider water damage wall & ceiling repair in Pickering & GTA to restore your interior properly.
Outside, a few short-term measures can hold things over until a proper repair is scheduled:
- Apply a straight bead of exterior-grade sealant as a temporary drip edge above the problem area to redirect water away from the gap.
- Clear any blocked weep holes so water that does get behind the brick has somewhere to drain out.
- Use taped flashing or a tarpaulin during storm warnings if the opening is large or the forecast calls for heavy rain.
These steps buy time, nothing more. A bead of caulking over a rusted lintel or a missing cavity tray traps moisture behind it instead of stopping the leak, which often makes the underlying damage worse. Treat every temporary fix as a placeholder, not a solution, and book the permanent repair before the next freeze-thaw cycle sets in.
Durable repair options: flashing, cavity trays, and lintel work
A lasting repair addresses drainage first, then the lintel itself, then the masonry around it. Skipping any one of those steps usually brings the leak back within a season or two.
- Install or repair through-wall flashing and add a cavity tray where one is missing, since this restores the drainage path water needs to exit the wall safely.
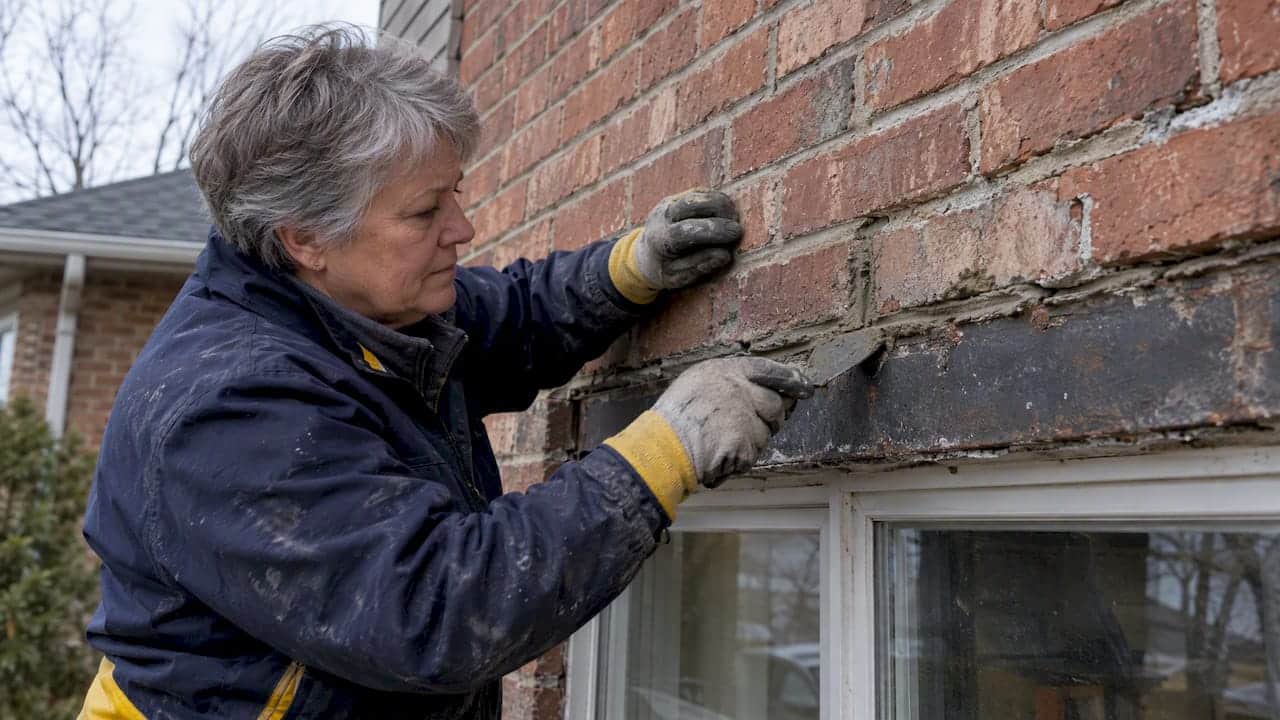
- Repair a lintel when corrosion is limited to the surface; replace it when rust-jacking has expanded the steel enough to crack the end bearings or surrounding masonry.
- Repoint and rebuild the masonry course above the repaired lintel to restore a weatherproof seal around the new flashing.
- Skip repairing the wall assembly and the same leak typically returns, even with a brand new window installed.
Guidance on window construction detailing makes the same point from the trade side: a lintel replacement only holds up long term when the flashing, weep holes, and end bearings are restored alongside it, not left in their original failed state.
Pro Tip: Ask any contractor quoting lintel work whether the price includes repointing the surrounding brick. A new lintel with old, cracked mortar around it is only a partial repair.
When to call a specialist, and what drives cost and timeline
Some situations call for an assessment right away rather than a wait-and-see approach.
- Visible structural movement, bowing brick, or a lintel that’s sagging under the window.
- A heavy, active leak during rain rather than a slow drip.
- Interior damage spreading beyond the area directly below the window.
Lintel and flashing repairs usually involve more than one trade: masonry for the brick and mortar work, a flashing or roofing specialist for drainage detailing, and a caulking contractor for the final seal around the window. One contractor typically coordinates the full job rather than passing you between three separate crews.
Price and timeline depend on how much scaffolding or access the job needs, how far the masonry rebuild extends, whether the lintel needs full replacement, and whether winter weather limits mortar curing. On the insurance side, guidance from the Insurance Bureau of Canada notes that standard policies generally exclude damage from wear and tear or lack of maintenance; sudden accidental water damage may be covered depending on the policy depending on the specific policy. In practice, that means owners usually carry the cost of a deteriorating lintel themselves.
Hands-on notes from the field: testing, sealing, and documentation
After 25 years of chasing leaks around window heads, a few habits consistently save homeowners money.
- Run the hose test from the bottom up, holding each section for a full five minutes before moving higher, since rushing it hides the real entry point.
- Apply a temporary drip bead only above the gap itself, never across the whole face of the brick. Face-sealing traps the drainage path a cavity wall depends on.
- In freeze-thaw climates, avoid scheduling permanent mortar or masonry repairs in deep winter since curing mortar needs temperatures sealant alone can’t fix.
- Photograph the staining, the hose test, and the flashing condition before calling a contractor. Clear photos speed up quotes and support insurance claims if the damage turns out to be sudden rather than gradual.
Why thorough repairs matter more than quick patches
Most leaking lintels I’ve seen were “fixed” once already, with a bead of caulking over a problem that needed flashing and masonry work instead. That patch bought a year, maybe two, before the water came back and brought more damage with it. Fixing the drainage path properly the first time almost always costs less than repairing the same wall twice.
— Felix
FAQ
What causes water leaks above a window lintel?
Leaks above a lintel usually come from failed or poorly sloped flashing, a missing cavity tray, or blocked weep holes that stop water from draining out of the wall. A corroding steel lintel can also crack the surrounding mortar, opening a new path for water to get in.
Is lintel failure covered by insurance?
Standard home insurance policies generally exclude damage caused by wear and tear or lack of maintenance, so a slowly deteriorating lintel is usually the owner’s responsibility to repair, according to Insurance Bureau of Canada guidance. Sudden, accidental water damage may be covered, but that depends on the specific policy wording.
Can you replace a lintel without removing a window?
In many cases, yes. A contractor can often support the wall above the window, remove and replace the lintel section by section, and reinstall flashing and masonry without pulling the window frame itself, though the approach depends on the wall construction and the extent of damage.
Does a cracked lintel need to be replaced?
Not always. A lintel with surface cracking or light corrosion can often be repaired and resealed, while one with significant rust-jacking, cracked end bearings, or bowing masonry usually needs full replacement to prevent the problem from returning.
Sources
- Insurance Bureau of Canada — types of home insurance coverage
- Water penetration resistance of windows — CMHC/NRC
- Construction techniques to prevent water penetration at windows — Warren Forensics
