
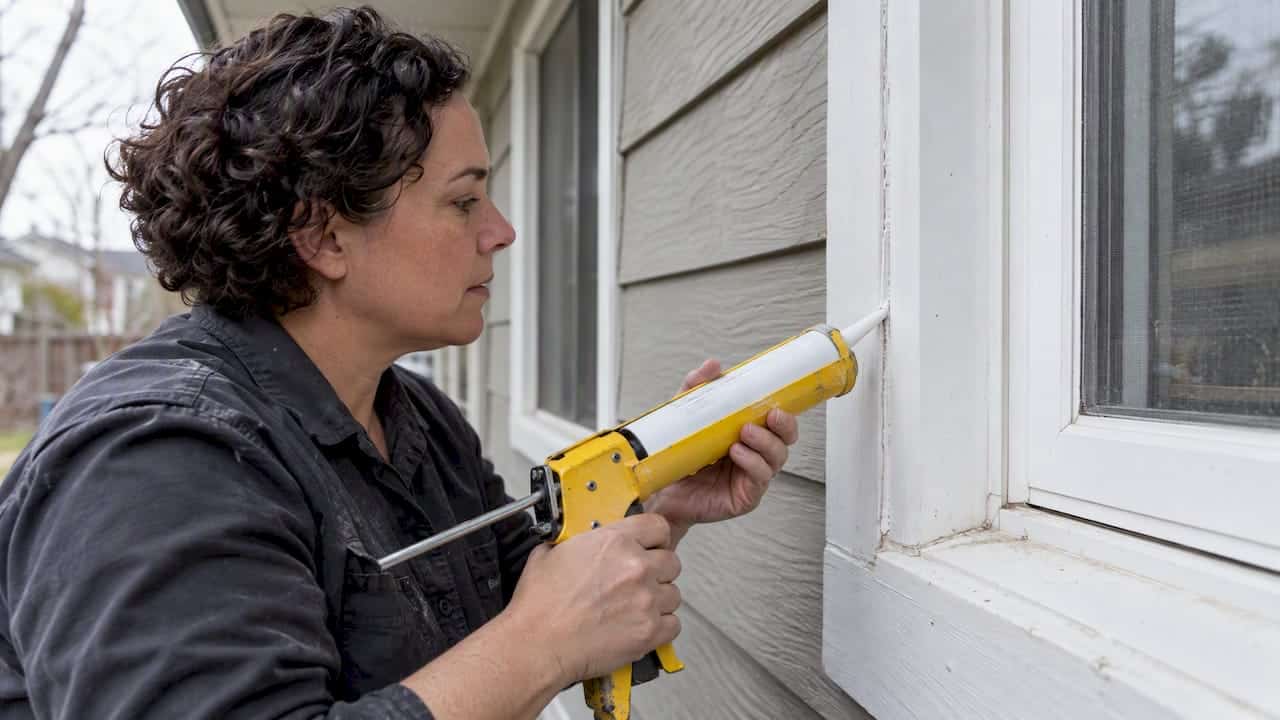
For most exterior jobs, the right paintable caulk is a flexible acrylic latex, a siliconized acrylic, or a paintable hybrid sealant labelled for exterior use. Pure silicone is the one to be careful with, because paint often won’t hold to it. The label has to say “paintable”, and it has to say “exterior”. Everything else is detail: joint size, temperature, and how long you wait before painting.
I’ve been sealing houses around Oshawa for 25 years. Most of the failed caulking I get called to fix was the wrong product, put on a dirty joint, in weather that was too cold. This guide covers how to avoid all three.
TL;DR
- Use a product labelled both paintable and exterior: acrylic latex, siliconized acrylic, or a paintable silicone hybrid. Skip plain silicone if the joint will be painted.
- Pick a caulk by its joint movement rating and the materials it sticks to, not by the brand on the front of the tube.
- Clear is for bonds you want invisible. White is for joints you plan to paint. Clear acrylic is paintable, but many clear silicones are not.
- Prep matters more than product: remove old caulk, clean and dry the joint, and apply above about 4.4°C with no rain or frost forecast for 24 hours.
- Paint-ready times run from 30 minutes to a few hours depending on the product. Read your tube, not a rule of thumb.
Table of Contents
- What “paintable” actually means on an exterior joint
- The main types of paintable exterior caulk
- Choosing caulk by what it’s sealing
- Clear or white: which one goes where
- Can you paint over caulk that isn’t paintable?
- Prep and application, step by step
- Temperature, rain and cure time
- Why painting over caulk fails, and what to do about it
- Our point of view: why we stress the job over the tube
- When to call a pro
- FAQ
- Sources
What “paintable” actually means on an exterior joint
A caulk that is paintable accepts paint without the paint beading up, peeling or cracking away. That is a different property from being waterproof or flexible. LePage Canada makes the point plainly: some clear silicone sealants are difficult to paint, so if a joint will get an exterior coating, buy a product explicitly labelled paintable rather than assuming.
Silicone is excellent at what it does. It makes a flexible, waterproof bond between non-porous materials such as glass and aluminum. But paint adhesion is a separate requirement. A sealant maker that sells a paintable silicone says outright that oil-based paint may look like it covers silicone at first, then fails later. I see this on trim all the time: a neat painted line that has peeled back from the caulk within a season or two.
Two more things to look for on the label:
- Exterior rating. Interior painter’s caulk is cheap, shrinks, and breaks down in sun and rain.
- Joint movement. Wood, vinyl and aluminum all expand and contract with temperature. Ontario’s freeze-thaw swings are hard on a stiff sealant.
The main types of paintable exterior caulk
| Type | Paintable? | Flexibility | Best for | Watch out for |
|---|---|---|---|---|
| Acrylic latex (painter’s caulk) | Yes | Low to moderate | Trim joints, small gaps, interior and sheltered exterior | Water-based, easy cleanup, but check for an exterior rating |
| Siliconized acrylic / elastomeric latex | Yes | Good | Siding, trim, window and door perimeters | Needs the right temperature range to cure |
| Paintable silicone hybrid | Yes | High | Joints with real movement, mixed materials | Costs more; confirm the paint type on the label |
| Pure silicone | Usually no | Very high | Glass, metal, non-porous surfaces you won’t paint | Paint won’t bond reliably |
| Polyurethane | Yes, with limits | High | Masonry and larger joints | Often needs a specific topcoat; best done by a pro |
Paintable silicone hybrids are designed to combine silicone’s durability and flexibility with paintability. They are a good choice where you want a tougher joint than plain acrylic gives you.
What a good exterior product spec looks like
DAP Canada’s technical sheet for DYNAFLEX 230 is a useful example of what to look for. It describes an interior/exterior, waterproof, paintable elastomeric latex sealant for windows, doors, siding and trim, rated ASTM C920 Class 25 with ±25% dynamic joint movement. That rating tells you how far the joint can open and close before the sealant tears. A cheap all-purpose tube rarely gives you a number at all.
I’m not saying this is the only good product. I’m saying a good exterior caulk publishes its performance numbers.
Choosing caulk by what it’s sealing
Vinyl siding
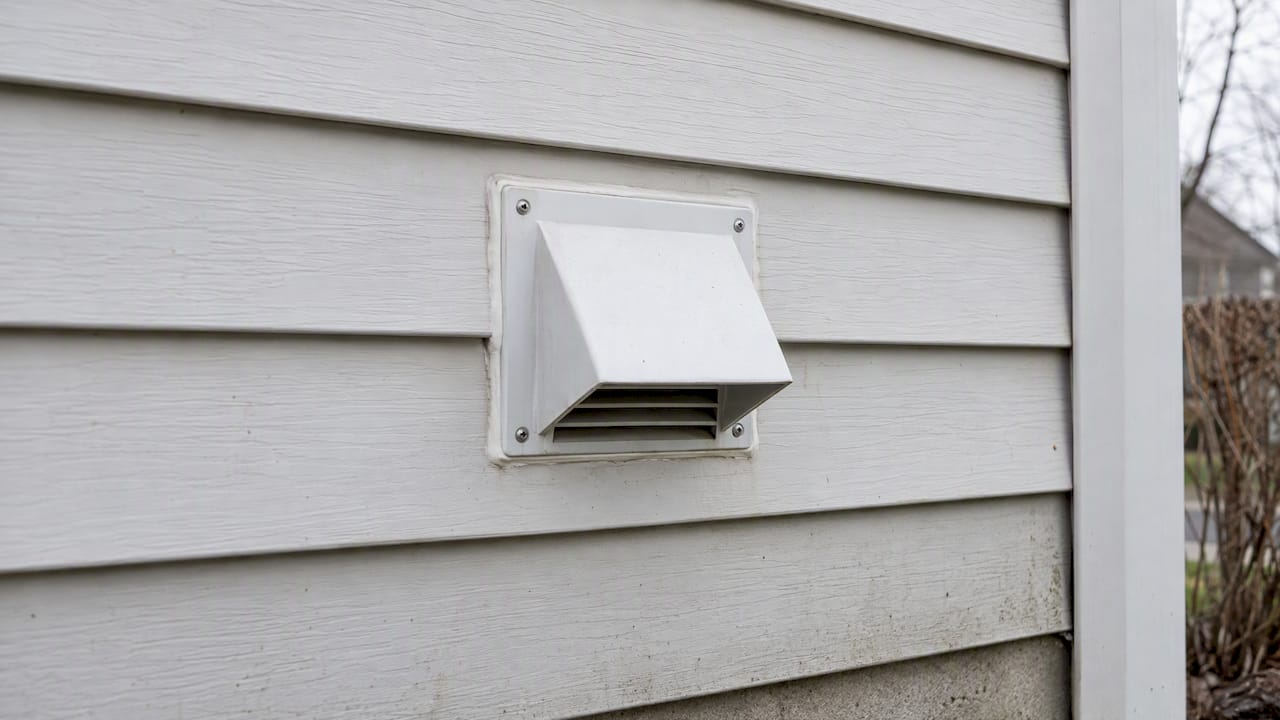
For vinyl, acrylic latex and silicone caulks both work well. Most of the time you shouldn’t be caulking siding laps at all. Siding needs to breathe and drain. Caulk where siding meets trim, around penetrations like hose bibs and vents, and at corners where water is getting in. Do not seal the bottom edge of a lap, or you trap moisture behind it.
Wood siding and trim
Wood moves more, and the same guide notes that wood siding may need a more flexible sealant. A siliconized acrylic or a paintable hybrid is the safer pick. Cheap acrylic often splits at the joint within a couple of winters.
Windows and doors
Window and door perimeters take the most movement and the most water. Look for a product listed for these uses with a stated movement rating. If the frame is aluminum or vinyl and you aren’t painting, a good silicone-type sealant can be the better choice. If you are painting, go paintable. Our own guides go deeper on this: which type of caulk is best for exterior windows and silicone versus acrylic for exterior windows.
Brick and masonry
Brick is its own problem. Mortar joints and brick-to-window joints need sealants that bond to masonry and handle movement. Our page on window caulking for brick homes covers it. Control joints in brick are a separate job, covered under brick expansion joint resealing.
Check the substrate list
Manufacturers list what their sealant sticks to. DAP Canada’s DYNAFLEX ULTRA sheet lists wood, cedar, aluminum, vinyl, PVC, fibre cement, composite, brick, mortar, concrete, stone, stucco, fibreglass and glass, and warns that some surfaces, such as house wraps and certain fluoropolymer-based plastics, are not recommended. Take thirty seconds to read that list before you buy.
Clear or white: which one goes where
This question comes up on almost every estimate. The short answer:
- White paintable caulk is for joints you will paint. It covers cleanly and takes the colour.
- Clear caulk is for joints where you want the sealant to disappear, or where you can’t match the colour.
Lowe’s buying guide puts it simply: choose clear for an unobtrusive look, paint white paintable caulk to match, and for unpaintable silicone choose a colour close to the surrounding surface. Clear is also handy where stone and brick are hard to colour-match.
One trap: “clear” does not mean “paintable” or “not paintable”. It depends on the chemistry. Clear acrylic is water-based and paintable. A lot of clear silicone is not. Some modern products go on white and dry clear. DAP’s DYNAFLEX ULTRA clear applies white and dries clear in 7 to 14 days, and the same sheet lists it as paintable in one hour, subject to joint depth, temperature and humidity.
My rule on site: if it’s going to be painted, buy white paintable. If it’s staying as is, clear for dark or mixed surfaces, colour-matched for a uniform surface like a trim colour you aren’t repainting.
Can you paint over caulk that isn’t paintable?
Sometimes it looks like you can. It rarely lasts.
The sealant maker’s view is blunt: silicone can’t truly be painted, and oil-based paint can look fine at first before it lets go. Water-based paint tends to bead and pull away straight away. The reason is that silicone has a surface paint doesn’t grip, and it flexes more than most paint films.
What I’d do, in order of preference:
- Cut it out and replace it. Remove all of the old silicone. Residue is the enemy: a thin film left behind stops the new sealant from bonding. Clean the surface with the solvent the new product’s label recommends.
- Use a colour-matched sealant instead of painting. If the joint doesn’t need to be painted, choose a colour close to the surrounding surface.
- Seal around it. For trim that must be repainted, sometimes it makes more sense to remove the silicone bead and re-bead with paintable caulk than to fight it.
If you don’t know what’s in the joint, assume the worst. A quick test: put a small amount of the paint on an out-of-the-way section and check for beading and adhesion after it cures. If it’s patchy, cut it out.
Prep and application, step by step
The product matters less than the prep. Here’s how I do it, in line with the DAP Canada technical sheets.
- Remove old caulk and contamination. Scrape and cut out the failed bead. DAP says surfaces must be clean, dry, structurally sound and free of old caulk.
- Check the joint size. DYNAFLEX 230 allows a maximum joint of 50 mm wide by 13 mm deep, and deeper joints need backer rod. Backer rod keeps the sealant at the right depth so it can stretch instead of tearing.
- Check the weather. More on this below.
- Cut the nozzle at 45 degrees and make the opening a little smaller than the joint.
- Fill the joint in one steady pass, pushing the bead into the gap rather than dragging it over the top.
- Tool it before it skins over. A damp finger or a tooling spoon works. Canadian Tire’s how-to suggests smoothing the bead with a wet finger for a clean finish, and a stepladder rather than overreaching.
- Clean wet excess with a damp sponge. Once it dries you’ll be cutting it off.
- Wait the stated time, then paint.
If you want more detail, these cover it from our side: preparing your windows for caulking, how to apply exterior caulking and pro tips for a smooth, even bead.
Temperature, rain and cure time
This is where Ontario homeowners get caught, especially in October and November.
DAP Canada says acrylic-latex caulks can be used outdoors, but application should be above 40°F (about 4.4°C) with no rain or freezing conditions expected before full cure. Cold and high humidity slow curing. The DYNAFLEX 230 sheet adds that no rain or freezing temperatures should be forecast within 24 hours.
That means a bright, cold morning in November is not a good caulking day if the overnight low is below freezing. The bead may look fine at noon and be damaged by morning.
Paint-ready times differ a lot between products:
| Product (per manufacturer sheet) | Paint-ready |
|---|---|
| DAP DYNAFLEX ULTRA | 1 hour (rain-ready at 2 hours) |
| DAP DYNAFLEX 230 | 2 to 4 hours |
| GE Exterior Seal Acrylic Caulk | 30 minutes with latex paint, 24 hours with oil-based paint |
Those are best-case figures. Deep joints, cool weather and humidity all push them out. When in doubt, wait longer. Painting over caulk that hasn’t skinned and set properly is a common reason for wrinkling and cracking.
Why painting over caulk fails, and what to do about it
These are the problems I see most often:
- Painted too soon. The paint film cracks as the caulk finishes curing underneath.
- Wrong caulk. Silicone under paint, or interior caulk in a sunny, wet exterior joint.
- Joint too deep. No backer rod, so the sealant is too thick to flex and splits down the middle.
- Dirty surface. Dust, chalky old paint and mildew keep the bead from bonding.
- Caulk used where it shouldn’t be. Sealing the bottom of siding laps traps water instead of stopping it.
- Painting trim without sound prep. Caulk can’t fix rotten wood. If trim is soft, replace it first.
On that last point, if you’re repainting trim as part of the job, the prep list in this guide to exterior trim painting prep is a handy reference for what to do before the first coat goes on, including safe handling of older painted surfaces.
Our point of view: why we stress the job over the tube
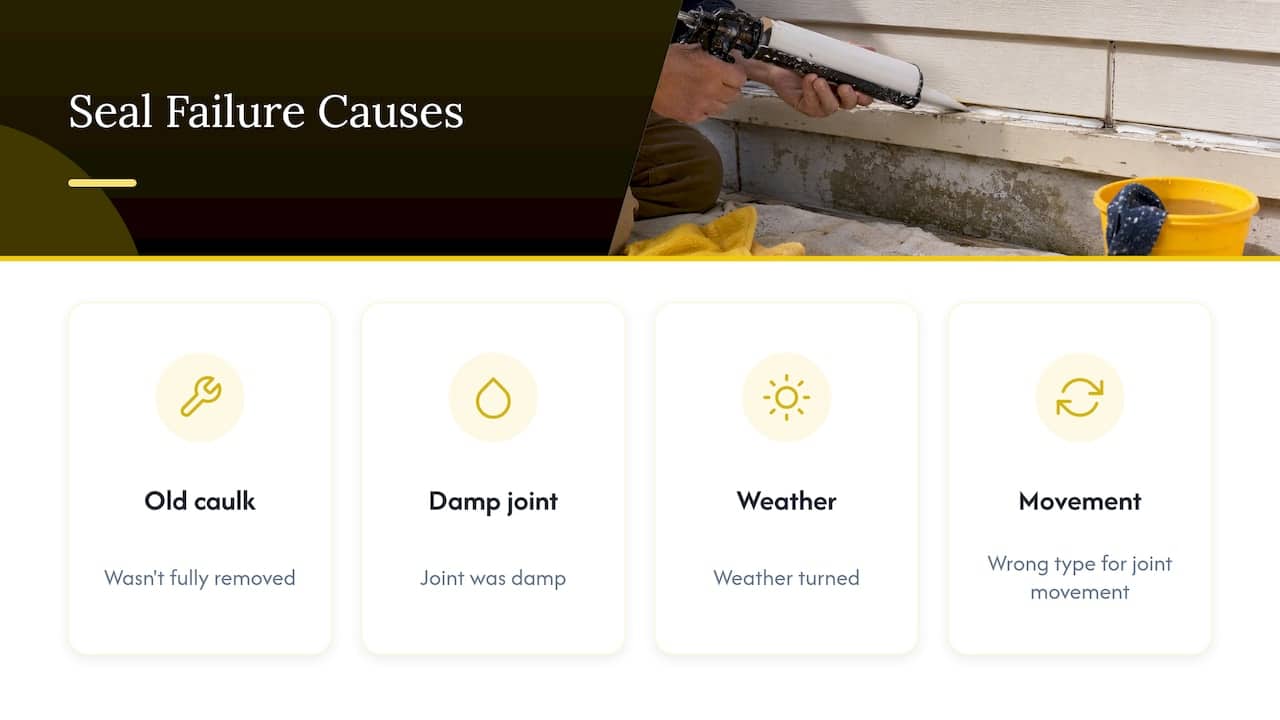
After a quarter century of this, we’ve seen that the brand of caulk is rarely the reason a seal fails. The reasons are almost always the same: the old caulk wasn’t fully removed, the joint was damp, the weather turned, or the sealant was the wrong type for the movement in the joint.
We lean toward flexible, exterior-rated products suited to Canadian winters, and we’d rather do a joint once, properly, than patch it every spring. If a joint is moving more than any caulk can handle, we’ll tell you that. Sometimes the fix is a different detail, such as a proper expansion joint, a replaced sill or new trim, not another bead of sealant.
For a small job like a few feet of trim, a careful homeowner can do fine with the right product. For anything on a second storey, across a full elevation, or around brick and windows where water entry is the concern, the labour and prep are the cost, and doing it right is cheaper than doing it twice.
— Felix
When to call a pro
Call someone when:
- You see water stains, soft wood or mould around a window or door.
- The failed caulk is on brick, stucco or an expansion joint.
- It’s a multi-unit building and the work is on a ladder or lift.
- You’ve caulked before and the joint opened up again.
We handle residential window caulking, door caulking and weather sealing, commercial window caulking and full building envelope sealing across Oshawa, Whitby, Ajax, Pickering, Bowmanville, Cobourg and the wider GTA. We’re fully insured, we use premium materials chosen for the Canadian climate, and we give you honest pricing and clear communication before we start. If you’re not sure what you’re looking at, send us a few photos and we’ll tell you whether it’s a caulking job or something bigger.

See all our services or get in touch to book an estimate.
FAQ
What is the best paintable caulk for exterior use?
The best one is a flexible, exterior-rated product with a published movement rating, either a siliconized acrylic or a paintable hybrid. Look for a rating like ASTM C920 and a list of the substrates it bonds to. Pick by the joint and material, not by the brand.
Can I use paintable caulk for siding?
Yes, at trim joints, corners and penetrations. For vinyl, acrylic latex and silicone both work, while wood siding usually needs something more flexible. Don’t seal the bottom of siding laps, because the wall needs to drain.
Is clear or white caulk better?
Use white if you plan to paint, and clear if you want the sealant to disappear against mixed or hard-to-match surfaces like stone and brick. Check that a clear product is paintable if you intend to paint it, because many clear silicones are not.
Can I paint over regular silicone caulk?
Not reliably. Paint tends to bead up or peel away from silicone, even if it looks fine at first. Cut the silicone out, clean off the residue, and reseal with a paintable exterior product.
How long should I wait before painting?
It depends on the product. Some are paint-ready in 30 minutes to an hour under good conditions, others need two to four hours, and oil-based paint can need up to 24 hours. Cold, damp weather and deep joints take longer, so check the tube and allow extra time.
Sources
- LePage Canada: clear silicone guide
- Sashco: painting caulk
- This Old House: picking the best caulk
- PaintPRO Magazine: exterior caulking
- DAP Canada: DYNAFLEX 230 technical sheet
- DAP Canada: DYNAFLEX ULTRA white and colours
- DAP Canada: DYNAFLEX ULTRA clear
- DAP Canada: Alex Plus all-purpose caulk
- GE Sealants: Exterior Seal acrylic caulk
- Today’s Homeowner: caulking siding guide
- Lowe’s: caulk buying guide
- Project Of The Month: sealant colour matching
- Canadian Tire: how to apply exterior caulking
- Exterior trim painting prep guide