
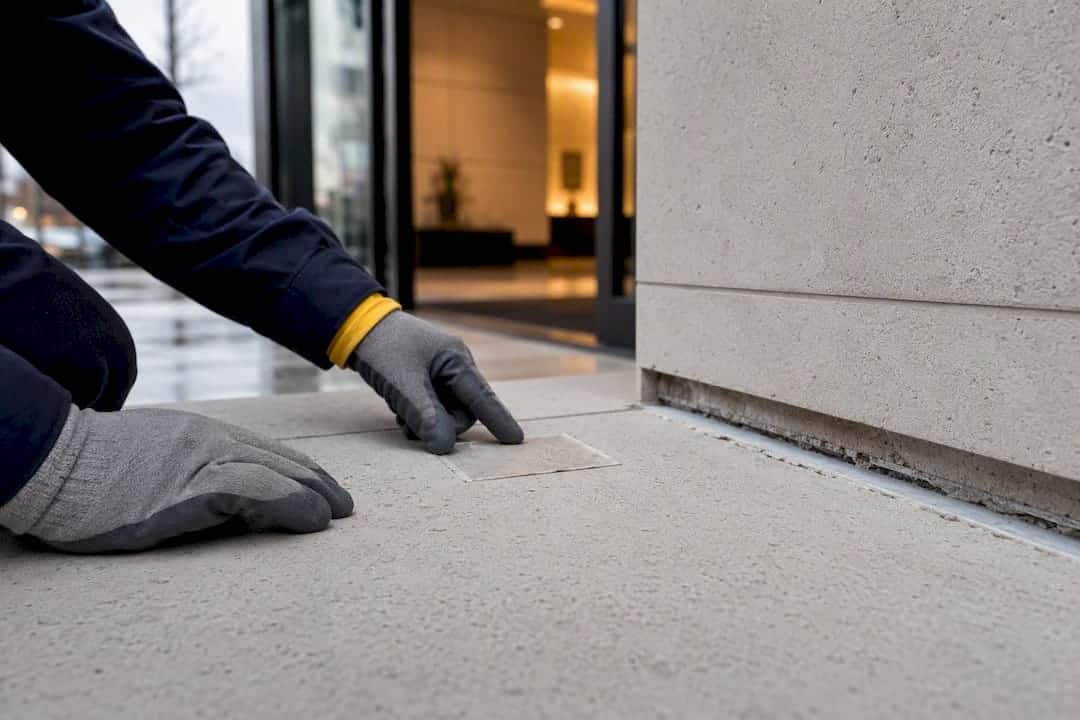
The right sealant for limestone is a neutral-cure, non-staining silicone or a manufacturer-approved low-modulus hybrid or polyurethane, chosen and installed by someone who checks two things without fail: non-staining chemistry and correct joint geometry with a backer rod set at the right depth. Skip either one and you’re looking at a reseal in three years instead of fifteen. Before any cartridge gets opened on-site, a proper contractor runs an adhesion trial and confirms the numbers against the manufacturer’s technical data sheet.
TL;DR:
- Proper limestone sealant work requires a neutral-cure, non-staining silicone or a manufacturer-approved hybrid, installed with correct joint geometry and a backer rod.
- Sealants must be applied after thorough joint preparation, including hand removal of old material, dry conditions, and a trial adhesion patch on the actual stone.
- Sealant joints should maintain a width-to-depth ratio of roughly 2:1, with depth between 6 and 13 millimeters, and be conditioned to the temperature before application.
- Sealant lifespan is approximately 15 years, but signs of failure include cracking, discolouration, loss of elasticity, or adhesion failure.
- Use sealant only in expansion joints or larger stone units; avoid sealing joints that are load-bearing or require mortar profiles for appearance.
Table of Contents
- Which sealant types work on limestone and how they differ
- How do you prepare the joint and test adhesion before sealing?
- Getting the joint geometry and movement allowance right
- Sealant joint or repointed mortar: which does the job need?
- How long should a limestone sealant job last?
- What Kettle Contracting sees on-site, and what to ask your contractor
- How Kettle Contracting handles limestone joint resealing
- Sources
- FAQ
Which sealant types work on limestone and how they differ
Limestone is porous and alkaline, and that changes what belongs in the joint. Get the chemistry wrong and you’re not fixing a leak. You’re staining a building face that took decades to weather naturally.
Neutral-cure, non-staining silicones are the workhorse for most limestone facade and expansion joints. They handle high movement, often rated around ±25 to 50 percent depending on the product, and hold up across wide temperature swings without breaking down. Bostik’s Seal ‘N’ Flex Facade is a good example of a formulation built for this kind of movement and weathering performance, provided the sheet confirms non-staining chemistry for the substrate you’re on. Mapei’s Mapesil LM is another neutral, low-modulus silicone formulated specifically for sensitive stone, including limestone, marble, and sandstone.
Low-modulus hybrids and polyurethanes show up where a job needs paintability or a specific colour match, or where the spec calls for it. Sikaflex construction sealant is a moisture-cured urethane capable of strong movement accommodation, but it sometimes needs a primer depending on the substrate, so check the sheet before assuming it’ll bond bare.
What to keep off limestone entirely:
- Oil-based or butyl caulks, which shrink, harden, and pull away from the joint faces within a couple of seasons
- Acid-cure silicones, which release acetic acid during cure and can etch or discolour calcareous stone
- Solvent-heavy formulations prone to plasticiser bleed, the culprit behind those greasy dark halos you sometimes see around old caulk lines
How do you prepare the joint and test adhesion before sealing?
Prep work is where most limestone reseals go sideways, usually because someone reached for a grinder to save time. Don’t. GSA technical procedures for limestone caulking call for hand-tool removal specifically because mechanical grinding chips the stone edge and widens the joint in ways you can’t undo.
- Rake out old sealant and debris by hand with chisels, then vacuum the joint clean.
- Confirm the surface is dry and the forecast is frost-free. Limestone joints don’t forgive moisture trapped behind a fresh bead.
- Apply primer only if the manufacturer’s data sheet calls for it on that substrate. Skipping a required primer is a common shortcut that shows up as adhesion failure within a year.
- Run a small adhesion trial patch on the actual stone before committing to the full run, and check the bond against the TDS.
- Insert closed-cell backer rod sized to sit at roughly half the joint width in depth, leaving it unbonded to the sealant.
Pro Tip: Photograph the backer rod placement before you extrude sealant over it. If a joint fails in two years, that photo tells you in five seconds whether the depth was wrong or the sealant itself gave out.
Getting the joint geometry and movement allowance right
A sealant can be the correct chemistry and still fail if the joint is shaped wrong. This is the part that separates a professional install from a caulking-gun weekend project.
Width-to-depth ratio generally follows a 2:1 rule (twice as wide as deep) unless the manufacturer’s spec says otherwise, and most sheets set a practical minimum depth of around 6 mm and a maximum around 12 to 13 mm regardless of joint width. Go too shallow and the sealant tears under movement. Go too deep and it can’t stretch properly because too much of it is anchored to the back of the joint.
- Tool the bead so it contacts only the two side walls of the joint, never the base or the backer rod itself
- Clean up excess sealant within the working time stated on the sheet, before a skin forms
- Calculate the expected seasonal movement of that specific joint and match it against the sealant’s rated movement capability, not the other way around
- Condition cartridges to the temperature range specified on the sheet before application; cold tubes extrude poorly and cure unevenly
Ontario’s freeze-thaw cycles put real stress on limestone joints, and that’s exactly where the depth-to-width ratio matters most. A joint that’s undersized in depth will tear at minus 15 in February even if it looked fine when it was installed in July. Sikaflex’s technical data notes movement capability up to around ±35 to 50% depending on the product line, and in cold climates it’s worth confirming the product is rated for low-temperature application before it ever leaves the truck. Cure time also stretches out in colder weather, so plan the schedule accordingly rather than tooling a joint you assume is set.
Sealant joint or repointed mortar: which does the job need?
Not every limestone joint should get sealant, and a contractor who reaches for the caulking gun on every joint hasn’t read the job right. Technical Bulletin #43 from the Cast Stone Institute lays out where sealant joints belong versus where tooled mortar is the correct call.
- Sealant joints suit expansion joints, coping, head joints, and larger cast or dimension stone units where movement is expected and needs somewhere to go
- Tooled mortar stays the right choice for trim details and anywhere the finished look needs to read as traditional pointing rather than a caulk line
- Hybrid approaches, including tape-over systems on some renovation work, exist for transitional cases where aesthetics and movement both matter
The one thing every sealant system has in common: it’s a weather face, not a structural element. If a joint is doing load-bearing work or needs a mortar profile for appearance’s sake, sealant is the wrong tool no matter how good the chemistry is.
How long should a limestone sealant job last?
A properly specified, properly installed limestone sealant joint should hold up for roughly fifteen years to two decades, though UV exposure, unexpected movement, and skipped prep steps all shorten that window fast.
Watch for these signs during a routine check:
- Cracking or splitting along the bead, usually the first sign the joint moved beyond the sealant’s rated capacity
- Chalky discolouration or staining spreading into the stone around the joint
- Loss of elasticity, where the bead feels hard and no longer flexes when pressed
- Adhesive failure, where the sealant has pulled cleanly away from one or both stone faces
A quick visual walk-around once a year catches most of this early. If you spot any of the above, book a professional reseal before the gap lets water behind the facade, because that’s when a caulking problem turns into a masonry problem.
What Kettle Contracting sees on-site, and what to ask your contractor
After 25 years of climbing scaffolds and pulling out failed caulk on Ontario buildings, the pattern in limestone joint failures is almost always the same two things: sealant bonded to the bottom of the joint instead of just the side walls, or a joint sized without any real thought to how much that stone actually moves. Both are avoidable, and both are easy to check for if you know what to ask.
Before you sign off on any limestone sealant work, ask your contractor for three things: the manufacturer’s technical data sheet for the exact product going into the joint, a small adhesion trial patch on your actual stone before the full run starts, and a photo of the backer rod depth before the sealant goes in. Any contractor who hesitates on those three requests is telling you something.
— Felix
How Kettle Contracting handles limestone joint resealing
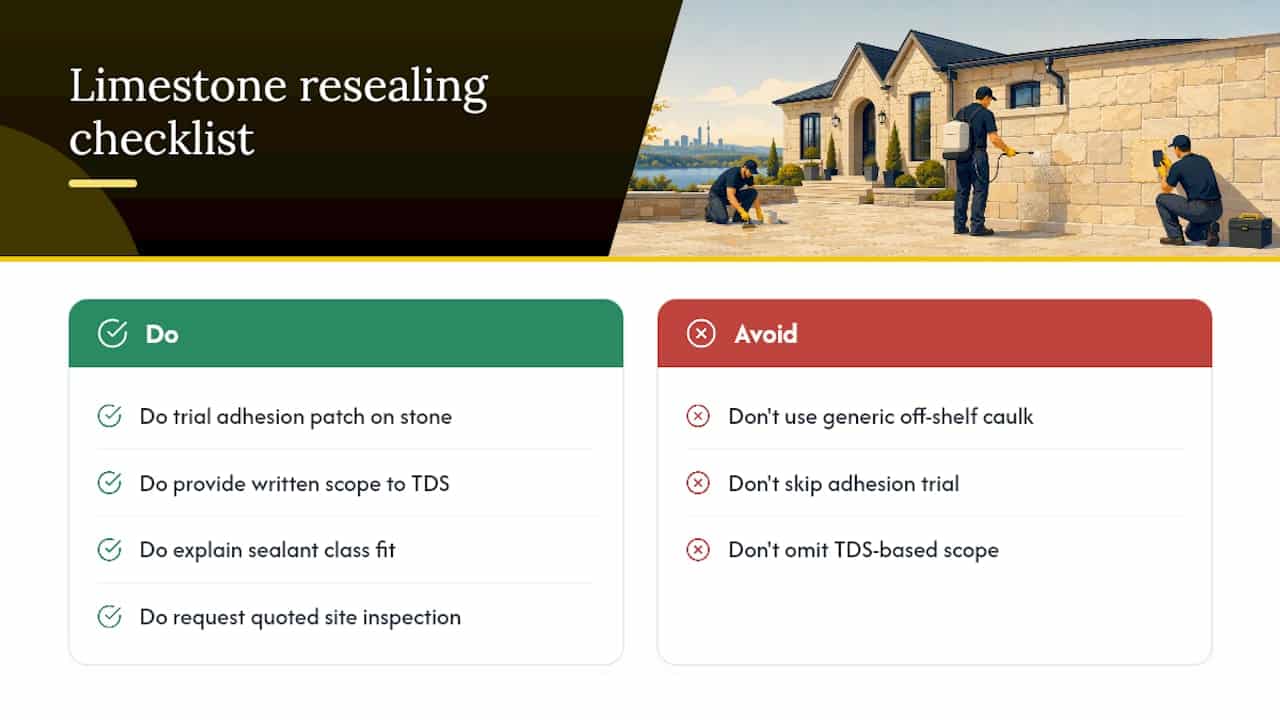
There are other ways to get a limestone joint resealed, from a general handyman with a caulking gun to a masonry crew focused mainly on mortar work. Some contractors approach limestone joint resealing as a trade-specific job that starts with the data sheet and an adhesion trial, not just using a generic tube grabbed off the shelf.

A professional inspection of a limestone facade, patio, or expansion joint should include a trial adhesion patch on the actual stone, a written scope specified against the manufacturer’s TDS, and a clear explanation of why a particular sealant class fits the joint’s movement and exposure. That’s the difference between a caulk job that looks fine on handover and one that’s still doing its job through ten Ontario winters. If you’re weighing whether a joint needs sealant or repointing, our guide on high-movement sealant chemistry breaks down the selection logic further, and our page on why caulking is trade-specific work explains what separates a professional install from a shortcut.
Request a quoted site inspection through Kettle Contracting’s services page and get a written scope before anyone opens a cartridge.
Sources
If you’re forwarding this to a specifier, property manager, or another contractor for sign-off, these are the primary sources behind the recommendations above:
- Bostik Seal ‘N’ Flex Facade (product/technical page)
- Mapei Mapesil LM product data sheet (Mapei)
- Sikaflex construction sealant technical datasheet (Sika Canada)
For readers dealing with related concrete deterioration alongside limestone joints, commercial concrete repair services cover the adjacent structural side of the work. And if you want a broader look at joint types across a whole building envelope, our exterior joint sealing types guide is worth the read.
FAQ
What’s the best sealant for limestone joints?
A neutral-cure, non-staining silicone is the standard choice for most limestone facade and expansion joints, with low-modulus polyurethane or hybrid systems used where a spec calls for a specific finish or colour match.
Can I use any silicone caulk on limestone?
No. Acid-cure silicones can etch or discolour limestone during cure, so only neutral-cure, non-staining formulations belong on this stone.
How wide should a limestone sealant joint be?
Joint width follows the manufacturer’s spec, but a common rule is a roughly 2:1 width-to-depth ratio, with practical minimum depths around 6 mm and maximums around 12 to 13 mm.
How long does a professionally sealed limestone joint last?
Expect roughly fifteen years from a correctly specified and installed joint, with UV exposure and improper backer rod depth being the most common reasons that window shrinks.
Do I need a backer rod for a limestone joint?
Yes. A closed-cell backer rod set at roughly half the joint’s width in depth keeps the sealant bonded only to the side walls, which is what lets it stretch and compress with the stone instead of tearing.
