
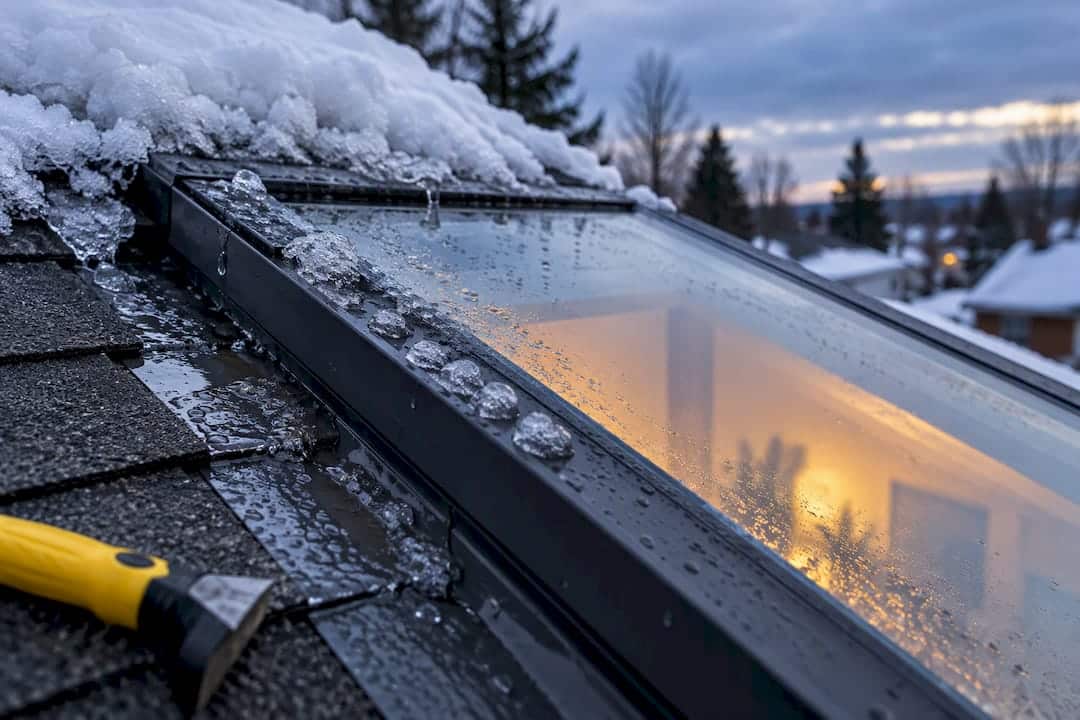
If your skylight starts leaking after a heavy snowfall, snow and ice are almost always the reason, not a coincidence. Clear snow safely from the ground with a roof rake, then check your attic and ceiling around the skylight for active moisture. If you see water actively dripping, wet insulation, or stained drywall spreading, stop troubleshooting and call a roofing or sealing professional right away.
TL;DR:
- Effective skylight repair requires fixing flashing laps properly and avoiding caulking alone, which often fails during freeze-thaw cycles.
- Ice dams caused by heat escaping the attic lead to water backing under shingles and flashing, especially when gutters are clogged or roof damage exists.
- Inspect the exterior for flashing issues, attic frost, and drywall stains during or after a thaw to accurately identify leaks.
- The best long-term solution involves removing old sealant, reflashing with proper overlaps, and addressing attic insulation and ventilation.
- Professional inspection is recommended when active water inside the home, structural rot, or persistent leaks occur, and sealing should be combined with proper flashing.
Table of Contents
- How to tell condensation from a real leak
- Why snow and ice cause skylight leaks in winter
- A step-by-step inspection you can do safely
- Repair now versus replace: how to decide
- Stopping the next leak before it starts
- When it’s time to bring in a professional
- What years of winter callouts have taught us
- First-hand notes on testing and dry-out times
- Getting your skylight properly sealed for winter
- Where these recommendations come from
- Sources
- FAQ
How to tell condensation from a real leak
Before you assume the worst, figure out where the moisture is actually coming from. This matters because condensation and true leaks have completely different fixes, and treating one like the other wastes time and money.
Moisture on the glass or the inside of the frame is usually condensation from indoor humidity meeting a cold surface. Water on the ceiling drywall around the skylight, especially staining that spreads or drips, points to an actual leak from outside.
Timing is a big clue too. A leak that shows up during or right after a thaw is almost always tied to snowmelt or ice dams. Moisture that’s there constantly, regardless of weather, usually means condensation or a plumbing vent issue nearby.
- Check the glass and frame bottom for beading or fogging, which usually signals condensation, not a leak.
- Watch for water stains on drywall or ceiling paint that grow after a snow event, a sign of real penetration.
- Inspect the attic for frost or wet insulation during or shortly after a cold snap, since heavy attic frost often points to interior air leakage rather than a roof leak.
- Photograph and date any staining so you can track whether it’s getting worse.
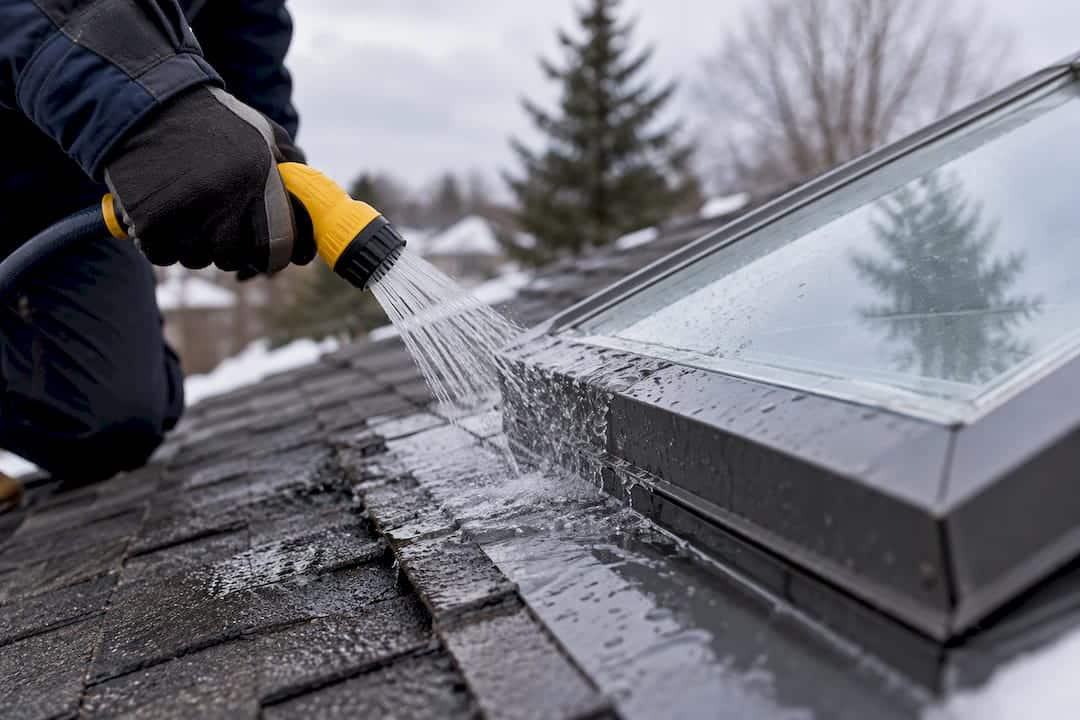
If you’re still unsure, a basic hose test on a mild day, running water gradually over the flashing and glazing while someone watches from inside, can help confirm whether the skylight itself is the entry point.
Why snow and ice cause skylight leaks in winter
Most winter skylight leaks trace back to heat escaping through the roof, not a single bad seal. Warm air from the house rises into the attic, melts the underside of the snowpack, and that meltwater refreezes at the colder eaves. The result is an ice dam that backs water up under shingles and flashings, right into the roof assembly, a well-documented pattern in cold-climate roofing.
Flashing failures make this worse. Skylight flashing that doesn’t overlap enough, counterflashing that’s been damaged or pried loose, or corners that weren’t properly dubbed and sealed during installation all create paths for backed-up water to get through.
A few other conditions tend to line up with skylight leaks:
- Clogged or undersized gutters that hold water at the eaves longer than they should.
- Roof damage, missing shingles, or low-pitch sections near the skylight that slow drainage.
- Blocked soffit vents or insulation gaps that let warm attic air concentrate heat right around the skylight curb, driving localized melting.
Leakage only happens when three things line up: water at the surface, an opening, and a force pushing it inward. Remove any one of those, and the leak stops.
A step-by-step inspection you can do safely
Before you get on a ladder or a roof in winter, know your limits. Never step on an icy roof, use a roof rake from the ground whenever possible, and work with a partner if you need to get closer.
- Check the exterior first. From the ground, look at flashing laps around the skylight, ice buildup at the eaves, and the general condition of shingles and gutters.
- Move to the attic. Look for frost on the underside of the roof deck, damp or compressed insulation, and water trails on rafters or sheathing near the skylight shaft.
- Confirm ventilation paths. Blocked soffit or ridge vents trap heat and moisture, so make sure air can move through the attic space.
- Check inside last. Locate ceiling stains, note when drips happen, and photograph everything with a timestamp for a contractor’s reference.
Pro Tip: Do your attic check during or right after a thaw, since that’s when active leaks and frost patterns show up most clearly.
Repair now versus replace: how to decide
Not every skylight leak means a new skylight. Short-term, your priority is safely clearing snow and ice, then temporarily re-caulking any accessible gaps so the interior can dry out without more water getting in.
A permanent fix looks different. It means stripping out the old, failed sealant and reflashing the skylight properly, with laps that run up and out according to established roofing practice, flashing extending at least 200 millimetres up and 75 millimetres onto the horizontal surface rather than a quick bead of caulking over the old joint.
Replacement becomes the right call when:
- The frame shows extensive rot or the wood has softened.
- The glazing has delaminated or fogged permanently between panes.
- Leaks keep coming back even after correct reflashing and sealing.
One factor that consistently drives the estimate is access, since proper corner and flashing work requires careful sealing to prevent trapped debris and leak paths, and steep or high roofs simply take longer to work on safely. Roof covering type, the extent of interior damage, and whether attic work is needed all factor into the final scope too.
Stopping the next leak before it starts
Prevention here isn’t complicated, but it does mean treating the attic and the flashing as one system instead of two separate problems.
- Keep snow buildup on the roof to roughly 15 to 30 centimetres, clearing small amounts at a time with a roof rake rather than letting it pile up.
- Improve attic air sealing and insulation so warm air stops reaching the underside of the roof deck and triggering meltwater.
- Keep soffit vents and baffles clear so cold air can circulate under the insulation and keep the whole roof surface at a more even temperature.
- Maintain gutters and confirm flashing overlaps meet recommended dimensions during a fall inspection, before the first real snowfall.
Pro Tip: Heating cables treat the symptom. Sealing the attic and fixing the flashing treats the cause, and that’s the difference between a quick patch and a fix that lasts through the next freeze-thaw cycle.
Air sealing work like this is also where building air sealing pays off beyond just stopping leaks, since it cuts the heat loss that causes the melting in the first place.
When it’s time to bring in a professional
Some situations aren’t worth troubleshooting on your own. Active dripping inside the house, wet or sagging insulation, visible mould, or any sign of structural rot around the skylight curb are red flags that need a professional visit, not another round of caulk.
When you call someone in, ask direct questions:
- Will you physically inspect the attic, not just the roof surface?
- Will the flashing be replaced to current lap and overlap standards, not just resealed?
- What materials and warranty come with the repair?
- Are you insured for this type of work?
A proper scope removes the old flashing and caulking entirely, installs correctly lapped new flashing, and includes attic drying time with a follow-up check, not a same-day patch and an invoice.
What years of winter callouts have taught us
The leaks that keep coming back almost always have the same root cause: someone caulked over a flashing problem instead of fixing it. Caulking is excellent at sealing small gaps and joints, but it was never meant to replace proper flashing laps.
Sequencing matters too. Seal the attic air leaks first, then address the flashing, and the caulking work holds because it’s not fighting constant moisture and freeze-thaw movement underneath it.
— Felix
First-hand notes on testing and dry-out times
A basic hose test, run on a mild day with water moved gradually across the flashing and glazing, remains one of the most reliable ways to confirm a skylight leak’s exact location before any repair begins. We’ve seen full air-sealing and reflashing work stop repeat leaks in homes where caulking alone had failed two winters running, largely because the attic conditions driving the ice dams were finally addressed instead of just the symptom on the roof.
Getting your skylight properly sealed for winter
If your skylight leak traces back to failed caulking around the frame or perimeter, residential window caulking addresses exactly that kind of gap, using materials suited to the freeze-thaw cycles that break down standard sealants over a few winters. When the problem runs deeper into the attic and roof assembly, building envelope sealing covers the air-leak side of the equation, and we can coordinate with roofing trades on the reflashing itself.

A typical inspection visit starts with the same checks outlined above: exterior flashing, attic conditions, and interior staining, so have your photos and timestamps ready. From there we’ll give you a clear scope and honest pricing before any work starts. Book a visit through our services page to get a proper look at what’s actually causing the leak.
Where these recommendations come from
This guidance draws on Canada.ca’s snow-clearing advice, NRC building-science research on ice dams, and the Canadian Roofing Contractors Association’s flashing standards.
Sources
- Canada
- NRC Publications Archive: Ice dams and leakage (digest)
- Keeping the heat in — roofs and attics – Natural Resources Canada
- 7.2.7 Membrane flashings – Canadian Roofing Contractors Association
FAQ
Is it common for skylights to leak?
Skylight leaks are a common winter complaint, largely because they sit at a roof penetration where flashing has to work perfectly to stay watertight. Ice dams and attic heat loss make skylights especially prone to leaking after snow compared to other parts of the roof.
How long do skylights last before they leak?
There’s no fixed timeline since it depends heavily on flashing quality, attic insulation, and how well the roof handles freeze-thaw cycles each winter. A well-flashed and properly sealed skylight can go many years without issues, while poor installation or aging seals can lead to leaks much sooner.
How much does it cost to replace a leaking skylight?
Cost depends on access, roof covering type, and the extent of any interior or attic damage, so it’s best to get a direct quote after an inspection. A qualified contractor can assess your specific situation and provide pricing based on what the repair actually requires.
What is the best way to seal a leaky skylight?
The most durable fix removes the old, failed sealant and reflashes the skylight with proper overlaps rather than caulking over the existing problem. Caulking plays an important supporting role in sealing frame gaps, but it works best paired with correctly installed flashing, not as a substitute for it.
