
Maintenance costs on GTA investment properties have a way of climbing fast, and failed seals are one of the biggest reasons why. Water finds its way through cracked caulk around windows, doors, and foundations, and what starts as a minor gap becomes mould, rot, or a damaged wall assembly within a season or two. The good news is that knowing how to reduce maintenance costs through investment property sealing gives you a clear, affordable way to get ahead of expensive repairs. This guide covers the right materials, timing, technique, and inspection routines to help you protect your property and keep repair budgets under control.
Table of Contents
- Understanding why sealing matters for your investment property
- Preparing for effective sealing: timing, surface and material selection
- Applying caulk like a pro: step-by-step sealing instructions
- Preventive maintenance routines to keep sealing effective and reduce repair costs
- Why timing and material choice make or break your sealing cost savings
- Professional caulking services to protect your GTA investment
- Frequently asked questions
Key Takeaways
| Point | Details |
|---|---|
| Sealing as preventive maintenance | Proper sealing protects your investment by preventing water damage and drafts that lead to costly repairs. |
| Timing matters | Apply caulking when temperatures are above 5°C and surfaces are dry to ensure proper curing and adhesion. |
| Choose polyurethane | Polyurethane caulk offers the best durability and flexibility for Toronto’s freeze–thaw climate on masonry surfaces. |
| Regular inspection | Schedule annual inspections and touch-ups to keep seals intact and avoid emergency repair costs. |
| Professional expertise helps | Hiring experienced professionals ensures correct material choice and application for long-lasting seals. |
Understanding why sealing matters for your investment property
With the problem defined, let’s understand exactly why proper sealing is a critical cost-saving step for your investment.
GTA properties face a specific challenge that properties in milder climates do not. Toronto averages more than 30 freeze-thaw cycles per year, and every one of those cycles puts stress on any sealant that is not rated for that kind of movement. Caulk that was fine in September can be cracked and pulling away from its substrate by February. When that happens, water gets in.
Failed seals lead to a chain of damage that compounds quickly:
- Water intrusion saturates framing, insulation, and drywall
- Drafts raise heating bills and reduce tenant comfort
- Mould growth triggers remediation costs and liability concerns
- Heat loss through gaps and cracks increases energy spend year-round
- Structural deterioration from repeated moisture exposure weakens load-bearing components over time
As one property management resource notes, sealing is a preventive measure that protects the building envelope before leaks cause secondary damage like mould or structural deterioration. Reacting after the fact costs far more than sealing proactively.
The benefits of re-caulking windows go well beyond keeping water out. A good seal reduces air leakage, lowers your tenants’ utility costs, and improves the overall energy rating of the building. All of those outcomes matter to property value. Choosing the right caulking for GTA climate conditions is the first step in making sure your sealing investment actually holds up through the seasons.
The real cost of a failed seal is not the caulk itself. It is the water damage, mould remediation, and structural repairs that follow when the seal goes unaddressed.
Preparing for effective sealing: timing, surface and material selection
Now that you know why sealing matters, let’s go through how to prepare your property for a lasting seal job.
Poor preparation is the most common reason caulking fails early. You can use the best sealant on the market and still get peeling, cracking, or adhesion failure if the surface was not ready when you applied it. Effective property maintenance cost reduction starts with getting the prep right.
Surface preparation checklist:
- Remove all old caulk with a caulk removal tool or utility knife
- Clean the joint with a wire brush to remove loose debris, paint flakes, and dust
- Wash oily or contaminated surfaces with a mild solvent and let them dry completely
- Confirm the surface is bone dry before applying any sealant
- For masonry and concrete, check for efflorescence (white mineral deposits) and grind it off before sealing
Choosing the right sealant for your GTA property:
| Sealant type | Best use case | GTA freeze-thaw rating | Paintable | Adhesion to masonry |
|---|---|---|---|---|
| Polyurethane | Foundations, masonry, concrete joints | Excellent | Yes | Excellent |
| Silicone | Glass, metal, non-porous surfaces | Good | No | Poor |
| Acrylic latex | Interior trim, low-movement joints | Fair | Yes | Moderate |
| Hybrid (silicone-polyurethane) | Windows, doors, multi-surface | Very good | Yes | Good |
For foundation work and exterior masonry on GTA properties, polyurethane is consistently the strongest choice. It flexes with the substrate as temperatures swing, holds adhesion to porous surfaces, and can be painted over once cured.
Timing matters just as much as material selection. Applying caulking above 5°C with dry surfaces, and allowing 24 to 48 hours to cure before a freeze, prevents adhesion failure and premature peeling. In the GTA, early-to-mid September is often the ideal window. Temperatures are still reliable, surfaces are dry after summer, and you have enough time before the first hard frost.
Pro Tip: Check the three-day forecast before starting any exterior sealing project. You need stable temperatures above 5°C and no rain in the forecast for at least 48 hours after application. Rushing this step is one of the fastest ways to turn a cost-saving measure into a re-do job.
For a full seasonal guide, the best time to caulk windows resource covers GTA conditions in detail.
Applying caulk like a pro: step-by-step sealing instructions
Preparation is key, but a solid caulking technique ensures your sealing investment withstands GTA winters.
Getting the application right means the sealant bonds well, moves with the building, and looks clean. A sloppy bead that is too thick, too thin, or poorly tooled will crack or pull away within a season. These steps apply whether you are sealing windows, doors, or foundation joints.
- Cut the cartridge nozzle at a 45-degree angle. For most exterior joints, a 6 to 8 mm opening works well.
- Load the cartridge into the gun and test the flow on scrap material before starting on the property.
- Apply a continuous bead in one smooth pass without stopping mid-joint. Inconsistency in the bead creates weak spots.
- Maintain the correct bead profile. The bead should be slightly wider than it is deep, following roughly a 2:1 width-to-depth ratio for most joints.
- Tool the bead immediately after application using a wet finger or caulking tool. This presses the sealant into the joint and creates the concave profile that handles movement best.
- Remove masking tape (if used) before the caulk skins over, which typically happens within 5 to 10 minutes depending on conditions.
- Allow full cure time before exposing the joint to rain or cold. Check the product spec sheet since cure times vary by product and temperature.
For hairline cracks in foundations, clean the crack thoroughly and apply polyurethane caulk with the proper bead profile to allow thermal movement without tearing.
Tooling the bead is not optional. An untooled bead sits on top of the substrate rather than bonding into it, which means it peels far sooner under freeze-thaw stress.
Pro Tip: For wide joints over 12 mm, install a foam backer rod (a cylindrical foam insert) before applying caulk. This limits the depth of the sealant and forces it into a shape that flexes properly rather than tearing under movement.
If you run into common caulking issues like bubbling, cracking, or poor adhesion, the problem almost always traces back to surface prep or application technique rather than the product itself. You can also review window air leak fixes for additional troubleshooting on window-specific gaps.
Preventive maintenance routines to keep sealing effective and reduce repair costs
Keeping your seal intact is not one-and-done. It requires ongoing care to truly cut maintenance costs.
The biggest mistake property owners make is treating caulking as a one-time fix. Sealants have a service life, and that life shortens faster on properties exposed to GTA winters, direct sun exposure, and normal building movement. Building a scheduled inspection routine into your property management plan is one of the most effective investment property upkeep tips you can act on today.
Recommended inspection schedule:
- Pre-winter (September/October): Check all window and door perimeters, foundation joints, and any penetrations through the exterior wall
- Post-winter (April/May): Look for cracks, separation, or discolouration that developed during freeze-thaw cycles
- After major weather events: High winds and driving rain can stress seals around flashings and expansion joints
What to look for during inspections:
- Cracks wider than 1 mm in the sealant bead
- Areas where the caulk has pulled away from one or both sides of the joint
- Discolouration, softening, or tackiness (signs of UV degradation)
- Any visible gaps around penetrations such as pipes, conduits, or vents
Proactive inspections and systematic sealing touch-ups help avoid escalating leaks and costly secondary damage. This approach is well-established across rental property management because the numbers support it clearly.
| Repair type | Reactive cost (estimated) | Preventive cost (estimated) | Savings |
|---|---|---|---|
| Window resealing | $150 to $400 per window | $80 to $150 per window | Up to 60% |
| Mould remediation | $2,000 to $10,000+ | Avoided entirely | 100% |
| Water-damaged drywall repair | $800 to $3,500 | Avoided entirely | 100% |
| Foundation crack repair (major) | $3,000 to $15,000 | $150 to $400 per crack | Up to 95% |
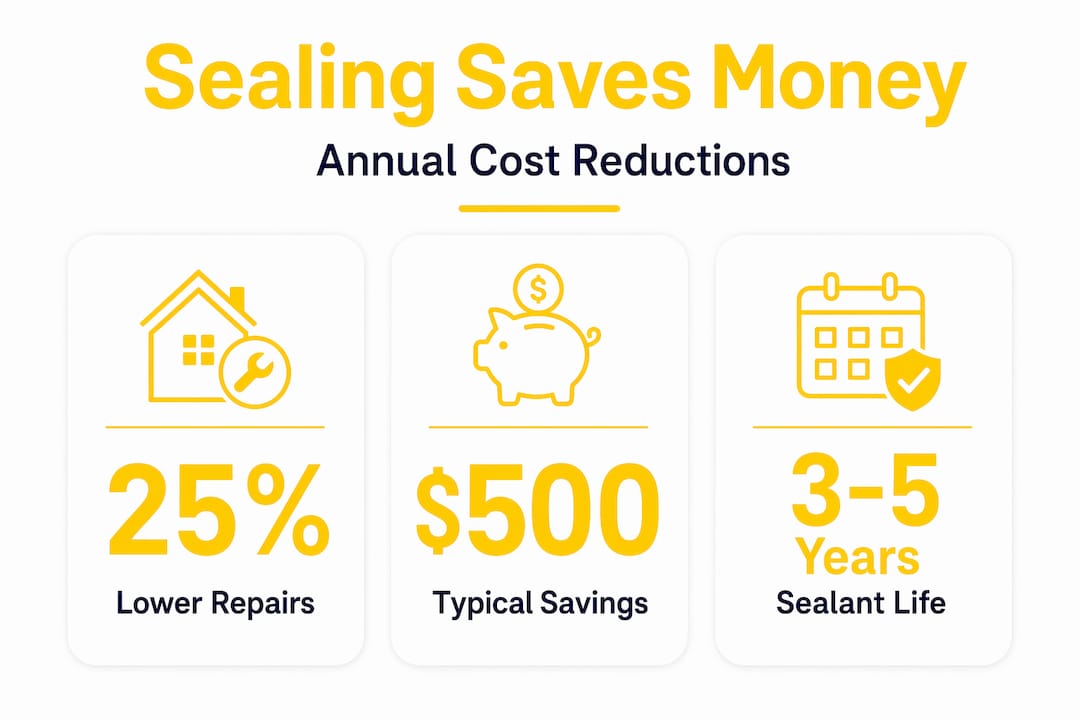
Preventive sealing programmes reduce emergency repair costs by up to 25% annually on residential investment properties. The caulking maintenance checklist is a useful tool for staying organised across multiple units or buildings.
Pro Tip: Document your sealing inspections with dated photos. When a tenant reports a leak or moisture issue, having a record of recent sealed conditions makes it far easier to assess whether the issue is a new failure or pre-existing, saving time and disputes.
Why timing and material choice make or break your sealing cost savings
Having covered preventive upkeep, let me share what I have learned from decades on-site about avoiding costly sealing mistakes.
In our experience working across GTA properties, the most expensive sealing failures are never caused by using cheap products. They are caused by applying the right products incorrectly, or at the wrong time. Property owners who want to reduce property maintenance expenses often focus on finding a lower-cost sealant, when the bigger cost driver is actually poor timing and substrate mismatch.
Incorrect timing and material mismatches cause premature seal failure, raising long-term maintenance costs significantly. We see this repeatedly on foundation and masonry applications where silicone was used because it is widely available and familiar. Silicone does not bond to porous masonry. It sits on the surface, looks fine for a season, and then lifts off cleanly when the freeze-thaw cycle pulls the substrate. The re-caulking cost, added to the original application, now exceeds what a quality polyurethane job would have cost from the start.
There is another mistake that tends to be overlooked. Caulking over drainage points, specifically weep holes in brick veneer, is more common than it should be. Weep holes exist to let moisture inside the wall cavity drain out. Sealing them traps water inside the wall and causes exactly the kind of structural damage that sealing is supposed to prevent. Any cost-effective sealing solution accounts for where moisture needs to exit the building, not just where it enters.
Substrate compatibility is also worth checking before you buy. A sealant that works perfectly on vinyl window frames may fail on the adjacent brick because the adhesion chemistry is different. Manufacturers publish compatibility charts. Reading them takes five minutes and can save hundreds of dollars in re-caulking.
The comparison between sealant types is covered in depth in the silicone vs acrylic caulk comparison resource, which is worth reviewing before purchasing materials for exterior applications.
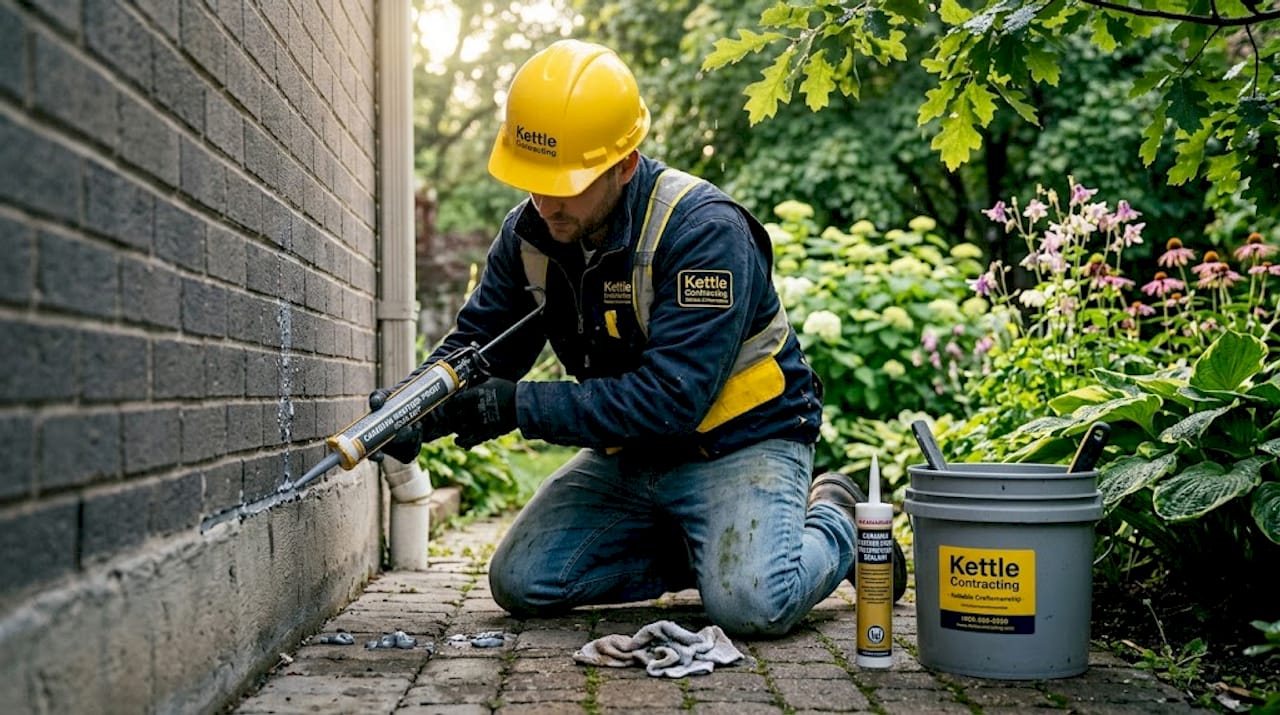
Professional caulking services to protect your GTA investment
To guarantee your sealing protects your investment and reduces costs, consider professional caulking from a trusted GTA expert.
Managing multiple properties means your time is limited, and sealing mistakes are expensive to correct. Kettle Contracting provides professional caulking services across the Greater Toronto Area, matching sealant type, surface preparation approach, and application timing to your building’s specific materials and conditions.

Our team handles everything from window perimeters and door frames to full building envelopes and foundation joints, using products and methods that hold up through GTA winters. We help you prepare windows properly before any sealing work begins, and we apply techniques backed by the science of long-lasting caulk to give you results that last well beyond a single season. When problems come up, we know how to resolve them, from adhesion failures to recurring moisture entry points, drawing on the same expertise covered in our guide to solving common caulking issues. Contact Kettle Contracting today to book an assessment for your GTA investment property.
Frequently asked questions
How often should I inspect and re-caulk my investment property’s exterior?
Inspect your property’s seals annually, ideally before and after winter, and plan re-caulking every three to five years or sooner if you notice cracks or separation. Proactive inspections and regular touch-ups help avoid escalating leaks and costly secondary damage.
What is the best type of caulking for Toronto’s freeze-thaw climate?
Polyurethane caulking is the recommended choice for Ontario’s climate because it flexes with temperature swings and bonds well to porous masonry. Polyurethane outperforms silicone and acrylic caulks in both adhesion and flexibility for GTA conditions.
Why is timing so important when applying caulk?
Sealant applied below 5°C or on damp surfaces will not cure properly, leading to adhesion failure and early peeling. Applying above 5°C with dry surfaces and a 24 to 48 hour curing window before any freeze gives the sealant the best chance of a long service life.
Can I use silicone caulk for sealing around masonry or concrete foundations?
Silicone is not a good fit for porous masonry because it does not adhere reliably to the surface and cannot be painted over. Silicone does not adhere well to porous masonry and is not paintable, so polyurethane is the preferred choice for GTA foundation sealing.
Recommended
- The Ultimate Window Caulking Maintenance Checklist: Keep Your Home Sealed & Protected – Kettle Contracting
- The ROI of Professional Door Caulking: Is It Really Worth the Cost? – Kettle Contracting
- Why Caulking Your Home Windows Can Save You Money – Kettle Contracting
- What Are the Benefits of Re-Caulking Your Windows? – Kettle Contracting