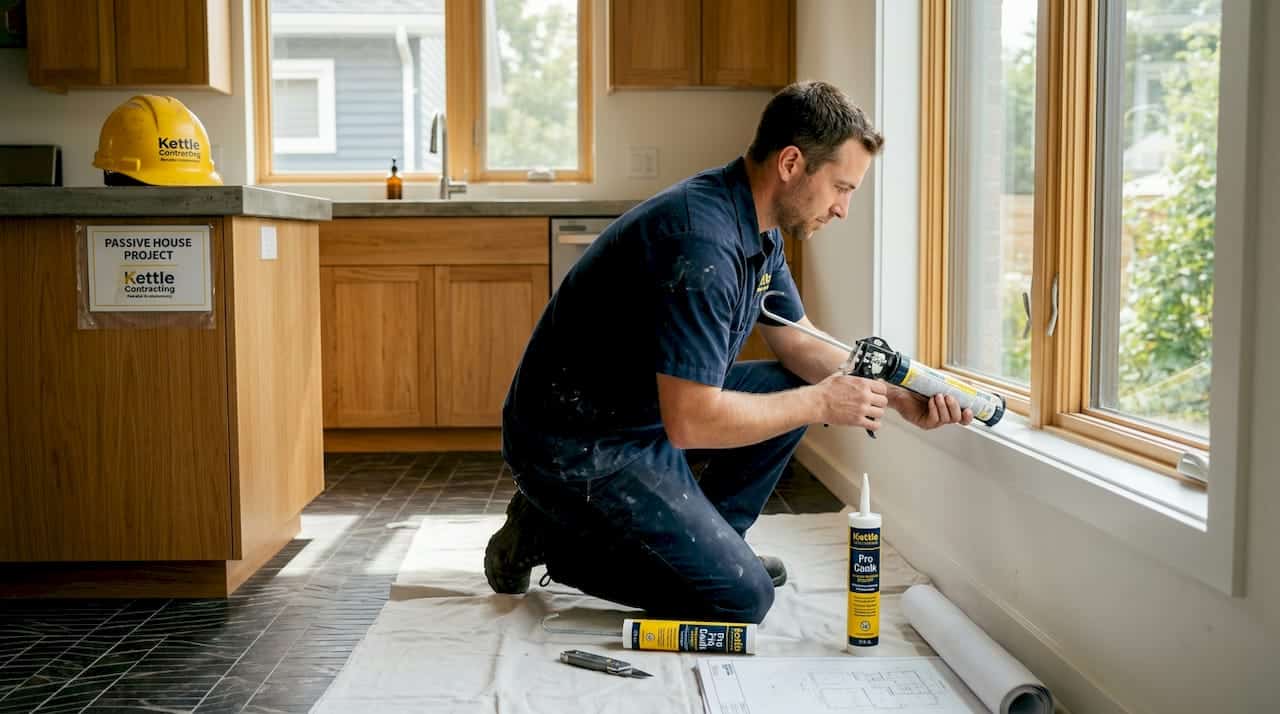
Caulking rarely gets the credit it deserves in high-performance building. Most people treat it as a finishing detail, something you apply around a window frame and forget about. But when you understand how caulking supports passive house standards, that perception changes quickly. Passive House certification demands a level of airtightness that most conventional buildings never come close to achieving, and caulking is one of the few tools that makes continuous, verified air barriers possible. Get it right, and you protect energy performance, indoor air quality, and building durability for decades.
Table of Contents
- Key takeaways
- How caulking fits into passive house airtightness
- Choosing the right sealant for Ontario conditions
- Energy savings, moisture control, and air quality
- Best practices for application and maintenance
- My perspective after 25 years of sealing buildings
- Get reliable sealing from Kettlecontracting
- FAQ
Key takeaways
| Point | Details |
|---|---|
| Caulking is a core air barrier element | Sealing gaps at windows, doors, and penetrations is non-negotiable for meeting Passive House airtightness targets. |
| Material selection matters greatly | MS polymer and neutral-cure silicone sealants offer the best balance of durability, movement capacity, and low VOC output. |
| Ontario’s climate demands more | Freeze-thaw cycling means movement capability in sealants is more critical here than in milder climates. |
| Energy savings are measurable | Proper air sealing can reduce energy bills by up to 10%, on top of Passive House’s broader heating and cooling reductions. |
| Maintenance extends performance | Regular inspection and re-sealing keep the building envelope intact and certification standards upheld over time. |
How caulking fits into passive house airtightness
Passive House is one of the most rigorous energy efficiency standards in the world. The core requirement is an airtightness level of 0.6 air changes per hour at 50 pascals of pressure, verified by a blower door test. That is roughly five to ten times tighter than a typical Ontario home. Every gap matters, and caulking is the frontline tool for closing those gaps.
Air leakage does not just happen in obvious places. It occurs at:
- The junction between window and door frames and the surrounding rough opening
- Rim joists and band joists where the floor system meets the foundation
- Electrical and plumbing penetrations through the building envelope
- Transitions between different wall assemblies, such as where a framed wall meets a concrete foundation
- Any point where the air barrier material changes or overlaps
As airtightness research confirms, Passive House builders treat the air barrier as a system-wide requirement. Caulking works alongside continuous air barrier membranes, taped sheathing seams, and high-performance windows to create an unbroken seal. A single unsealed penetration can undermine blower door results and put certification at risk.
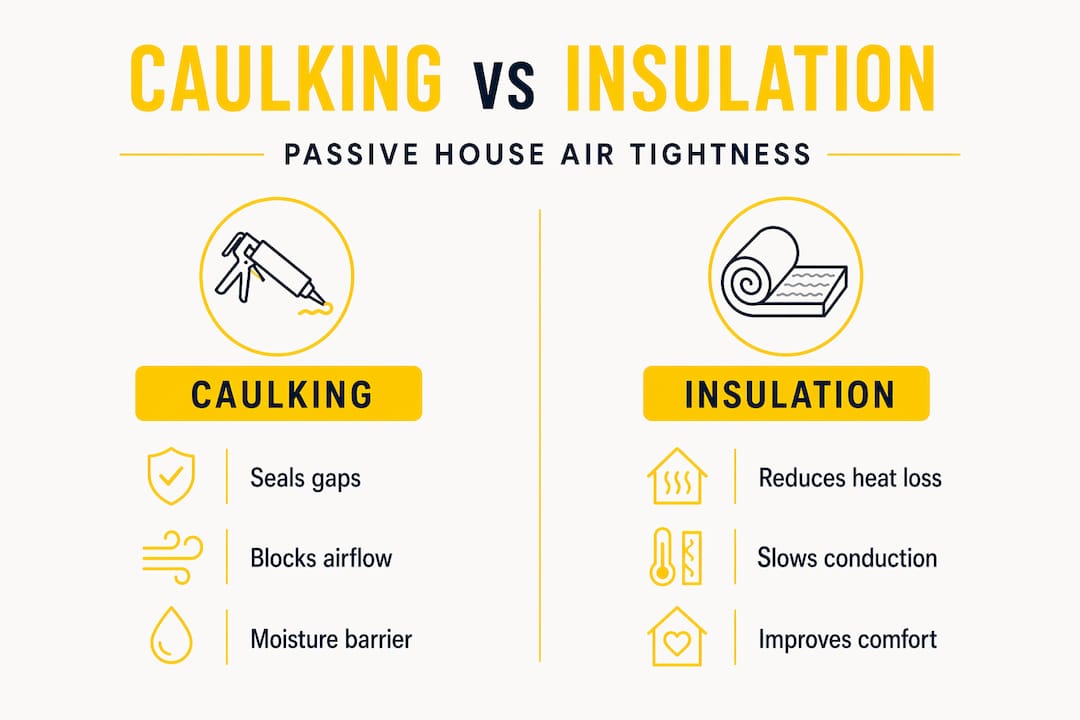
It is also worth understanding how caulking interacts with insulation. Insulation slows heat transfer through materials, but it cannot stop air movement through gaps. A well-insulated wall with unsealed penetrations still loses significant energy through convection. Caulking closes those pathways, which is why passive house insulation techniques always pair thermal performance with airtight detailing.
Pro Tip: Map all air barrier transitions on your drawings before construction begins. Identifying where caulking will be needed at each envelope junction makes it far easier to specify the right product for each condition.
Choosing the right sealant for Ontario conditions
Not all caulks perform the same, and in Ontario’s climate, the wrong product choice can mean a failed seal within a few seasons. The freeze-thaw cycle here is genuinely harsh. A sealant that looks fine in autumn can crack and debond by March if it lacks the movement capacity to handle thermal expansion and contraction.
Here is a practical comparison of the main sealant chemistries you will encounter on Passive House projects:
| Sealant type | Movement capacity | VOC level | Best use case |
|---|---|---|---|
| MS polymer | ±25% to ±35% | Very low | Interior and exterior joints, Passive House preferred |
| Neutral-cure silicone | ±25% to ±50% | Low | Glazing, high-movement exterior joints |
| Polyurethane | ±25% | Moderate to high | Exterior joints where paintability is needed |
| Standard expanding foam | Low | Variable | Rough fill only, NOT air sealing on its own |
The industry shift toward MS polymer and neutral-cure silicone sealants reflects how well they meet both technical performance and indoor air quality requirements without compromise. Standard gap-filling foams are simply not sufficient for Passive House window and door installations. High-performance, low-expansion installation foams that meet EN 12207 air permeability classes are required at those locations.
For interior applications, low VOC compliance is non-negotiable. Interior sealants must meet standards such as SCAQMD Rule 1168 limits to protect the indoor air quality that Passive House design is specifically engineered to deliver. Choosing a high-performance exterior sealant but cutting corners on interior products defeats the purpose.
Surface preparation is equally critical. Sealant applied to dusty, wet, or frost-covered surfaces will not bond properly, regardless of product quality. Clean the substrate, allow it to dry fully, and apply a primer if the manufacturer specifies one for that substrate.
Pro Tip: Always check the sealant’s movement capability rating, not just its adhesion claims. In Ontario, you need a product rated for at least ±25% movement to survive a full seasonal cycle without failure.
Energy savings, moisture control, and air quality
The practical outcomes of proper caulking in a Passive House go well beyond passing a blower door test. The three areas where you see the most tangible impact are energy performance, moisture management, and indoor air quality.

On the energy side, sealing air leaks with caulk and weatherstripping can reduce annual energy bills by up to 10%. That figure applies to conventional homes. In a Passive House context, where the entire building system is engineered to save up to 90% on space heating and cooling compared to typical construction, tight caulking is what makes that level of performance achievable and verifiable.
Moisture management is where quality caulking proves its worth most dramatically. Poor caulking around windows and doors allows water to infiltrate the wall assembly. Once moisture gets in, it promotes mould growth, degrades insulation performance, and causes rot in structural members. In a Passive House with thick, continuous insulation layers, repairs can be extraordinarily expensive. Proper sealing prevents the problem from starting.
“Caulking is not a cosmetic detail. It is a fundamental defence for building envelopes, preventing moisture damage and thermal loss from the first day the building is occupied.”
Indoor air quality in Passive House design depends on controlled ventilation through a heat recovery ventilator, not random air infiltration through gaps. When the envelope leaks, unfiltered outdoor air bypasses the ventilation system entirely. Dust, allergens, and pollutants enter without being treated. Tight caulking at every penetration keeps the ventilation strategy working as designed and supports the healthy indoor environment Passive House is known for. You can learn more about this connection in Kettlecontracting’s guide on mould prevention.
Best practices for application and maintenance
Achieving durable, airtight seals on a Passive House project requires more than choosing the right product. Application technique and a long-term maintenance plan are what separate seals that last decades from ones that fail within a few years.
Follow these steps on every project:
- Clean and dry the substrate. Remove old caulk, dust, oil, and any loose material. Use isopropyl alcohol on non-porous surfaces before applying. Moisture is the most common cause of adhesion failure.
- Apply only in appropriate conditions. Caulking applied above 7°C in dry weather cures properly. In Ontario, that means avoiding application in early morning when surfaces are cold or damp, even when the daytime temperature is fine.
- Design the joint correctly. The ideal joint depth-to-width ratio is 1:2. Use backer rod to control joint depth and create the correct hourglass profile. This allows the sealant to flex with movement rather than pull apart.
- Apply continuous, uninterrupted beads. Stop-and-start applications create weak points. Work steadily and tool the bead immediately for proper contact with both sides of the joint.
- Inspect before insulation or cladding goes on. Catching a missed joint or a poorly tooled bead is straightforward at this stage. Finding the same problem two years later, after finishes are installed, is a different situation entirely.
For maintenance, the window caulking maintenance checklist approach from Kettlecontracting applies directly to Passive House envelopes. Inspect all exterior caulking joints annually, ideally each spring after the freeze-thaw cycle has run its course. Look for cracking, debonding, discolouration from mould, or compression failure. Address any defects before water or air infiltration has a chance to cause deeper damage.
Interior joints around penetrations should be checked every two to three years. These are less exposed to weather but still subject to movement from building settlement and seasonal wood expansion.
My perspective after 25 years of sealing buildings
I have been applying caulk on residential and commercial buildings in the Oshawa area for a long time, and the number of Passive House projects where caulking was treated as an afterthought still surprises me. Builders who are meticulous about their insulation and window specifications will sometimes leave the caulking to whoever finishes the job first, using whatever product is on the truck.
That approach does not work for Passive House. I have seen blower door tests fail because of a handful of unsealed rim joist penetrations that would have taken thirty minutes to address properly. I have also seen moisture damage in walls that cost far more to repair than the original caulking contract would have been.
What I have learned is that the material choice and the application detail are equally important. You can spend money on the right MS polymer sealant and still get a failed seal if the surface was cold and damp when you applied it. The product cannot compensate for poor preparation or rushed technique.
My advice to architects and builders planning a Passive House build or retrofit is straightforward. Specify the sealant chemistry in your documents, set application conditions as a construction requirement, and schedule a caulking inspection before any finish work covers the envelope joints. For homeowners, treat your annual maintenance inspection as seriously as you would a furnace service. The envelope that is tight today stays tight with attention.
— Felix
Get reliable sealing from Kettlecontracting
If you are working on a Passive House project or planning to improve your building’s airtightness, the details in your caulking specification make the difference between passing a blower door test and starting over.

Kettlecontracting works with builders, architects, and homeowners across the Greater Toronto Area to deliver professional-grade sealing solutions that hold up through Ontario winters. Start with preparing windows properly before application, then review the science behind long-lasting caulk to understand why material and technique choices matter so much. If you are dealing with existing failures, the guide to fixing common caulking issues is a practical starting point. Contact Kettlecontracting directly to discuss your project and get sealing done right the first time.
FAQ
What airtightness level do passive houses require?
Passive House certification requires 0.6 air changes per hour or less at 50 pascals of pressure, verified by a blower door test. Caulking at windows, doors, and penetrations is one of the primary methods used to achieve this.
Does caulking actually improve insulation performance?
Caulking does not replace insulation but it closes the air gaps that allow heat loss through convection, which insulation alone cannot stop. Together, sealing and insulation work as a system to meet passive house insulation techniques and performance targets.
What is the best caulking for passive houses in Ontario?
MS polymer sealants and neutral-cure silicone are the most widely recommended options for Passive House projects. They offer low VOC content and the movement capacity needed to survive Ontario’s freeze-thaw cycles without cracking.
How often should passive house caulking be inspected?
Exterior caulking joints should be inspected every spring after the freeze-thaw season. Interior penetration seals need checking every two to three years, with immediate attention given to any visible cracking, debonding, or gaps.
Can poor caulking cause a passive house to fail certification?
Yes. Even one or two unsealed penetrations can raise the blower door test result above the 0.6 ACH50 threshold. Continuous air barriers that include verified caulking at every transition point are required for certification.
Recommended
- Unlocking the Secrets to Long-Lasting Caulk: Science Meets Durability – Kettle Contracting
- Does New Caulking Really Make a Difference? | See the Before & After – Kettle Contracting
- The Role of Window Caulking in Home Insulation – Kettle Contracting
- The Future of Window Caulking: Tech Trends You Need to Watch – Kettle Contracting