
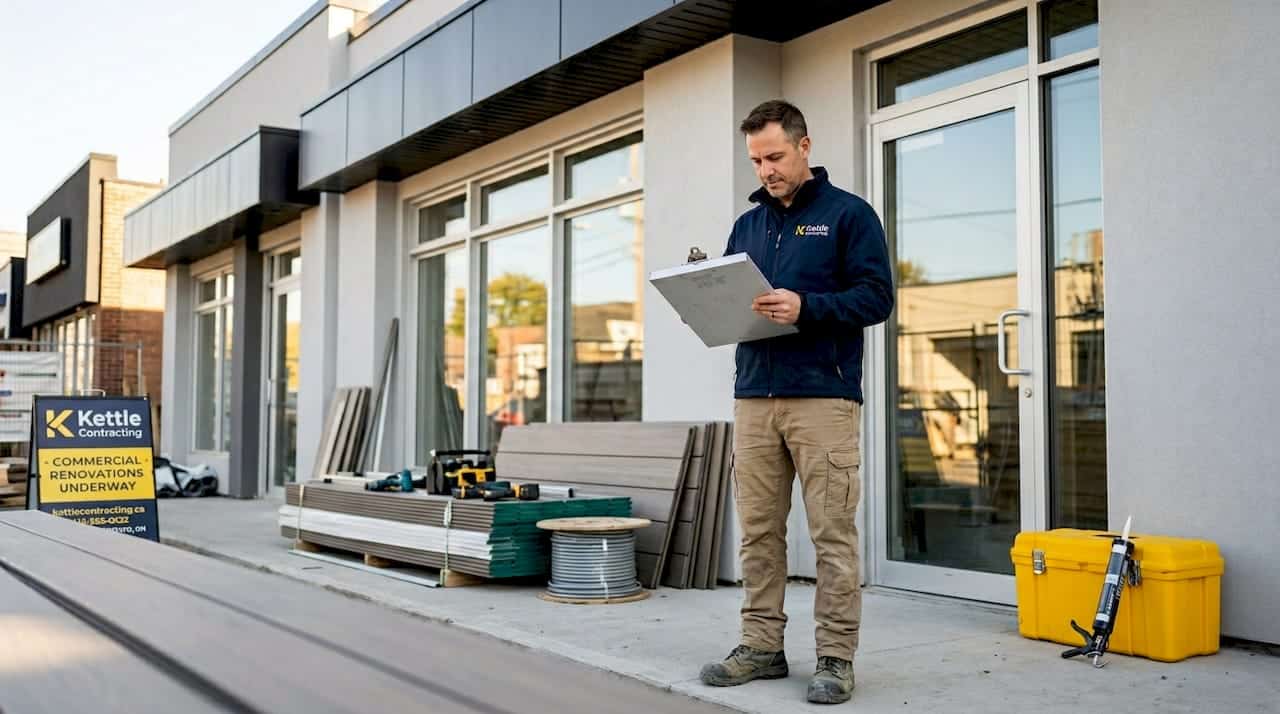
When you plan exterior caulking for a commercial retrofit, the decisions you make before anyone picks up a caulking gun are the ones that determine whether the work lasts five years or twenty. Poor sealing causes higher HVAC runtime and drives up maintenance calls in ways that are entirely preventable. The good news is that most failures follow predictable patterns. This guide walks you through everything you need to get the planning right — from materials and sequencing to quality checks and long-term maintenance.
Table of Contents
- Key takeaways
- How to plan exterior caulking for a commercial retrofit
- Sequencing caulking with your retrofit workflow
- Common mistakes in commercial exterior caulking
- Verifying quality and planning for long-term maintenance
- What I have learned from 25 years of retrofit caulking
- How Kettlecontracting supports commercial retrofit projects
- FAQ
Key takeaways
| Point | Details |
|---|---|
| Start with substrate testing | Field adhesion testing per ASTM C1521 confirms whether primer is needed before any caulk goes down. |
| Match sealant to joint movement | Choosing the right movement class matters more than brand or chemistry when selecting sealants for perimeter joints. |
| Sequence caulking with the envelope | Caulk must be coordinated with WRB, flashing, and window installation to maintain proper drainage direction. |
| Joint design drives performance | A 2:1 width-to-depth ratio and proper backer rod placement prevent the most common causes of split beads and early failure. |
| Inspect and maintain regularly | Catching cracks or separation early saves significantly more money than reactive repairs after water intrusion has occurred. |
How to plan exterior caulking for a commercial retrofit
Before you specify a single tube of sealant, you need a clear picture of what you are working with. Commercial retrofits involve existing substrates that may be weathered, coated, or contaminated. Conditions that would not affect new construction can cause caulk to fail within a season on a retrofit.
Assess your substrates first
Start with a thorough site walk. Document every joint type you will be sealing: window and door perimeters, expansion joints, control joints, transitions between dissimilar materials, and penetrations. Note the substrate on each side of the joint because different materials require different primers and sealant chemistries.
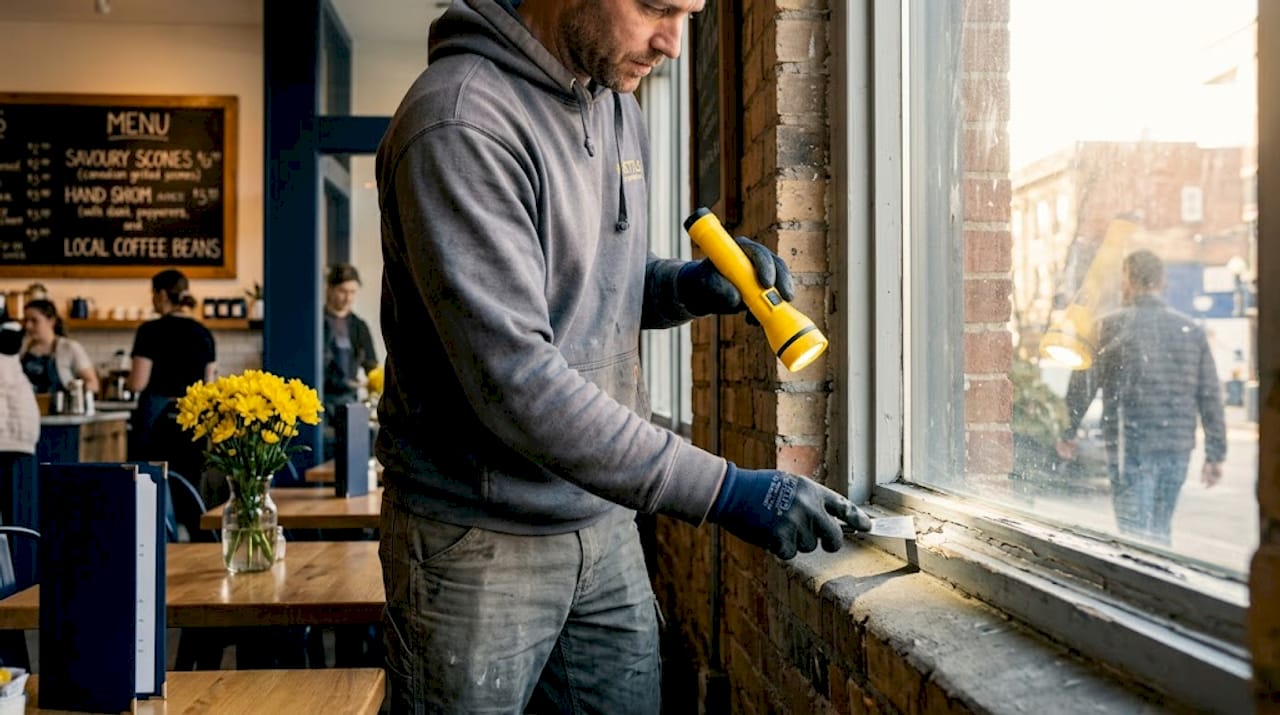
For mixed-material retrofits, field adhesion testing per ASTM C1521 is the only reliable way to verify primer needs and substrate compatibility. Skipping this step on masonry, concrete, or coated metal surfaces is a common cause of early caulking failures. If in doubt, test.
Materials and tools you will need
A proper commercial caulking installation plan requires more than sealant. Here is what to gather before starting:
- Sealants: Specify by ASTM C920 movement class and sealant chemistry. Silicone offers the highest UV durability and movement capacity; polyurethane is paintable and performs well on concrete and masonry.
- Backer rods: Closed-cell polyethylene for most exterior joints. Size should be 25% larger than the joint width so it seats firmly without falling through.
- Primers: Confirm requirements through adhesion testing. Never assume a primer is unnecessary on unfamiliar surfaces.
- Surface prep supplies: Solvent cleaners, wire brushes, grinders for removing old caulk, and bond breaker tape for joints requiring two-sided adhesion only.
- Application tools: Professional-grade caulking guns rated for the sealant viscosity you are using, along with tooling spatulas for consistent bead profiles.
- Protective equipment: Gloves, safety glasses, respiratory protection appropriate to the sealant chemistry being used.
Pro Tip: Check your 10-day forecast before scheduling. Most sealants require substrate temperatures above 5°C and below 40°C, with no rain in the forecast for at least 24 to 48 hours after application. Ontario weather in spring and fall makes this step more important than most people expect.
Sequencing caulking with your retrofit workflow
One of the most common planning mistakes in commercial exterior retrofits is treating caulking as something you do at the end. It is not. Caulking must be integrated into the full building envelope sequence or you will end up sealing over problems rather than preventing them.
Here is the correct order of operations for exterior envelope work:
- Remove and assess existing caulk. Strip failed sealant from all joints. Inspect for signs of water infiltration, substrate damage, or mould behind the joint face.
- Install or repair flashings. All kickout flashings, sill flashings, and through-wall flashings must be in place before the WRB goes on. Many water intrusion failures trace back to missing or reversed flashings, not the caulk bead itself.
- Install the WRB. The WRB should be installed after flashings but before windows and doors to maintain a shingle-lap drainage direction. Tape all vertical seams and observe a minimum 6-inch overlap. Buildings over 70 feet have additional taping requirements to meet code.
- Install windows and doors. Follow manufacturer rough opening requirements carefully. Any gap at the perimeter is a joint that will require sealant.
- Prime substrates where required. Apply primer per the adhesion test results. Allow full cure time before applying sealant.
- Install backer rods and apply sealant. Work in sections. Tool the bead immediately after application to ensure full contact with both joint faces.
- Protect and cure. Keep fresh sealant dry and protected from direct sun and wind until cure is complete.
Matching sealant to joint conditions
ASTM C920 Class 25 sealants allow plus or minus 25% joint movement. Class 50 allows plus or minus 50%, which is what most window and door perimeter joints in commercial retrofits require given thermal movement and building settlement. Specifying the wrong movement class is a slow-motion failure: the caulk will look fine at first, then split within a year or two as the joint cycles through seasonal movement.
For joint geometry, maintain a 2:1 width-to-depth ratio and always use a backer rod or bond breaker tape to prevent three-sided adhesion. Three-sided adhesion restricts the sealant’s ability to stretch and compress, which leads to split beads regardless of how good the sealant chemistry is.
Common mistakes in commercial exterior caulking
Even experienced crews make avoidable errors in retrofit environments. Understanding what typically goes wrong is half the battle.
- Applying caulk over dirty or wet surfaces. Contamination from dust, oil, release agents, or residual moisture breaks the adhesion bond. Even a surface that looks clean may need solvent wiping.
- Skipping primer on masonry or metal. Many sealants will pass a quick adhesion test in warm weather and fail during freeze-thaw cycling. Primer requirements on unfamiliar substrates should always be confirmed through ASTM C1521 testing.
- Wrong joint design. Joint design errors cause more failures than sealant chemistry problems. If a joint is too deep relative to its width, or if no backer rod was used, the sealant will fail under movement.
- Caulking over unresolved flashing problems. Sealant cannot compensate for reversed laps, missing kickout flashings, or WRB tears. The caulk will fail, and so will the assembly behind it.
- Applying sealant in cold weather without precautions. Substrates below 5°C cause sealants to skin slowly and bond poorly. If temperatures will drop overnight during the cure window, sealant applied during the day may not cure properly before being stressed.
Water infiltration investigations regularly show that the caulk bead gets blamed when the real cause is an upstream flashing or WRB error. Before re-caulking any area with a history of leaks, confirm that the drainage plane behind the joint is intact.
Verifying quality and planning for long-term maintenance
Getting the caulking down correctly is one thing. Confirming it was installed properly and planning to maintain it over time is what separates a durable retrofit from one that requires remedial work every few years.
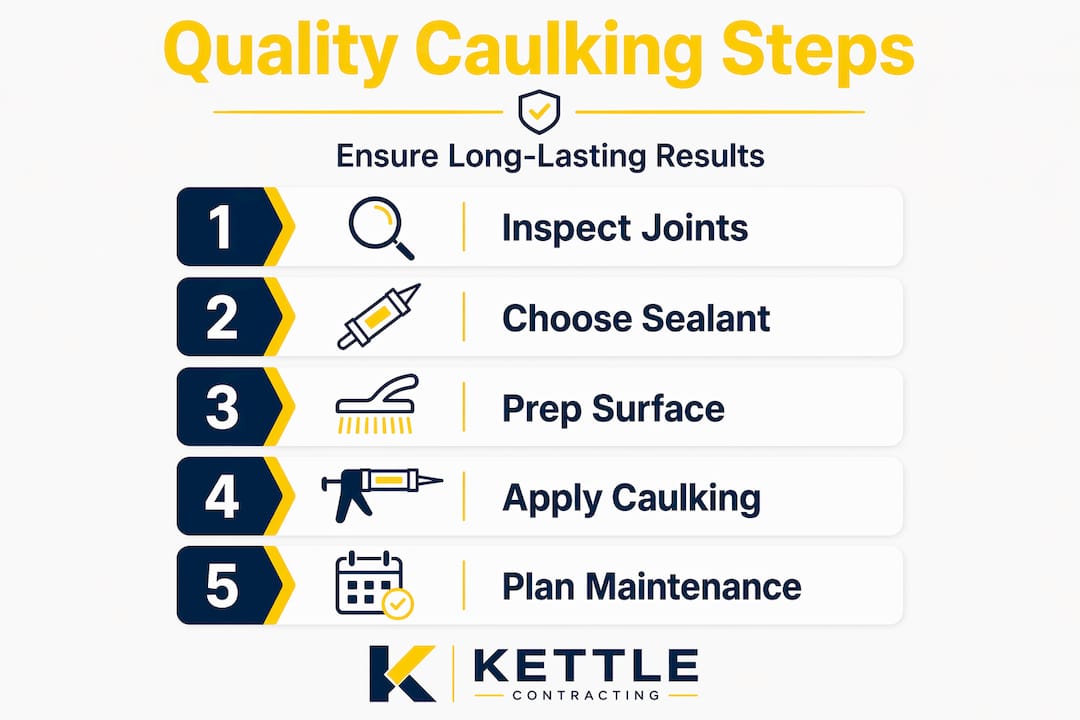
Post-installation inspection checklist
Walk every caulked joint after the sealant has cured. Look for:
- Bead continuity: no voids, gaps, or skipped sections
- Tooling quality: the bead should be slightly concave and fully adhered on both sides
- No bridging over joint faces without making contact
- No signs of tool drag pulling the sealant away from the substrate
- Uniform bead width along the full joint length
Signs of early failure to watch for
Check caulked joints at least once per year, ideally in early spring after freeze-thaw season has run its course. The warning signs to act on include:
- Cracks running along the centre of the bead
- Separation at one or both edges of the joint
- Discolouration or soft spots indicating trapped moisture behind the sealant
- Visible gaps at window or door corners where two runs of sealant meet
Proper window weathersealing reduces air leakage substantially, which directly affects HVAC load. The connection between air sealing and energy efficiency is real and measurable. You can get a clearer picture of the potential savings by using an energy savings calculator before and after a retrofit caulking programme.
For most commercial buildings in Ontario, perimeter sealants at window and door openings should be inspected annually and recaulked every 10 to 15 years depending on the sealant chemistry and exposure conditions. High-movement joints and south-facing facades with intense UV exposure will need attention sooner.
What I have learned from 25 years of retrofit caulking
In my experience, the most expensive caulking failures I have seen were not caused by cheap sealant. They were caused by good sealant applied to the wrong joint geometry or over a flashing detail that was never properly installed. The contractor finishes the job, everything looks clean, and then water shows up inside the wall cavity two winters later.
What I have found is that property managers tend to focus on the visible bead and not on what is behind it. That instinct leads to repeated repairs instead of lasting fixes. Before you specify materials for a retrofit, I would encourage you to think about the drainage plane first. If the WRB and flashings are not directing water away from the building correctly, no sealant will hold that water back indefinitely.
I have also seen projects where the sealant chemistry was endlessly debated while nobody confirmed the joint width or checked whether a backer rod was even in the joint. Getting those fundamentals right is worth more than spending extra money on a premium product applied incorrectly.
My honest advice: work with a contractor who asks about substrate types, flashing conditions, and joint geometry before quoting. If the first conversation is only about which sealant brand to use, that is a signal to ask more questions.
— Felix
How Kettlecontracting supports commercial retrofit projects
When you are ready to put a caulking installation plan into action, working with a contractor who understands commercial building envelopes makes a real difference. Kettlecontracting provides retrofit caulking services for commercial properties across the Greater Toronto Area, with experience across window perimeters, expansion joints, and full building envelope sealing.

If you are in the planning stage, Kettlecontracting’s guide on preparing windows for caulking is a solid starting point for understanding surface prep requirements before work begins. For buildings with existing failures, the guide on solving common caulking issues walks through diagnostic approaches in plain language. Kettlecontracting also covers the science behind long-lasting caulk durability for clients who want to understand why certain products outperform others in Ontario’s climate.
FAQ
What movement class sealant is best for commercial window perimeters?
Most commercial window and door perimeter joints in retrofits require Class 35 to 50 sealants under ASTM C920, as these joints experience significant thermal and building movement. Class 25 sealants are generally not sufficient for high-movement exterior perimeter applications.
Why does caulking fail shortly after being applied?
The most common causes are applying sealant over contaminated or improperly primed substrates, incorrect joint geometry such as wrong width-to-depth ratio, and three-sided adhesion from missing backer rods. Joint design problems cause more failures than sealant chemistry in most retrofit situations.
When should caulking be part of the retrofit sequence?
Caulking should be planned alongside WRB and flashing installation, not added at the end. Proper shingle-lap sequencing of the drainage plane must be in place before perimeter joints are sealed to prevent water from being trapped behind the sealant.
How often should commercial exterior caulking be inspected?
Annual inspections are recommended, particularly after freeze-thaw season in spring. Most perimeter sealants in Ontario conditions have a service life of 10 to 15 years, though high-UV or high-movement joints may need attention sooner.
Do I need primer for all exterior caulking in a retrofit?
Not always, but you should never assume primer is unnecessary. ASTM C1521 field adhesion testing is the correct method to confirm primer requirements on each substrate type present in a mixed-material retrofit.
