
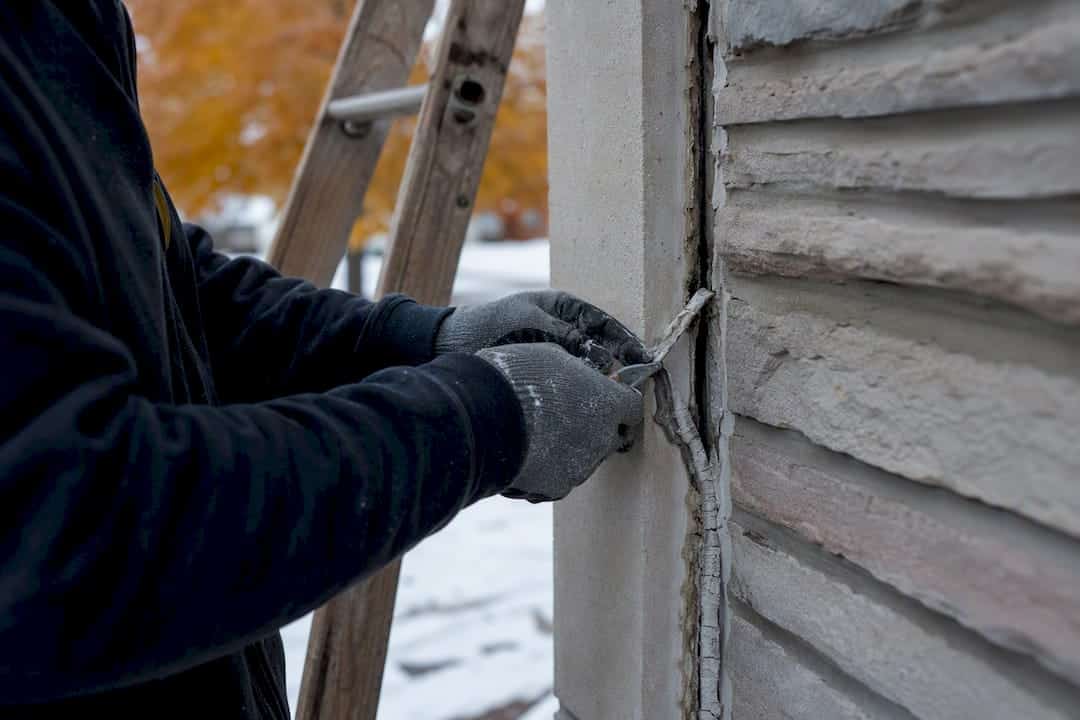
Freeze-thaw cycles damage caulk by pushing water into hairline gaps in the bead, where it freezes, expands, and physically pries the joint apart. Do that a few dozen times over a winter, and even a decent caulk job starts to crack, lift, and let water in. If you’re standing in front of a suspect joint right now, the smartest move isn’t a tube of patch caulk from the hardware store. It’s a proper inspection to see how far the damage has spread, followed by drying the area out and planning a full reseal rather than slapping a bead over a failing one.
A few things worth knowing before you touch anything:
- Most manufacturers set a minimum application temperature around 4°C (40°F), and going below that without special procedures sets you up for early failure.
- Water expands when it freezes, and that expansion happens right inside your joint if moisture gets trapped there.
- Not every caulk failure needs a contractor, but a lot of them do, especially once water’s gotten behind the wall assembly.
Key Takeaways
Freeze-thaw cycles damage caulk through repeated ice expansion inside microscopic gaps, and durable repair depends on correct material choice, dry frost-free surfaces, and proper cure temperatures.
| Point | Details |
|---|---|
| Ice wedging drives failure | Water in tiny gaps freezes, expands, and progressively widens the joint each cycle. |
| Cold delays cure | Silicone can take two to three days to go tack-free in extreme cold, raising dirt pick-up risk. |
| Frost-free surfaces are non-negotiable | Applying over frost or condensation blocks adhesion even when the air feels mild. |
| Material choice matters | Silicone and high-movement sealants resist freeze-thaw cracking far better than basic acrylic latex. |
| Kettlecontracting handles the hard cases | Kettlecontracting inspects substrate temperature and moisture before resealing joints across the Greater Toronto Area. |
Table of Contents
- What causes freeze-thaw damage to caulk
- How cold weather changes the way sealant behaves
- Warning signs your caulk needs attention
- Preventing caulk damage before winter hits
- Repairing damaged caulk: the right way to reseal
- Field-tested cold-weather tips from the trade
- Sources
- FAQ
What causes freeze-thaw damage to caulk
Every exterior joint moves. Wood, vinyl, brick, and aluminum all expand and contract at different rates as temperatures swing, and the caulk bead is the only thing absorbing that constant push and pull. Over a normal Ontario winter, a joint might cycle through freezing and thawing dozens of times. That’s not wear and tear in the usual sense. It’s fatigue, the same way bending a paperclip back and forth eventually snaps it.
The bigger problem starts once a joint develops even a microscopic gap. Water gets in through capillary action, sits there, and then freezes. Ice takes up more space than liquid water, so it wedges the gap wider every single time. Engineers call this ice wedging, and it’s the same mechanism that cracks pavement and breaks apart rock formations, just working on a much smaller scale in your window trim. A breakdown of freeze-thaw mechanics on exterior sealant shows how this progressive widening turns a pinhole into a visible crack over a season or two.
Age makes all of this worse. UV exposure and years of movement gradually cook the flexibility out of a caulk bead, leaving it stiff and brittle. A fresh, elastic bead can stretch and compress with the joint. A ten-year-old bead that’s gone chalky can’t, so it cracks instead of flexing, and that crack is exactly where the ice wedging starts.
A joint doesn’t fail in one freeze. It fails after the fortieth one, when a bead that’s already lost its elasticity finally gives out under ice pressure it could have handled five years earlier.
The result is a predictable pattern: hairline cracks turn into visible gaps, gaps turn into edge lift where the bead peels away from the substrate, and eventually you’ve got open water paths straight into the wall assembly.
How cold weather changes the way sealant behaves
Cold doesn’t just make caulk harder to apply. It changes how the material performs at a chemical level, and that affects how long a job lasts.
- Colder sealant is thicker, which makes it harder to lay down a smooth, consistent bead and easier to trap air pockets inside it.
- Cure times stretch out significantly. Pecora’s cold-weather technical bulletin notes that in extreme conditions, silicone can take two to three days just to go tack-free, versus a few hours in warm weather.
- A longer open time means more hours where dust, grit, and debris can stick to the surface before it skins over.
- Surface frost and condensation on cold substrates block proper adhesion, even when the air itself feels mild enough to work in, according to GE Silicones’ cold-weather guidelines.
Below roughly 4°C, most manufacturers want you following modified procedures rather than the standard install process, and Tremco’s cold-weather technical notes point out that adhesion testing done too soon after a winter install can be misleading, since the bead simply hasn’t finished curing yet.
Pro Tip: If you’re timing a cold-weather job, aim for midday. Surface and ambient temperatures both peak a few hours after solar noon, which buys you the best working window before things cool off again toward evening.
Warning signs your caulk needs attention
Not every crack means disaster, but you need to know which signs mean “watch it” and which mean “fix it now.”
- Visible cracks, gaps, or a bead that’s pulled away from one side of the joint (edge lift).
- Caulk that’s gone hard, shrunk, or turned chalky instead of staying flexible when you press it.
- Drafts around a window or door that weren’t there last year.
- Water stains, peeling paint, or mould near a joint after a thaw.
Press a finger into the bead. If it feels rock hard or crumbles at the edge, it’s done. Probe any visible gap with a thin tool. If you can see daylight or feel airflow, water’s already found a way in. Small hairline cracks with no drafts or stains can usually wait for scheduled maintenance. Gaps you can see through, or any sign of water inside, need attention now, not next spring.
Preventing caulk damage before winter hits
The single biggest lever you have is material choice. Basic acrylic latex caulk is cheap and easy to apply, but it doesn’t handle the repeated movement of a freeze-thaw climate well. Silicone and specialty high-movement sealants resist cracking and pull-back far better, which is why they’re the standard choice for exterior work that has to survive Canadian winters. Our guide on the best window caulk for Canadian winters breaks down which formulations actually hold up.
Beyond material, joint design matters more than most homeowners realize. A properly tooled bead should have a slightly concave, hourglass-shaped profile, wider than it is deep. That shape lets the bead stretch and compress without concentrating stress at one thin point.
Before any application, run through this checklist:
- Strip out old, failing caulk completely. Never caulk over caulk.
- Clean the joint of dust, grease, and loose debris.
- Confirm the substrate is dry and, critically, frost-free, since installation guidance from Onward Hardware flags frost removal as one of the most commonly missed steps.
- Check that surface and ambient temperature are at or above the manufacturer’s minimum, generally around 4°C to 10°C.
Pro Tip: Keep your caulk cartridges in a heated space overnight before a cold-weather job. Cold cartridges dispense unevenly and are far more likely to trap air pockets in the bead.
Repairing damaged caulk: the right way to reseal
Once you’ve decided a joint needs a full reseal, sequence matters as much as the product you choose.
- Remove all of the old caulk with a scraper or utility knife, right down to bare substrate.
- Clean the joint and let it dry fully, then confirm it’s frost-free before proceeding.
- Install backer rod for any gap wider than about a quarter inch, so the new bead has proper depth control.
- Apply the sealant in one continuous pass and tool it into that concave hourglass profile before it starts to skin over.
Common mistakes to avoid:
- Caulking directly over old, brittle sealant instead of stripping it out.
- Sealing a surface that looks dry but is still cold enough to carry condensation.
- Using the wrong joint profile, which puts stress on the bead exactly where it can’t handle it.
Call a professional when the water entry point isn’t obvious, when the joint involves masonry or structural movement, or when the job needs scaffolding or specialized primers you don’t have on hand. Our step-by-step guide to winter window caulking covers the DIY version in more detail if you’re tackling a small, accessible joint yourself.
Field-tested cold-weather tips from the trade
A cheap surface thermometer tells you more than the weather app ever will. Ambient air can read 8°C while a shaded north-facing wall sits well below the substrate minimum. Work your sequence by exposure, sunny south faces first, shaded and elevated areas later once they’ve warmed.
- Keep cartridges in a heated vehicle overnight, then warm them briefly in lukewarm water on site if they’ve cooled down.
- Work in sections small enough to tool the bead before it starts to skin over.
- A slower cure isn’t automatically bad. Extra open time can improve adhesion, but only if you’re managing dirt pick-up and keeping the area clear.
Pro Tip: Watch the dew point, not just the temperature. A mild afternoon with high humidity can still leave enough condensation on a cold substrate to wreck adhesion.
Why doing it right the first time matters
I’ve spent 25 years watching quick patch jobs fail their first real winter. A rushed bead over a damp or frosty surface might look fine in October, but it won’t survive January. The fix that lasts isn’t complicated, it just has to be done properly, on the right surface, in the right conditions.
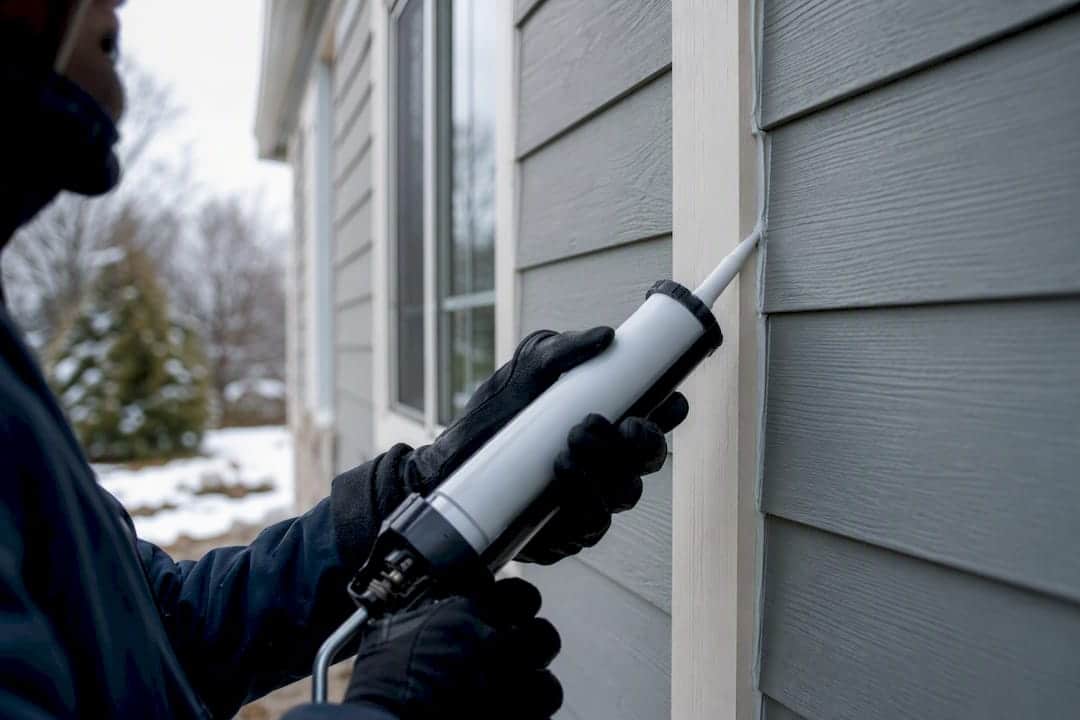
When it’s time to call in a pro
Some caulking jobs are a Saturday afternoon project. Others aren’t, and the difference usually comes down to what’s happening behind the wall. If you’re dealing with a joint where water’s already gotten past the surface, a commercial building envelope with dozens of joints to assess, or masonry that needs specialized prep, that’s when hiring out saves you from redoing the same repair every year.

Kettlecontracting has handled enough Greater Toronto Area winters to know exactly which joints fail first and why. We check substrate temperature and moisture before we ever load a cartridge, and we use materials rated for the freeze-thaw cycling this region actually sees, not just what’s cheapest off the shelf. If you’ve spotted cracking, drafts, or water staining around your windows or doors, our caulking services page is the place to start. Book an inspection, get a straight answer on what needs resealing now versus what can wait, and get a quote before the next cold snap sets in.
Sources
- Technical Bulletin # 65 Joint Sealant Application at Temperatures below 40 oF
- Expert tips for maintaining silicone sealant performance in winter – GE Sealants
- Tremco cold weather caulking technical notes
FAQ
Does caulk get ruined if it freezes?
It depends on the type. Water-based acrylic sealants can be damaged by freezing and generally shouldn’t be applied below freezing temperatures, while some products are labelled freeze/thaw stable for storage but still need thawing and testing before use, according to TEC’s product data sheet.
Can you use caulking that has been frozen?
If the manufacturer lists the product as freeze/thaw stable for storage, thaw it completely and test a small bead for proper consistency and adhesion before using it on a real joint. If there’s no such rating, treat a frozen tube as compromised and don’t risk it on an exterior seal.
Is silicone ruined if it freezes in storage?
Silicone generally tolerates cold storage better than water-based acrylics, but application still needs to happen at or above the manufacturer’s minimum temperature, typically around 4°C. GE Sealants’ winter guidance recommends warming cartridges before use regardless of how they were stored.
Can I save leftover caulk for next season?
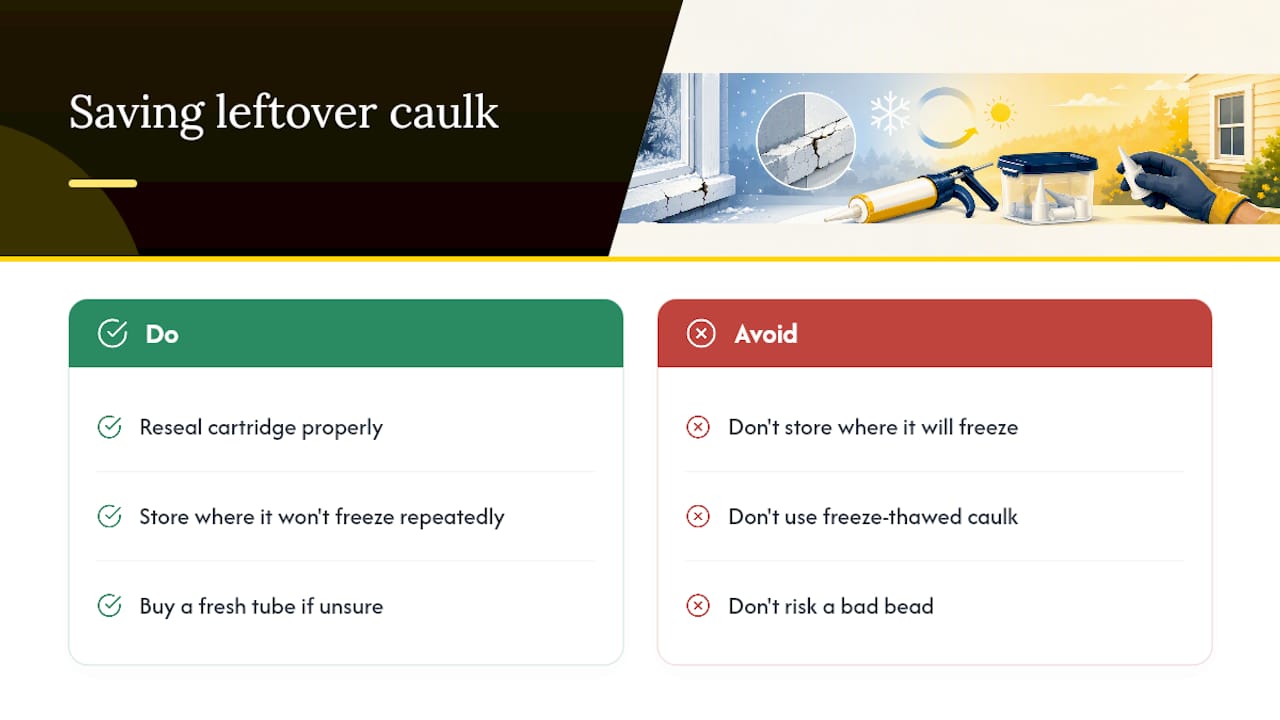
Only if the cartridge is properly resealed and stored somewhere that won’t hit freezing temperatures repeatedly, since each freeze-thaw cycle in storage can degrade the material before it’s even applied. When in doubt, buy a fresh tube rather than risk a bad bead on a repair that’s supposed to last years.
