
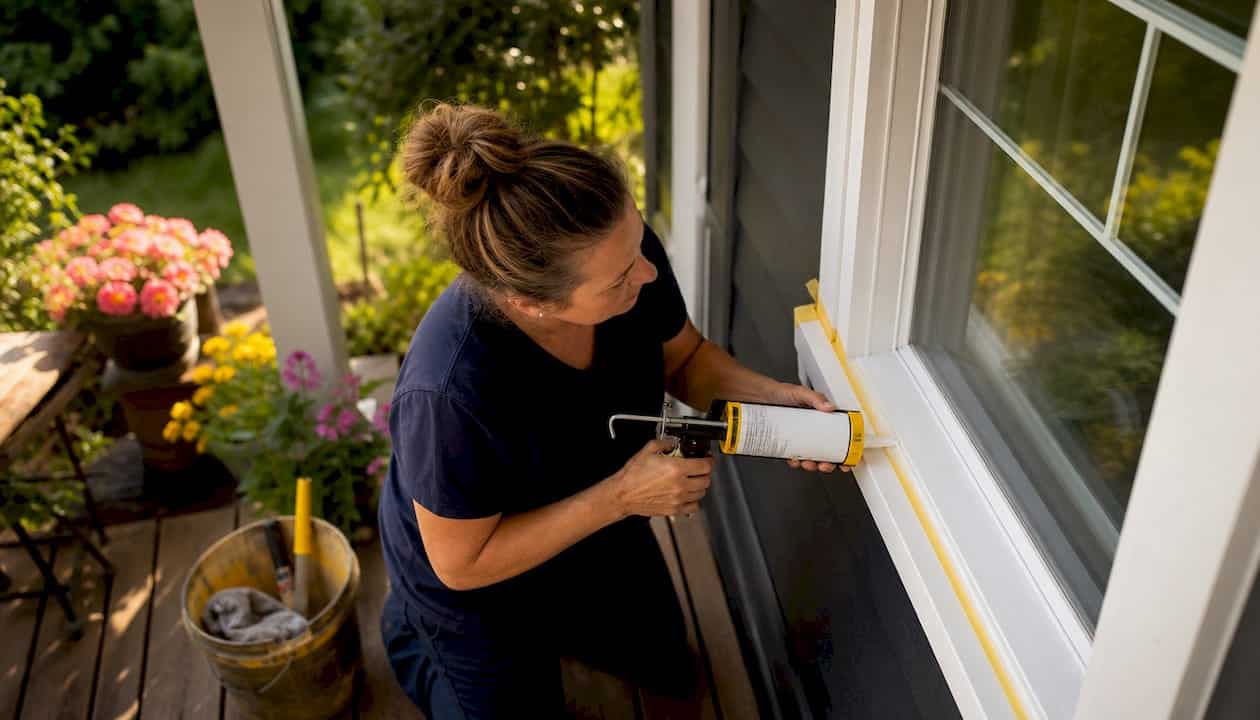
The most common caulking mistakes homeowners make are skipping surface preparation, choosing the wrong product, and applying sealant in the wrong conditions. These errors are not minor. Poor caulking lets water into wall assemblies, drives up heating costs, and causes rot that costs far more to fix than a proper seal job would have. In Canadian climates, where freeze-thaw cycles stress every joint in your home’s exterior, getting caulking right is a maintenance task you cannot afford to rush or guess at. This guide covers the most damaging errors and exactly how to avoid them.
1. Skipping surface preparation before applying caulk
Surface preparation is the single most important step in any caulking job. Proper surface prep accounts for roughly 80% of the work behind a lasting seal. Skip it, and even the best sealant on the market will fail within months.
The most common prep errors are:
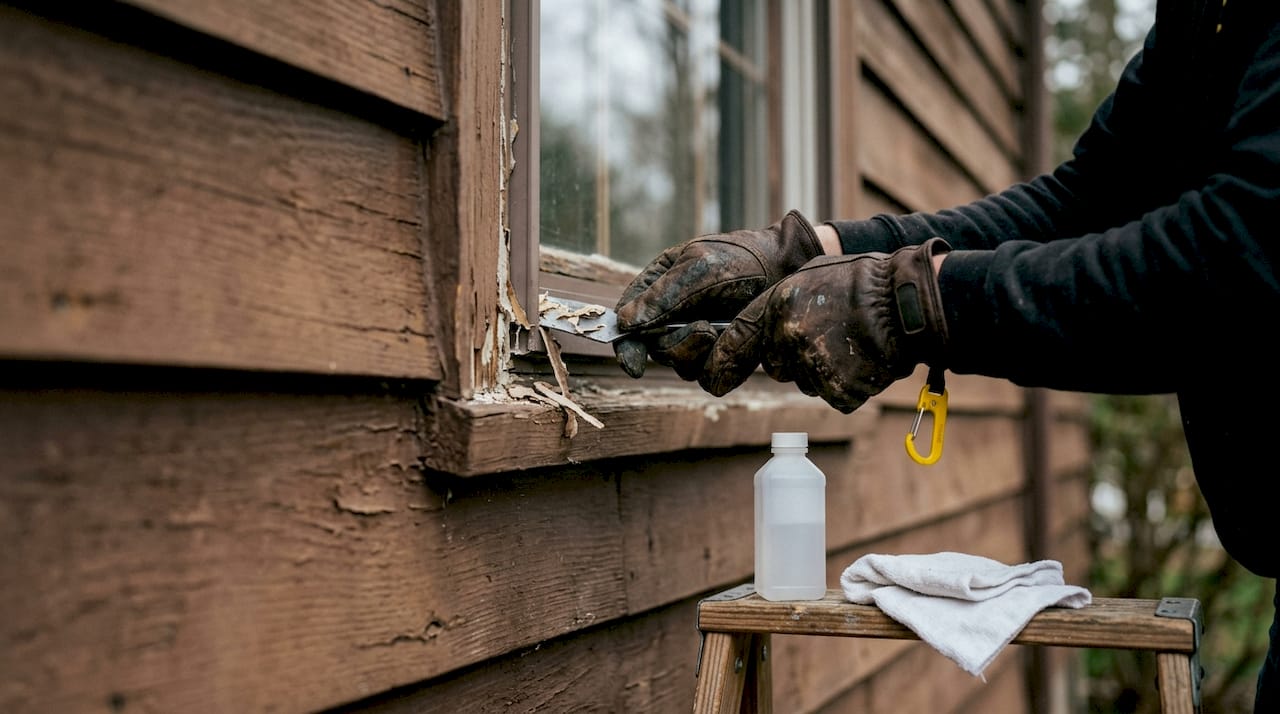
- Leaving old caulk in place and applying new product on top
- Failing to clean dirt, grease, or mildew from the joint before sealing
- Applying caulk to a damp or wet substrate
- Skipping a wipe-down with isopropyl alcohol or a dedicated cleaner after scraping
Layering new caulk over old creates thick, poorly bonded lines that fail from underneath. The new product bonds to the old caulk, not to the substrate, so the whole assembly peels away together. A damp surface is equally damaging. Moisture trapped under a fresh bead prevents proper curing and breaks the adhesive bond before it ever fully forms.
Pro Tip: Use a plastic or metal caulk removal tool to strip old sealant cleanly, then wipe the joint with isopropyl alcohol and let it dry fully before applying anything new. In humid Ontario summers, give the joint at least an hour after cleaning before you start.
2. Choosing the wrong caulk for Canadian exterior conditions
Product selection is where many homeowners lose money without realising it. Standard acrylic latex caulk lacks the flexibility needed for exterior joints and often cracks before the first Ontario winter is over. That failure is not a fluke. It is a predictable result of using an interior-grade product in an exterior environment.
The service life difference between product types is significant:
| Caulk type | Typical service life | Best use |
|---|---|---|
| Acrylic latex | 2–5 years | Interior trim, low-movement joints |
| Paintable siliconised acrylic | 5–10 years | Moderate exterior exposure |
| Polyurethane | 15–25 years | Exterior joints, masonry, concrete |
| Modified silicone | 15–25 years | Windows, doors, high-movement joints |
Premium polyurethane and modified silicone sealants last 15–25 years compared to 2–5 years for standard acrylic products. That gap in service life means you may re-caulk an acrylic job five times before a polyurethane application needs its first inspection. The upfront cost difference is real, but the long-term savings are clear.
For caulk suited to Ontario winters, look for products rated for high movement, UV resistance, and temperatures down to at least -40°C. Flexibility is the key property. A sealant that cannot stretch and compress with your home’s seasonal movement will crack, no matter how well it was applied.
3. Applying caulk in the wrong weather conditions
Temperature and moisture at the time of application directly determine whether your caulk bonds properly. Exterior caulk must be applied above 10°C to cure correctly. Applying below 4°C or with rain expected within 24 hours risks complete bond failure.
Cold weather causes sealant to stiffen in the tube, making it harder to gun smoothly and reducing its ability to wet out the substrate. Caulking below recommended temperatures compromises both the bond and the long-term flexibility of the cured bead. The product may look fine on day one and crack by spring.
The best time to caulk in Ontario is late spring through early autumn, when daytime temperatures are consistently above 10°C and rain is not forecast for at least 24 hours after application. Avoid caulking in direct midday sun on hot days as well. Extreme heat causes some sealants to skin over too quickly, trapping uncured product underneath.
4. Cutting the nozzle tip too large
Nozzle preparation is a small step that has a large impact on the quality of your bead. Most homeowners cut the nozzle tip too wide, which produces a bead that is too thick to tool neatly and wastes product. A tip opening of 6–8 mm is right for most residential joints. Anything wider and you lose control of the bead.
A large tip also makes it harder to maintain consistent pressure as you gun along the joint. The result is an uneven bead with thick and thin sections. Thin sections crack under joint movement. Thick sections take longer to cure and may skin over on the outside while remaining soft inside.
Cut the nozzle at a 45-degree angle for better contact with the joint surface. Hold the gun at a consistent angle and move at a steady pace. Practice on a scrap surface first if you have not caulked before.
5. Over-tooling the bead after application
Tooling a fresh bead smooths it into the joint and improves adhesion. Over-tooling does the opposite. Excessive tooling creates beads that are too thin to stretch with joint movement, which causes snapping and cracking within the first season. The goal is a slightly concave bead that fills the joint without being scraped down to a film.
One firm, smooth pass with a wet finger or a caulking tool is enough. Do not go back over the same section repeatedly. Each additional pass removes more material and thins the bead further. Wet your finger or tool with a small amount of water or dish soap to prevent dragging and tearing.
Pro Tip: Tool the bead within 5 minutes of application for most sealants. After that, the surface begins to skin and tooling tears rather than smooths. Work in short sections of 60–90 cm at a time so you can tool before the product sets.
6. Skipping backer rods in deep joints
Deep joints, such as those around large window frames, expansion joints, or masonry openings, need a backer rod installed before caulking. Without a backer rod, caulk bonds to three surfaces instead of two, which is called three-sided adhesion. Three-sided adhesion prevents the bead from stretching properly and causes it to crack and pull apart under movement.
A backer rod is a foam cylinder pressed into the joint to control the depth of the caulk application. It gives the sealant a proper backing surface and keeps the bead at the right depth-to-width ratio, typically 1:1 or 1:2. This ratio is what allows the cured bead to flex without tearing.
Backer rods are inexpensive and widely available at hardware stores. Use a closed-cell backer rod for exterior joints to prevent moisture absorption. Press it in firmly so it sits about 6 mm below the joint face before you apply the sealant.
7. Sealing areas that are designed to stay open
One of the most damaging homeowner sealing mistakes is caulking every visible gap without understanding which gaps are intentional. Sealing weep holes or every siding lap traps moisture inside the wall assembly, causing hidden rot and structural damage. Blocking drainage paths is worse than leaving a small draft.
Weep holes are small openings at the base of window frames and brick veneer. They allow condensation and any water that gets past the outer layer to drain out. Seal them and that water has nowhere to go. It sits against the framing, insulation, and sheathing until rot sets in.
The table below shows where caulking helps and where it causes damage:
| Location | Caulk it? | Reason |
|---|---|---|
| Window frame to exterior cladding | Yes | Prevents water entry at the perimeter |
| Window sill weep holes | No | Required for drainage |
| Brick veneer weep holes | No | Required for drainage |
| Horizontal siding laps | No | Designed to shed water naturally |
| Door frame to exterior cladding | Yes | Prevents air and water infiltration |
| Expansion joints in concrete | Yes | Allows movement while sealing |
| Penetrations (pipes, vents) | Yes | Closes gaps around services |
For a full checklist of areas around windows to caulk, Kettlecontracting has detailed guidance specific to Canadian construction.
8. Treating caulk as a permanent fix for structural problems
Caulking is a maintenance sealant, not a structural repair. Caulk applied over failing flashing or damaged framing hides the problem and accelerates rot by trapping moisture behind a sealed surface. If the underlying issue is not fixed first, the caulk will fail and the damage underneath will be worse when you finally open it up.
Signs that caulking alone is not the right answer include recurring water stains inside after rain, soft or spongy framing around windows, and caulk that fails repeatedly in the same location within a year. These are symptoms of a drainage or flashing problem, not a caulking problem.
Fix the root cause first. Then seal the joint properly. Caulk is the last line of defence, not the first.
9. Ignoring the maintenance cycle
Many homeowners treat caulking as a one-time fix when it requires ongoing inspection and periodic replacement to stay effective. Even high-performance polyurethane sealants have a service life. Ontario’s freeze-thaw cycles, UV exposure, and seasonal movement all degrade sealant over time.
Inspect your exterior caulking every autumn before temperatures drop. Look for cracking, shrinkage, gaps at the edges, or sections that have pulled away from the substrate. Catching a failing bead in september is far cheaper than dealing with water damage discovered in march.
A proper exterior sealant maintenance schedule keeps your home protected year-round and extends the life of your windows, doors, and cladding.
Key takeaways
Avoiding caulking mistakes comes down to three things: thorough surface prep, the right product for the conditions, and knowing which joints should never be sealed.
| Point | Details |
|---|---|
| Prep is 80% of the job | Remove old caulk fully and clean the joint before applying any new sealant. |
| Match product to conditions | Use polyurethane or modified silicone for exterior Canadian joints; avoid standard acrylic latex. |
| Temperature and timing matter | Apply above 10°C with no rain forecast within 24 hours for proper curing and adhesion. |
| Never seal drainage openings | Weep holes and siding laps are designed to drain; sealing them causes hidden rot. |
| Caulk is maintenance, not a cure | Inspect annually and replace failing beads before water infiltration causes structural damage. |
What 25 years of caulking jobs taught me about homeowner errors
The mistake I see most often is not the wrong product or a bad bead. It is the assumption that caulking is simple enough to rush. Homeowners spend $8 on a tube of acrylic latex, spend 20 minutes on the job, and then wonder why it is cracking by the following spring. The product did not fail. The process did.
The second thing I have learned is that layering is the silent killer of caulking jobs. I have stripped windows where there were four or five layers of caulk built up over the years, none of them bonded to the substrate. The whole mass peels off in one strip. Every one of those applications was wasted labour and material because nobody took the time to strip back to bare substrate first.
The third thing, and this one surprises people, is that more caulk is not better. I have seen homeowners fill entire gaps with sealant thinking a thicker bead means a stronger seal. A bead that is too thick does not cure evenly, cannot flex properly, and often skins over while staying soft inside. The right bead is the right size for the joint, no more.
If you are doing your own caulking, slow down on the prep, spend a bit more on the product, and check your work every autumn. Those three habits will save you from most of the common window caulking errors I see on the job.
— Felix
When professional caulking is worth the call
Getting caulking right the first time requires the right product, the right conditions, and a process that most homeowners only learn through costly trial and error.

Kettlecontracting specialises in high-performance sealing for residential and commercial properties across the Greater Toronto Area. The team handles everything from window and door perimeters to full building envelope work, using products and techniques suited to Ontario’s climate. If your caulking keeps failing or you are dealing with water infiltration around windows or doors, professional caulking services deliver results that hold up through freeze-thaw cycles and decades of seasonal movement. Reach out to Kettlecontracting for an honest assessment and a quote.
FAQ
How long does exterior caulk last in Canada?
Exterior caulk lasts 5–10 years on average, though acrylic latex products often fail within 2–5 years in Canadian conditions. High-performance polyurethane and modified silicone sealants can last 15–25 years with proper application.
Should you remove old caulk before applying new caulk?
Yes. Applying new caulk over old causes adhesion failure because the new product bonds to the old caulk rather than the substrate. Strip the joint fully and clean it before resealing.
What temperature is too cold to caulk outside?
Exterior caulk should not be applied below 10°C, and never below 4°C. Applying in cold weather stiffens the sealant, prevents proper bonding, and reduces long-term flexibility.
Which areas should never be caulked on a house exterior?
Window sill weep holes, brick veneer weep holes, and horizontal siding laps should never be sealed. These openings are designed for drainage and sealing them traps moisture inside the wall assembly, leading to rot and structural damage.
How do you fix caulking that keeps cracking?
Strip the old caulk completely, clean and dry the joint, install a backer rod if the joint is deep, and apply a flexible polyurethane or modified silicone sealant rated for exterior use. For persistent failures, check for underlying flashing or drainage issues before resealing.
Recommended
- The Biggest Mistakes People Make When Caulking Windows – Kettle Contracting
- Fixing Caulk Like a Pro: Solving the Most Common Caulking Issues – Kettle Contracting
- Achieving the Perfect Seal: Addressing Common Window Caulking Mistakes – Kettle Contracting
- What Are the Common Mistakes in Window Caulking? | Don’t Make These Errors – Kettle Contracting
