Most people think of caulking as a finishing touch. A cosmetic step you do after the real work is done. But when it comes to energy efficiency and airtightness testing, the quality of your caulking directly shapes what those test results say, and what your heating bill looks like every winter. Understanding how caulking affects airtightness testing is not just useful for building professionals running blower door tests. It matters to any homeowner who wants honest answers about where their energy is going and whether their building envelope is actually doing its job.
Table of Contents
- Key takeaways
- How caulking affects airtightness testing
- Caulk types and their impact on performance
- Best practices for caulking that improve test results
- Caulking’s role in blower door test results
- Common caulking mistakes that hurt airtightness
- Assessing and improving caulking before testing
- My honest take after 25 years on the job
- Get your caulking right before your next test
- FAQ
Key takeaways
| Point | Details |
|---|---|
| Caulk type changes outcomes | Flexible, non-hardening sealants maintain airtightness through building movement; rigid caulks often pull away and fail. |
| Surface prep determines durability | Caulk applied to dirty or wet surfaces in cold weather will fail prematurely, leading to air leaks and poor test scores. |
| Blower door tests reveal caulking gaps | Unsealed perimeters and small penetrations can add several ACH50 points, significantly worsening test readings. |
| Wrong caulk causes hidden damage | Blocking weep holes with caulk traps moisture and causes structural rot that inspections often miss until it is too late. |
| Ongoing maintenance sustains results | Caulking deteriorates over time; regular inspection and reapplication is the only way to keep airtightness test results accurate and consistent. |
How caulking affects airtightness testing
The connection between caulking and airtightness is more direct than most people realise. A 1/16-inch gap around a window frame lets in as much cold air as leaving the window open three inches, reducing HVAC efficiency by 15 to 30%. Now multiply that across every window, door frame, and penetration in a house, and you start to understand why blower door results can vary dramatically based on caulking quality alone.
Airtightness testing, specifically the blower door test, works by depressurising the building with a calibrated fan and measuring total air leakage in CFM50 (cubic feet per minute at 50 pascals). The result gets expressed as ACH50, which stands for air changes per hour at 50 pascals pressure. Passive House standards target 0.6 ACH50, while most retrofits aim for under 3 to 5 ACH50. Every poorly sealed joint, every dried-out bead of caulk that has pulled away from the substrate, is contributing to that number.
The impact of caulking on testing is not theoretical. When caulking fails at common leak points like window perimeters, door frames, and service penetrations, those locations show up clearly during pressurisation testing. A technician using a smoke pencil or thermal camera can see the air moving right through spots that look sealed to the naked eye.
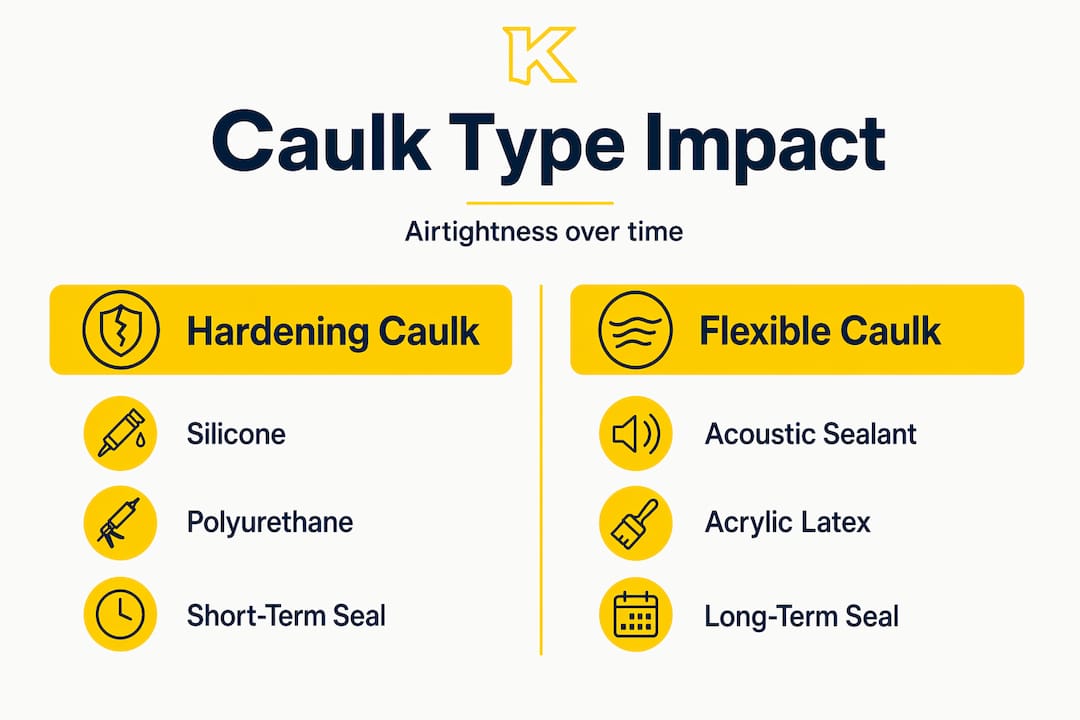
Caulk types and their impact on performance
Choosing the right caulk is the single most consequential decision in any air sealing project, and it is the one most often made carelessly. Not all caulks behave the same way under stress, temperature change, or building movement.
| Caulk type | Best use | Flexibility | Airtightness longevity |
|---|---|---|---|
| Silicone | Exterior glazing, wet areas | High | Moderate (can pull away at substrate) |
| Acrylic latex | Interior trim, paintable surfaces | Low | Short (cracks and hardens over time) |
| Polyurethane | Exterior joints, concrete | Medium | Moderate (can harden and separate) |
| Acoustic sealant | Interior joints, plates, penetrations | Very high | Long (stays pliable through movement) |
Standard silicone and polyurethane caulks harden and pull away from substrates as buildings settle, creating recurring air leaks that keep reappearing on test results year after year. Non-hardening acoustic sealants, by contrast, maintain flexibility and airtightness for the life of the assembly, which is exactly what you need in a building that is constantly shifting through Ontario’s freeze-thaw cycles.
Acrylic latex caulk is fine for interior trim where movement is minimal and aesthetics matter more than long-term air sealing. But using it on exterior window perimeters or any joint that experiences seasonal movement is a mistake that shows up on your next blower door test, guaranteed.
Pro Tip: On interior wall plate joints and around electrical penetrations, use non-hardening acoustic sealant rather than standard caulk. It stays flexible through years of building movement and holds its air seal where rigid products eventually fail.
Best practices for caulking that improve test results
The difference between caulking that lasts five years and caulking that lasts twenty often comes down to preparation and conditions, not the price of the product.
Here are the practices that actually move the needle on airtightness testing outcomes:
- Remove old caulk completely. Applying new caulk over old, cracked material creates a weak bond and hidden air paths. Use a caulk remover tool and clean down to the bare substrate before starting.
- Clean and dry the surface. Dust, mildew, and moisture all compromise adhesion. Wipe surfaces with isopropyl alcohol and let them dry fully before applying.
- Work within the right temperature range. Caulk should be applied above 4°C on dry substrates; cold or wet application causes adhesion failure and early peeling. In Ontario, this matters every spring and fall.
- Seal critical leakage points first. Window perimeters, door frames, utility penetrations, and the sill plate junction are where the most air moves. Refer to a window caulking checklist to make sure nothing is missed.
- Tool the bead properly. A smooth, tooled bead creates better substrate contact than an untooled one. Use a caulking tool or a wet finger to press the caulk firmly into the joint.
- Time your testing strategically. Run a blower door test before and after sealing work. A test before and after sealing quantifies improvement and helps you find remaining leaks to address.
Pro Tip: When sealing around window frames on the exterior, apply caulk to three sides only. Leave the bottom unsealed or use a weep-backer configuration to allow drainage. Sealing all four sides traps water and accelerates frame rot.
Caulking’s role in blower door test results
Blower door testing is the definitive method to verify the effectiveness of air sealing work, and ASTM E779 is the standard protocol used in Canada for measuring building airtightness. What many homeowners and even some contractors do not realise is that poor caulking quality can distort results in both directions.
Unsealed or failed caulk creates genuine air leakage that inflates ACH50 numbers, making a building look worse than it actually is post-insulation. On the flip side, testing a building immediately after fresh caulk is applied, before it has fully cured, can produce temporarily optimistic results that do not reflect long-term performance.
The areas where caulking has the highest impact on test readings include:
- Sill plate to foundation connections. This joint is often overlooked and is one of the biggest single sources of air leakage in Ontario homes.
- Window and door frame perimeters. Even small gaps here register clearly under pressurisation.
- Electrical and plumbing penetrations. Every hole in the building envelope is a potential test failure if not sealed properly.
- Attic hatch perimeters. Frequently missed in basic caulking work, but highly visible during blower door testing.
Caulking does not work in isolation. Effective air sealing is a system that integrates weatherstripping, spray foam, rigid insulation, and proper vapour management alongside caulking. When caulking is missing or failing, the rest of the system cannot compensate fully. That gap in the sill plate does not care how good your attic insulation is.
The consequences of ignoring caulking quality go beyond test scores. DIY air sealing including caulking can reduce heating and cooling consumption by up to 30% when combined with insulation upgrades, but only when it is done right. Poor caulking means paying for heating that is literally going out through the walls.
Common caulking mistakes that hurt airtightness
Knowing the mistakes in advance is worth more than fixing them after the fact, especially once a blower door test has already delivered a disappointing number.
- Using the wrong caulk for the location. Acrylic latex on an exterior joint, or standard silicone where acoustic sealant is needed, sets the seal up to fail within a few years.
- Blocking weep holes. Sealing weep holes traps moisture, leading to hidden rot behind trim and cladding. Weep holes are intentional drainage paths. Caulking over them is one of the more costly mistakes to fix.
- Applying caulk in cold or wet conditions. Anything below 4°C or on a damp surface means the caulk will not bond properly. It may look fine at first, then peel away by spring.
- Skipping surface preparation. Caulking over old, cracked beads or dusty surfaces is a temporary fix that often fails before the next scheduled inspection.
- Neglecting maintenance. Caulk does not last forever. UV exposure, building movement, and thermal cycling all degrade it. Many homeowners assume once it is done, it stays done. For keeping windows airtight long-term, regular inspection every two to three years is the practical standard in Ontario.
Understanding these mistakes also helps you interpret test results. If your blower door numbers are unexpectedly high despite insulation upgrades, the problem is often caulking that has quietly failed, not the insulation itself.
Assessing and improving caulking before testing
Whether you are a homeowner preparing for an energy audit or a contractor getting a building ready for certification testing, a systematic approach to caulking assessment makes a measurable difference.
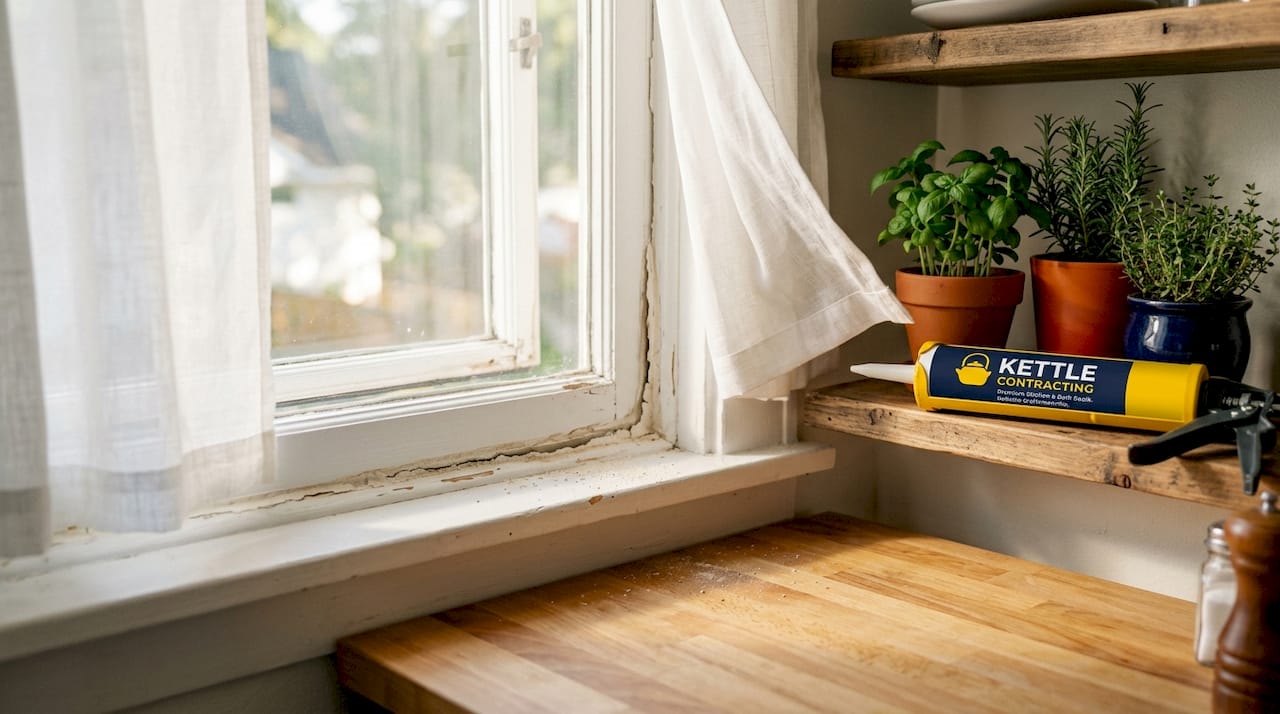
- Visual inspection first. Walk the full perimeter of each window and door. Look for gaps, cracks, shrinkage, and discolouration. Crumbly or separated caulk is a failed seal regardless of how it looks from a distance.
- Check interior penetrations. Electrical boxes, plumbing stacks, and recessed lighting are common air leakage points that often go unaddressed before testing.
- Schedule testing at the right time. Allow new caulk to cure fully before testing. Cure times vary by product and temperature, but 24 to 72 hours is a practical minimum in Ontario conditions.
- Consider professional assessment for older homes. Common window caulking errors are easy to miss without trained eyes. Professionals can spot failed seals, improper product choices, and missed locations that a DIY inspection often overlooks.
- After testing, review the results by zone. A good testing technician will map leak locations. Use that map to prioritise your caulking repairs, working from highest leakage zones first.
Pro Tip: Before your blower door test, run a basic incense or smoke pencil check around window frames, door frames, and electrical boxes on a windy day. You will find the obvious failures before the technician does, which gives you time to fix them without paying for a retest.
My honest take after 25 years on the job
I’ve seen it countless times. A homeowner installs new windows, adds insulation, and still fails their airtightness test. The windows are fine. The insulation is fine. The caulking around the perimeter? That is where the air was moving the whole time.
The problem is that caulking gets treated as the last five minutes of the job, not part of the strategy. I’ve watched builders use whatever tube was left in the truck, apply it over dirty surfaces in October, and call it done. Then wonder why the blower door number is still high six months later.
What I’ve learned is that the right caulk for the right location, applied on a clean and dry surface, within the proper temperature range, is not a small thing. In Ontario’s climate, where buildings move significantly through freeze-thaw cycles, it is one of the highest-leverage things you can do for long-term airtightness. I’ve seen acoustic sealant on interior plate joints hold through fifteen years of building movement without a single failure. I’ve seen standard silicone on an exterior joint start separating within two seasons.
My advice is straightforward. Treat caulking as part of your air sealing strategy, not as cleanup work. Get the product selection right before the tube hits the wall. And test before and after so you actually know what your work accomplished.
— Felix
Get your caulking right before your next test

If your last airtightness test came back worse than expected, or you are preparing for your first blower door test and want to get the caulking right, Kettlecontracting has the resources and hands-on experience to help. Start with the window preparation guide to understand exactly how to set up surfaces for a seal that actually lasts. If you want to understand what makes certain caulks hold up through Ontario winters while others fail within a season, the secrets to long-lasting caulk guide breaks it down clearly. And if you are already dealing with failed seals, the pro caulking fix guide will help you identify and correct the most common problems before they show up on your next test.
FAQ
What is a blower door test and how does caulking affect it?
A blower door test depressurises your home with a calibrated fan and measures total air leakage in CFM50, expressed as ACH50. Failed or missing caulk at window perimeters, penetrations, and plate joints directly inflates ACH50 readings, sometimes by several points.
Which caulk type is best for airtightness in Ontario homes?
Non-hardening acoustic sealant is the best choice for interior joints subject to building movement, as it stays flexible and maintains its air seal through Ontario’s freeze-thaw cycles without pulling away from the substrate.
Can I improve my airtightness test results just by recaulking?
Yes. Properly applied caulk at critical leakage points can make a meaningful difference on blower door results. Air sealing including caulking can reduce heating and cooling energy use by up to 30% when done correctly and combined with insulation work.
Should I caulk before or after an airtightness test?
Ideally, both. Test first to identify where leaks are concentrated, then seal those locations and retest to verify the improvement. Allow new caulk to fully cure before the follow-up test for accurate results.
Why should I never caulk over window weep holes?
Weep holes are drainage channels built into window frames and sill flashing. Blocking them with caulk traps moisture behind trim and cladding, leading to hidden wood rot and structural damage that often goes undetected until it becomes a costly repair.
Recommended
- Unlocking the Secrets to Long-Lasting Caulk: Science Meets Durability – Kettle Contracting
- Does New Caulking Really Make a Difference? | See the Before & After – Kettle Contracting
- How Often Should You Caulk Windows? | Tips for Keeping Your Home Airtight – Kettle Contracting
- How to include caulking in your GTA renovation bid
