
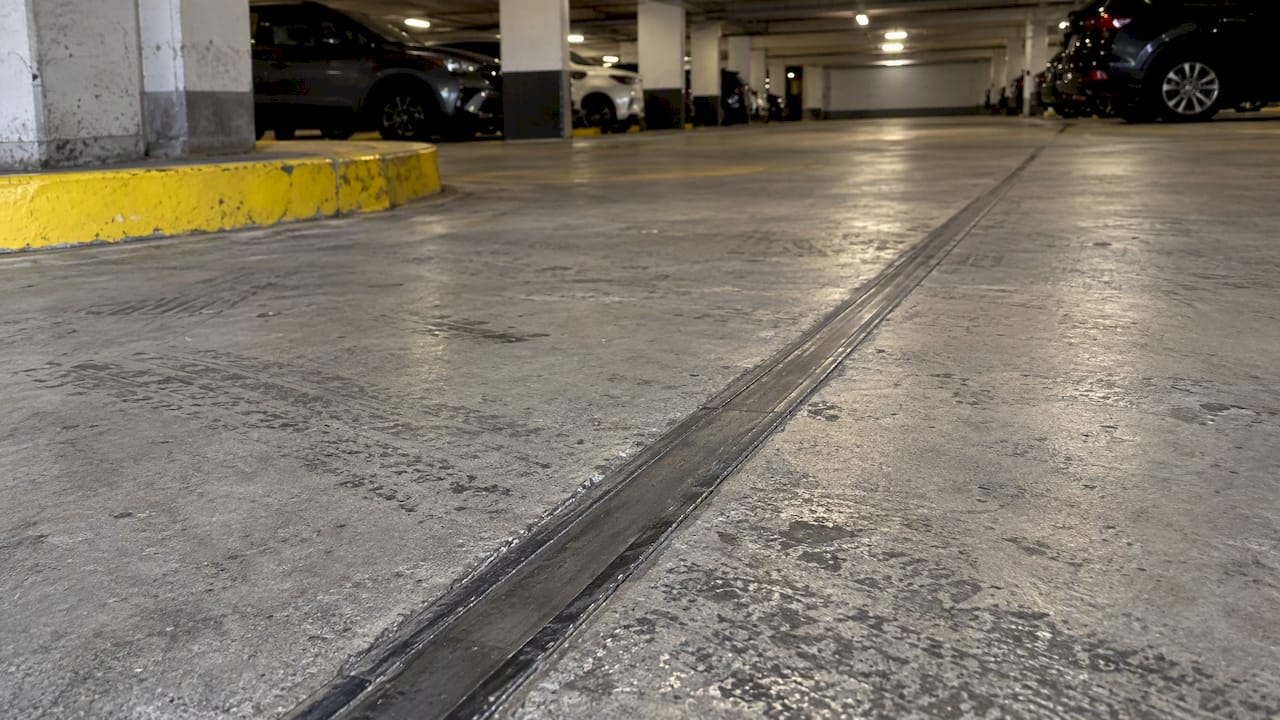
For horizontal garage and parking-deck joints, we reach for a traffic-rated elastomeric polyurethane, often self-leveling, set over a properly prepared reservoir with closed-cell backer rod. That combination handles vehicle loads and seasonal movement without tearing loose. Hot-pour asphaltic compounds still have a place on certain pavement joints. Either way, the real work happens in the prep and in a reseal schedule you actually follow.
TL;DR:
- Use flowable polyurethane on flat traffic lanes, non sag polyurethane on ramps, and reserve hybrid polymers for vertical or low traffic joints.
- Check the sealant’s movement rating against seasonal joint measurements; MasterSeal SL 1 is rated around ±35%, but traffic exposure and substrate compatibility also matter.
- Set sealant depth at roughly half the joint width, using slightly compressed closed cell polyethylene backer rod to prevent bottom bonding and control flexibility.
- Inspect joints annually for cracking, spalling, edge adhesion loss, and debris; get professional assessment when water tracks below or separation extends along the joint.
- Sawcutting is not always needed when the reservoir remains sound; thorough cleaning and preparation can avoid added cost and disruption.
Table of Contents
- Sealant types and when to use each for garages and parking structures
- Selection checklist: matching joint, exposure and product properties
- Step-by-step: preparing, filling and resealing garage expansion joints
- Inspection, maintenance and reseal cycles
- Kettle Contracting on-the-job guidance: what we check and how we ensure durability
- Why expansion joint protection should be a maintenance priority
- How Kettle Contracting can help: inspection, specification and installation
- FAQ
- Sources
Sealant types and when to use each for garages and parking structures
Picking the right chemistry comes down to one question: how much movement and abrasion does this joint see in a year? Garage and parking-deck joints move with temperature swings, carry vehicle loads, and take on road salt every winter. Not every sealant on the shelf is built for that combination.
Elastomeric polyurethanes are our go-to for most horizontal garage applications. Self-leveling versions pour into the reservoir and settle flat on their own, which matters for joints where traffic rolls directly over the seal. Non-sag versions stay where you put them, which makes them the right call on sloped sections or ramps where a self-leveling product would simply run downhill. A product like MasterSeal SL 1 offers movement capability around ±35%, with abrasion resistance suited to parking structures and garages, which is why it shows up often in deck joint specifications.
Silane-modified polymers and hybrid polymers bring strong UV and weathering resistance, and they’re a solid choice for vertical or low-traffic horizontal joints. On a garage floor that sees daily vehicle turning, though, they tend to wear faster than a dedicated traffic-grade polyurethane. We’ll still specify them on building envelope transitions or low-exposure areas, just not under tire paths.
Hot-pour rubberized asphalt, sometimes called bituminous sealant, remains specified for certain pavement and concrete pavement joints. Provincial specifications set rules for application temperature and reservoir finishing on these compounds, and they’re common where a joint sits within a larger asphalt pavement repair rather than a standalone concrete garage deck.
For joints with heavy movement, unusual geometry, or a lot of structural transitions, preformed compression seals are worth a look. Blockout-mounted, winged seal systems, the kind used in products like Thermaflex, are factory-fabricated to provide watertight continuity through changes in plane and direction. These systems reduce field labour on complex details and cut the leakage risk that shows up at corners, ramps, and transitions where a poured sealant alone struggles to stay intact.
When you’re comparing products, the datasheet tells you most of what you need to know:
- Movement capability (±%): how much the joint can expand and contract before the sealant tears or debonds.
- Shore hardness: a stiffer sealant resists abrasion better but may crack under sharp movement; a softer one flexes more but wears faster under tires.
- Application temperature range: some products need a minimum substrate temperature to cure properly, which matters on a cold Ontario install day.
- Adhesion and substrate compatibility: check that the product bonds to concrete, asphalt, or whatever the joint faces are made of.
- VOC content: relevant for enclosed parking structures with limited ventilation during application.
Every garage joint is a little different, and our parking garage joint sealing guide walks through specification details for facility managers comparing these options side by side.
Selection checklist: matching joint, exposure and product properties
Once you know the sealant classes, the next step is narrowing down to the right one for this specific joint. We run through the same checklist on every garage and deck project.
- Estimate expected movement. Measure the joint at its widest and narrowest points across a season if you can, or pull design movement data from the original structural drawings. Choose a sealant rated equal to or higher than that movement range.
- Assess exposure to abrasion and de-icing salt. A joint under a drive aisle sees constant tire contact and salt-laden slush all winter; it needs a traffic-grade product, not a general-purpose caulk.
- Decide self-leveling versus non-sag. Flat horizontal joints with no slope call for self-leveling; ramps, ridges, or vertical transitions call for non-sag so the sealant stays put while curing.
- Set the correct joint depth. Sealant depth should run at roughly half the joint width, a ratio often called the shape factor. Too deep and the sealant can’t flex properly; too shallow and it tears early. Our guide to how joint width affects sealant performance breaks down this ratio in more detail.
- Choose the backer rod type. Closed-cell polyethylene rod controls that depth and keeps the sealant from bonding to the bottom of the reservoir, allowing it to flex freely at the sides only.
- Confirm spec compliance and installer support. For municipal and commercial work, products should align with standards like OPSS.MUNI 920, which covers deck joint assemblies, preformed seals, and joint sealing compounds used on structures.
Pro Tip: When a joint width varies along its length, carry a range of backer rod diameters on the truck rather than forcing one size to fit everywhere; a rod that’s too small lets the sealant sag into the gap and ruins the shape factor.
Backer rod selection deserves its own moment of attention. Guidance from manufacturers like Pecora recommends closed-cell polyethylene rod and specifically warns against open-cell foams or fibrous ropes, which can wick moisture into the joint instead of keeping it out.
None of this matters if the product doesn’t match the exposure. A homeowner’s garage floor joint and a commercial parking deck drive aisle might look similar, but the second one needs a tougher spec and a tighter inspection schedule behind it.
Step-by-step: preparing, filling and resealing garage expansion joints
The sealant only performs as well as the prep underneath it. Here’s the sequence we follow on every job, residential garage or commercial deck.
- Inspect and measure first. Walk the full joint length, measure width and depth at several points, and check for spalling, cracked concrete edges, or standing water that signals a drainage problem rather than just a sealant problem.
- Clean the reservoir thoroughly. Remove all old sealant, dust, oil, and laitance. On larger commercial jobs we’ll saw-cut the reservoir to a clean, consistent profile when the existing edges are too deteriorated to bond new material. When the existing reservoir is in good shape, with no significant spalling or stubborn old sealant, sawcutting isn’t always necessary: a thorough clean and prep per spec can save both cost and disruption, as noted in provincial resealing guidance.
- Dry and inspect the substrate. Moisture trapped in the joint before sealing is one of the most common causes of early bond failure. We confirm the surface is dry and free of contaminants before moving forward.
- Insert the backer rod. Size it to the reservoir, compress it slightly on insertion, and set it to the depth that gives you the correct shape factor, roughly half the joint width in sealant depth above the rod.
- Apply the sealant. For self-leveling polyurethane, pour from the lowest point and let it flow to fill the reservoir evenly, working from the bottom up on any sloped section. For non-sag material, gun it into the joint and tool it smooth, taking care not to bridge the gap or trap air voids underneath.
- Cure and protect. Keep traffic off the joint for the manufacturer’s stated cure window, which varies by product and site temperature. Cold weather extends cure time, so we plan installs around the forecast whenever possible.
- Reopen and recheck. Once cured, walk the joint again to confirm full adhesion at the edges and no voids or pinholes before releasing it back to regular use.
Pro Tip: Never skip the dry-fit check on backer rod before you commit to sealant. A rod that’s even slightly undersized will let the sealant sag and ruin the shape factor, and you won’t catch it until the joint starts failing a season later.
This sequence sounds straightforward on paper, but the details matter: a rushed clean, a skipped dry-down period, or the wrong rod size is how a joint that should last years starts leaking in one winter. Our expansion joint caulking guide covers the full scope of this process for property owners weighing a DIY attempt against bringing in a contractor.
Inspection, maintenance and reseal cycles
A sealant doesn’t fail all at once. It gives you warning signs well before water starts getting through, if you’re looking for them.
- Walk the joints annually and log what you see: cracking, loss of adhesion at the edges, spalling along the joint face, and debris buildup that traps moisture.
- Expect to reseal before visible failure, not after. Many joint sealants need attention on a cycle well before they look obviously broken, and penetrating deck sealers are often scheduled on a roughly 5-year reseal cycle under Canadian guidance.
- Watch for the usual failure causes: poor surface prep during the original install, the wrong shape factor, incompatible sealant and substrate combinations, or straight abrasion from snowploughs and heavy vehicles making tight turns.
- Bring in a professional evaluation when you see adhesion loss along more than a short stretch of joint, or when water is tracking through to a level below.
Keeping records matters as much as the inspection itself. Documented logs feed into a capital maintenance plan, and joint protection is one of the clearest drivers of parking garage service life, with expansion joints sitting at the top of the risk list for moisture and chloride ingress.
Kettle Contracting on-the-job guidance: what we check and how we ensure durability
Before we recommend a product, we look at the reservoir condition, drainage patterns, and the integrity of any blockout or transition detail. A great sealant poured into a damaged reservoir won’t hold.
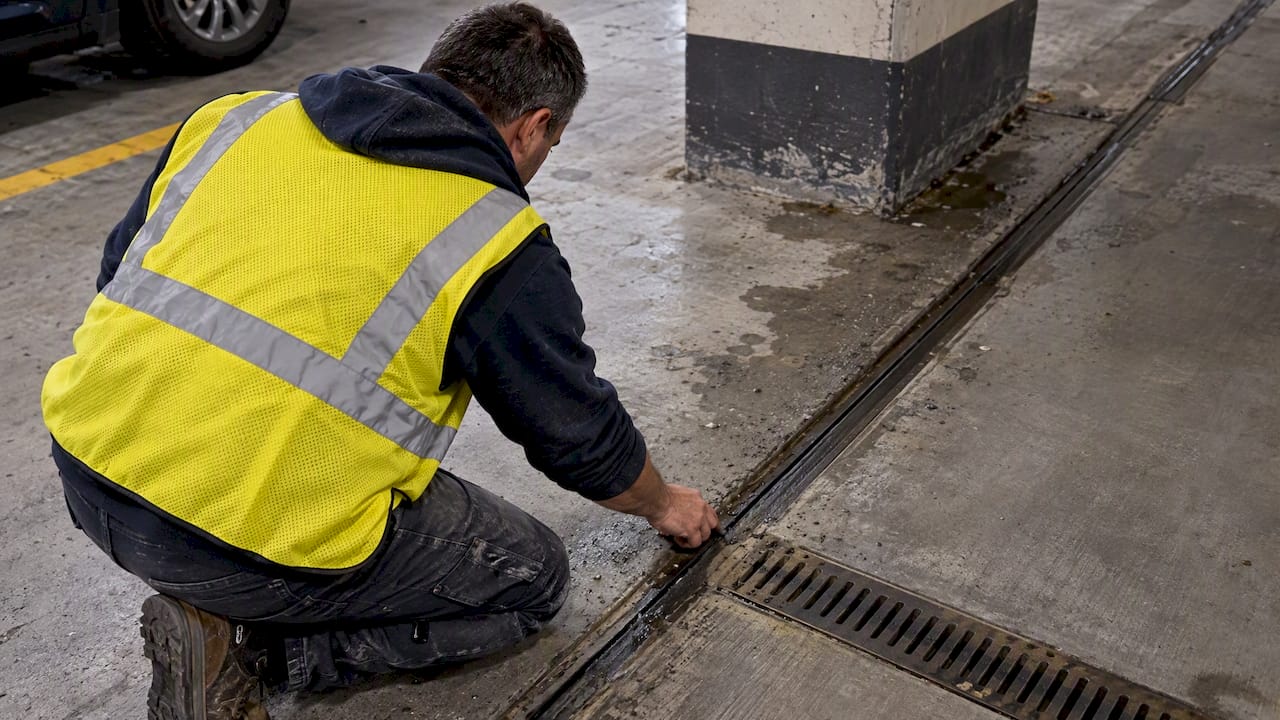
For most garage applications, we lean on traffic-rated polyurethane or self-leveling polyurethane, paired with closed-cell backer rod sized to control the shape factor properly. That combination gives us a seal that moves with the structure instead of fighting it.
Every job starts with a documented inspection and a clear scope, so you know exactly what we’re installing and why. Once the work is done, we leave you with a maintenance schedule so the next inspection doesn’t get forgotten.
Why expansion joint protection should be a maintenance priority
Expansion joints are the weak point in almost every parking structure and garage floor, not the slab itself. Water and road salt find their way in through the joints first, long before the surrounding concrete shows any trouble, making it essential to consult tips to prevent water damage to home exteriors.
A planned reseal cycle, paired with regular inspection, costs far less than reacting after water has already reached the rebar. Work joint checks into your routine after the freeze-thaw cycles of winter and spring, when movement stress is highest.
— Felix
How Kettle Contracting can help: inspection, specification and installation
We provide comprehensive garage and parking-deck expansion joint services including inspection, specification, and installation following the recommended preparation steps.

After the work is complete, we provide a condition report, the recommended product and specification in writing, a quote, and a follow-up schedule to help maintain the joint over time. If you’re dealing with a joint that’s showing cracking, spalling, or water tracking through, reach out through our expansion joint sealing page and we’ll get a look at it.
FAQ
Should I seal concrete expansion joints?
Yes. Expansion joints are the most common path for water and chloride ingress into a concrete structure, and sealing them protects the slab, rebar, and overall service life of the garage or deck. Leaving them unsealed lets moisture and de-icing salt reach the concrete directly, which accelerates corrosion and spalling.
How do you seal an expansion joint?
Clean and prepare the reservoir, insert closed-cell backer rod at the correct depth to set the shape factor, then apply a sealant matched to the joint’s movement and traffic exposure, pouring self-leveling products or gunning non-sag ones depending on the joint’s slope. Allow the full cure time before reopening the joint to traffic.
What is the best sealant for concrete expansion joints?
For horizontal garage and parking-deck joints under vehicle traffic, traffic-rated elastomeric polyurethane, often in a self-leveling formulation, is generally the strongest fit because it combines high movement capability with abrasion resistance. One widely referenced product, MasterSeal SL 1, offers movement capability around ±35% along with abrasion resistance suited to parking structures.
What is the best sealant for sealing expansion joints?
The right sealant depends on where the joint is and how it moves: traffic-grade polyurethane suits horizontal garage and deck joints, silane-modified polymers suit lower-traffic or vertical applications, and hot-pour rubberized asphalt still gets specified for certain pavement joints. Preformed compression seals are worth considering for joints with heavy movement or complex transitions.
Sources
- Precast double tee parking garage deterioration & repair (Canadian Parking Association)
- MasterSeal SL 1 product data sheet (Master Builders Solutions via Best Materials®)
- Thermaflex parking deck expansion joint (Emseal/Sika)
