
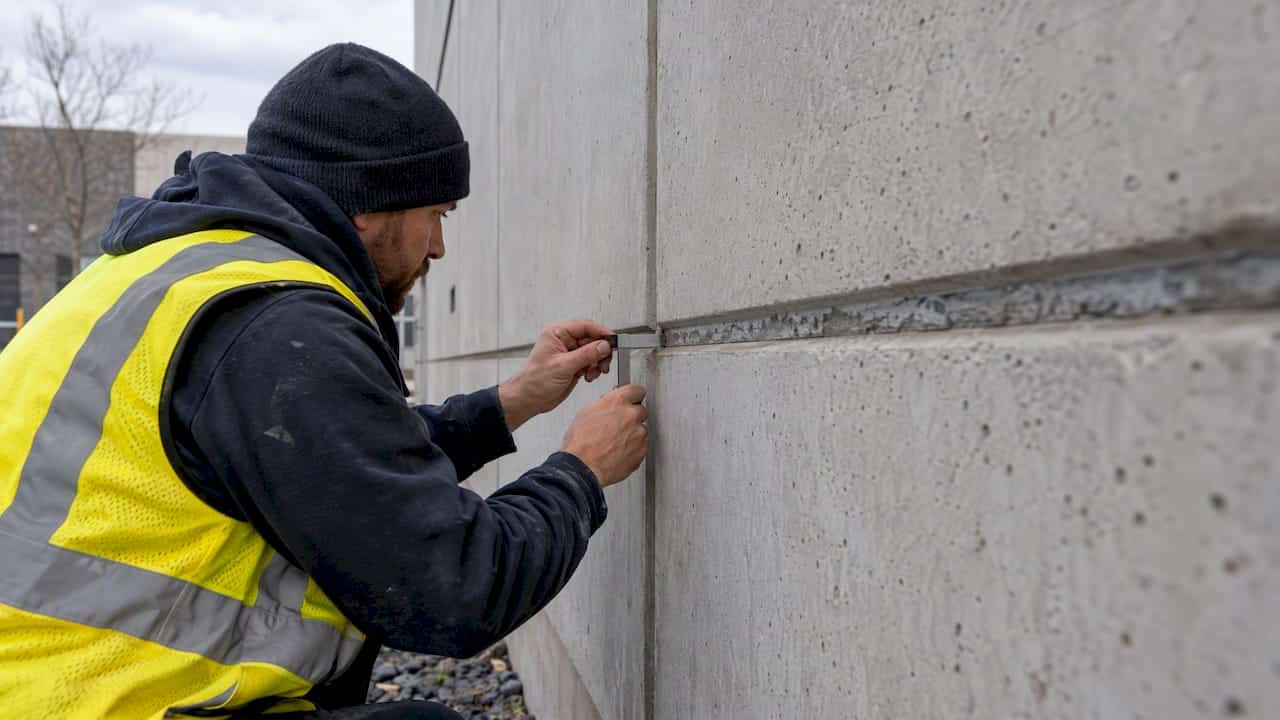
Neutral cure silicone and modern STP or hybrid sealants give you the best resistance to sunlight on exterior joints, but the material you pick matters less than you’d think. The joint’s design, the prep work, and how it handles movement decide whether that seal lasts five years or fifteen. For high movement joints, tricky substrates, or full building envelopes, you’re better off involving a contractor before you buy anything.
TL;DR:
- Set the sealant when the joint is near the midpoint of seasonal movement, and use a width to depth ratio near 2:1.
- Check neutral cure silicone compatibility with liquid applied membranes before use; test adhesion on uncertain surfaces because poor bonding can cause clean peeling.
- Choose polyurethane when adhesion to concrete, wood, or masonry and paintability matter, but protect it from direct sun unless its formula includes UV stabilizers.
- Many sheathing membranes allow only 6 to 12 months of exposure before cladding; check the membrane’s rating and plan installation accordingly.
- Leave high movement joints and waterproofing details to a contractor, especially when several materials meet or adhesion to a membrane is uncertain.
Table of Contents
- Sealant chemistries: how silicone, polyurethane, STP and polysulfide behave in sunlight
- What actually shortens a sealant’s life: UV versus movement and freeze-thaw
- Checklist: choose the right UV resistant sealant for your project
- Application and maintenance: field steps that extend life on sun-exposed joints
- On-the-job notes: common failures and what we do differently
- Author’s perspective: the one habit that outlasts any product choice
- Kettle Contracting services: how we help with UV-exposed exterior sealing
- FAQ
- Sources
Sealant chemistries: how silicone, polyurethane, STP and polysulfide behave in sunlight
We’ve worked with every major sealant chemistry on exterior joints, and each one has a job it does best.
Neutral cure silicone handles direct sun better than almost anything else on the shelf. It stays flexible through the freeze thaw swings we get every winter, and it resists chalking and cracking longer than older acetoxy formulas. The catch: it doesn’t bond well to some liquid applied sheathing membranes, so check compatibility before you commit.
Polyurethane sticks to concrete, wood, and masonry better than silicone does, and you can paint over it once it cures, which matters on trim and siding. Its UV resistance is weaker on its own, so manufacturers often add stabilizers or recommend a protective finish for anything facing direct sun.
STP and hybrid sealants split the difference. A product like Sikaflex-521 UV is built specifically for UV exposure, with roughly 400% elongation and a skin time of about 30 minutes, giving you silicone level sun resistance with better adhesion and paintability than straight silicone offers.
Polysulfide is the specialist. It’s less common on residential jobs, but it still shows up in expansion joints with heavy chemical exposure or where fatigue resistance over many movement cycles matters more than cost.
- Neutral cure silicone: best UV stability, weaker adhesion to some membranes.
- Polyurethane: strong adhesion and paintable, needs UV additives to hold up in full sun.
- STP/hybrid: balanced UV resistance and adhesion, often the practical middle choice.
- Polysulfide: specialty fatigue resistance for demanding expansion joints.
No single product solves every joint on a building. Anyone telling you one chemistry “does it all” is selling, not explaining.
What actually shortens a sealant’s life: UV versus movement and freeze-thaw
Sunlight does break sealants down. UV radiation attacks the polymer chains at the surface, which shows up as chalking, loss of gloss, and eventually surface cracking. But on most jobs we’ve repaired, sun exposure wasn’t the thing that killed the seal. Movement was.
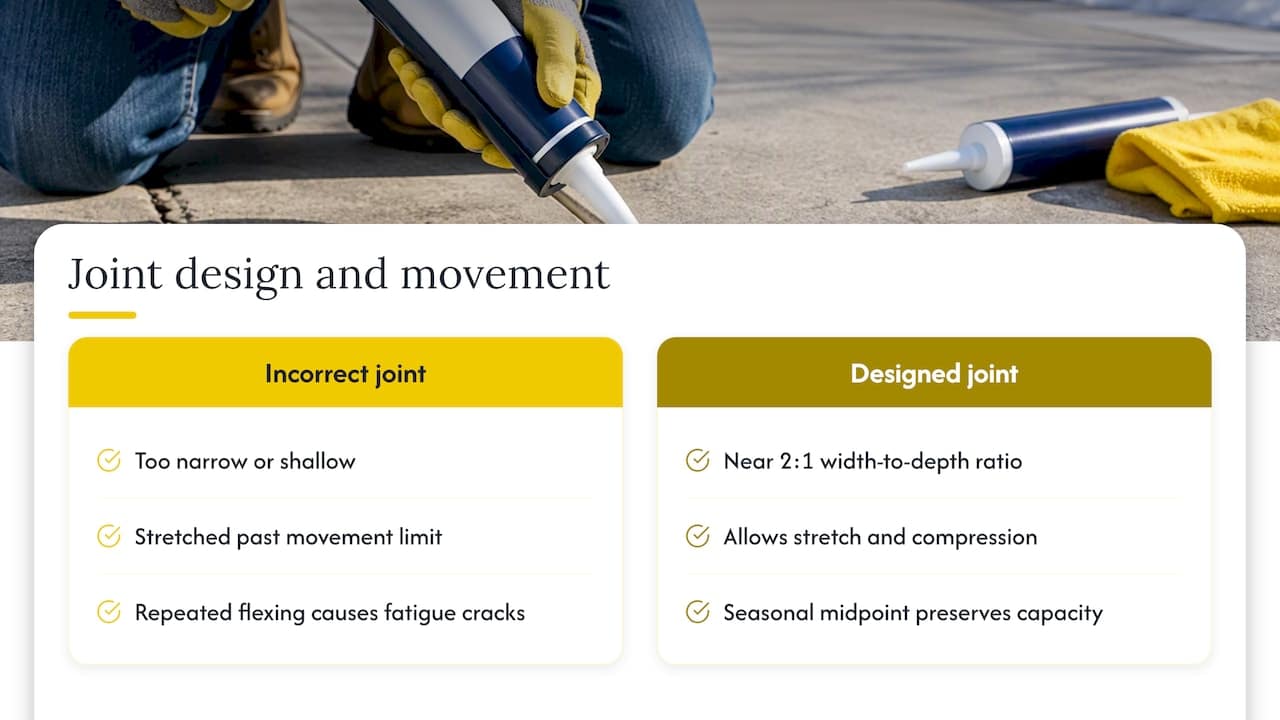
Every joint expands and contracts with temperature. A seal that’s too narrow, too shallow, or installed at the wrong point in that movement cycle gets stretched past its limit over and over, and that repeated flexing causes fatigue cracking long before UV alone would. Peer reviewed research correlating lab fatigue testing with real-world sealant performance confirms that cyclic joint movement, combined with solar exposure, is the dominant failure driver, especially where freeze-thaw cycling is part of the picture.
Joint design and installation timing can add years to a sealant’s service life. National Research Council Canada analysis found that setting a seal when the joint sits near the midpoint of its seasonal expansion and contraction preserves movement capacity that’s otherwise lost if you caulk at a temperature extreme.
Width to depth ratio matters just as much. A joint built close to the standard 2:1 width to depth ratio lets the sealant stretch and compress the way it’s designed to, instead of tearing at the bond line. If you’re protecting a sheathing membrane during construction, know its UV clock is ticking too: most membranes are only rated for 6 to 12 months of exposure before cladding needs to go on.
Checklist: choose the right UV resistant sealant for your project
Picking a product off a shelf label is how most sealant failures start. Work through this instead:
- Identify the substrate and expected movement. A window frame moves differently than a masonry expansion joint or a metal flashing seam, and that changes which chemistry fits.
- Read the technical data sheet, not just the front of the tube. Elongation, skin time, full cure time, and allowable exposure window all tell you more than marketing copy does.
- Decide if paintability matters. Polyurethane and some STP products take paint well; straight silicone generally doesn’t.
- Require a primer or adhesion test on uncertain substrates. NRCan’s LEEP guidance recommends mock-ups or pull tests wherever adhesion to a membrane or unusual surface is in question, and it specifically flags consumer grade acrylic latex as unsuitable for exterior enclosure work.
- Call a contractor when the stakes are high. High movement joints, critical waterproofing details, or a building envelope with multiple material transitions are not where you want a first attempt.
For more detail on matching chemistry to joint type, our guide to exterior joint sealing types walks through specific applications.
Application and maintenance: field steps that extend life on sun-exposed joints
The product label gets you partway there. The install gets you the rest.
- Clean the joint thoroughly. Dust, old sealant residue, and any moisture will undermine adhesion before the sealant even cures.
- Size the joint and install backer rod so the sealant isn’t bonding to three sides of the gap, which restricts its ability to move.
- Tool the bead to get good contact with both surfaces and a clean profile that sheds water instead of pooling it.
- Respect skin time and full cure before any mechanical stress reaches the joint, whether that’s window operation or structural movement.
- Inspect yearly, looking for chalking, hairline cracks, or separation at the bond line, and reseal before small gaps become water paths.
Pro Tip: Press a gloved thumb into a cured test bead before you commit to a full run. If it peels away from the substrate rather than stretching, your adhesion is wrong, not your technique.
For seasonal timing specifics, our guide to the best time to caulk windows covers how to time the job around our climate rather than against it.
On-the-job notes: common failures and what we do differently
Most of the failures we get called to fix trace back to one of two things: a joint that was too narrow for the movement it sees, or a sealant that was never compatible with the substrate underneath it. We’ve seen silicone peel clean off a membrane it was never meant to bond to, and polyurethane crack where nobody accounted for seasonal swing.
- We typically specify neutral cure silicone or STP/hybrid products for window and door joints facing direct sun.
- Masonry expansion joints usually call for a product with stronger movement accommodation and sometimes a specialty chemistry.
- A joint that’s cracking in year two, not year ten, is a design problem, not a product failure.
If a joint looks straightforward and low movement, a careful DIY job can hold up. Anything tied to water management on a building envelope is worth a second set of eyes, and our project gallery shows the kind of work that comes out of getting it right the first time.
Author’s perspective: the one habit that outlasts any product choice
After 25 years of pulling failed caulking off window frames and expansion joints, the pattern never changes: the sealant rarely failed because of UV alone. It failed because of a joint that was cut wrong, prepped poorly, or caulked at the wrong time of year. Chasing a “UV-proof” product is the wrong question. Chasing good design and clean prep is the right one.
If paintability matters to you, be ready to trade a little UV stability for it, and know that going in rather than being surprised later. For anything load-bearing on water management, get a professional assessment before you touch a tube.
— Felix
Kettle Contracting services: how we help with UV-exposed exterior sealing
We handle exterior sealing across the full range of UV-exposed joints: residential window caulking, commercial window caulking, full building envelope sealing, and expansion joint sealing on masonry and concrete structures.

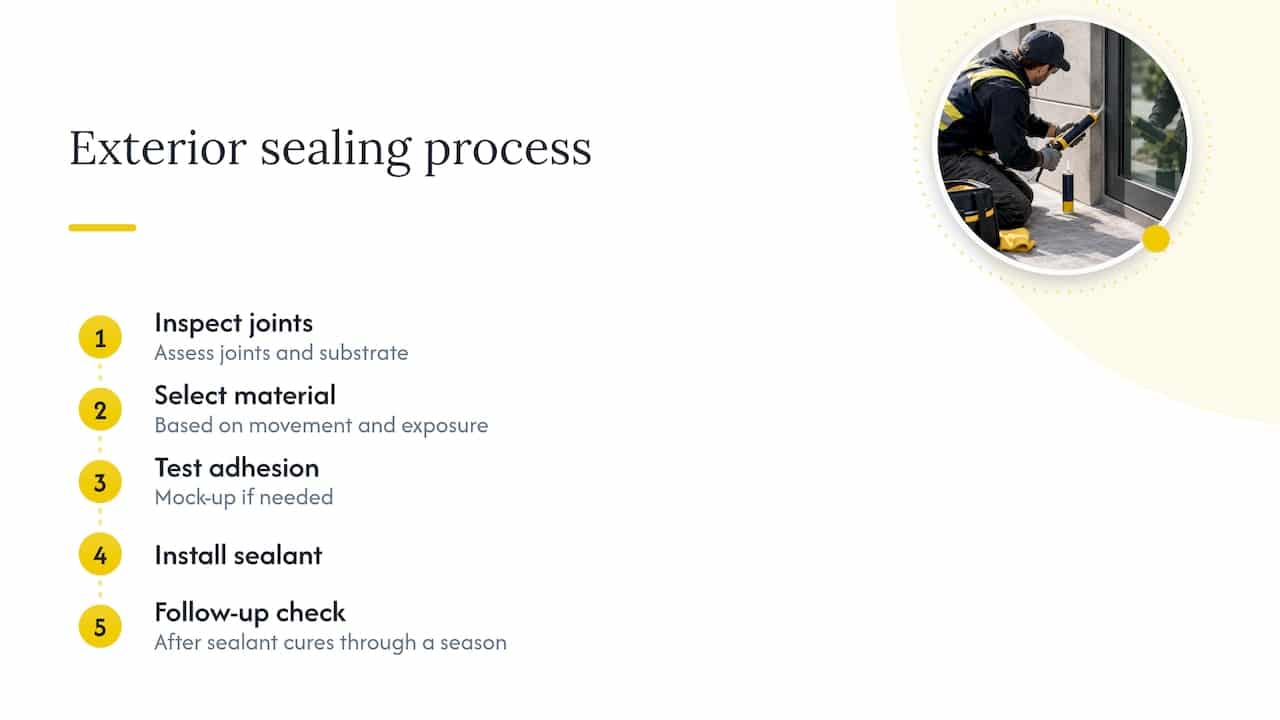
Our process typically includes an inspection of joints and substrate, material selection based on movement and exposure, a mock-up or adhesion test if needed, installation, and a follow-up check after the sealant cures through a season. If your project involves exterior woodwork or decking alongside the sealing work, La Rocks Renovations handles that kind of carpentry in the Bowmanville area.
Ready to get a joint assessed? Request an estimate and have your joint locations, approximate age, and any visible cracking or gaps ready to describe, it helps us scope the visit faster.
FAQ
What is a good UV sealant?
Neutral cure silicone and STP or hybrid sealants are generally the strongest choices for direct sun exposure because they resist chalking and keep their flexibility longer than other chemistries. The right pick still depends on your substrate and how much the joint moves.
Is silicone sealant UV resistant?
Neutral cure silicone is one of the more UV-stable sealant types available, holding up well against chalking and surface degradation in direct sunlight. It can have adhesion limitations on certain membranes, so compatibility is worth checking before you apply it.
How long will silicone last in the sun?
Service life depends far more on joint movement and installation quality than on sun exposure alone, since cyclic movement and environmental stressors are the dominant factors in how long a seal holds up. A well-designed, properly prepped joint in neutral cure silicone can outlast a poorly designed one by years.
What is the best UV resistant epoxy?
Epoxy isn’t typically the right category for UV-exposed exterior joints since it’s rigid and doesn’t accommodate movement the way an elastomeric sealant does. For sun-exposed joints, neutral cure silicone, polyurethane, or STP/hybrid sealants are the standard recommendation instead.
Sources
- Crack length of elastomeric sealants and their service life in contrasting canadian climates: effects of climate change – NRC Publications Archive
- LEEP Appendix A — Material selection (Natural Resources Canada)
- Sika Sikaflex‑521 UV — product listing/spec summary
- Peer-reviewed research on sealant durability and environmental stressors
