Most homeowners assume water damage starts with a burst pipe or a leaking roof. The truth is that water leaks often originate from failed caulk joints long before any plumbing fails. A thin crack along your tub surround or a gap at a window frame lets moisture slip into wall cavities silently, saturating drywall and framing for months before you notice a soft spot or musty smell. Understanding how caulking prevents water damage is not complicated, but it does require knowing what to look for, what products to use, and when to act before the hidden costs add up.
Table of Contents
- Key takeaways
- How caulking works to stop water damage
- Signs your caulk is failing
- Best practices for applying caulk correctly
- What happens when caulking is neglected
- Inspection and maintenance checklist
- My take on where most caulking jobs go wrong
- Protect your property with professional caulking
- FAQ
Key takeaways
| Point | Details |
|---|---|
| Caulk seals moisture entry points | Gaps around tubs, windows, and doors are common pathways for water intrusion if left unsealed. |
| Product selection matters | Use flexible sealants for high-movement or high-exposure joints to avoid premature cracking and failure. |
| Preparation is non-negotiable | Fully removing old caulk and cleaning surfaces is the single biggest factor in how long a new seal lasts. |
| Inspect twice a year | A simple six-month walk-around catches failing seals before hidden damage has time to develop. |
| Neglect carries real costs | Failed caulking leads to mould growth, wood rot, energy loss, and structural repairs far more expensive than the original seal. |
How caulking works to stop water damage
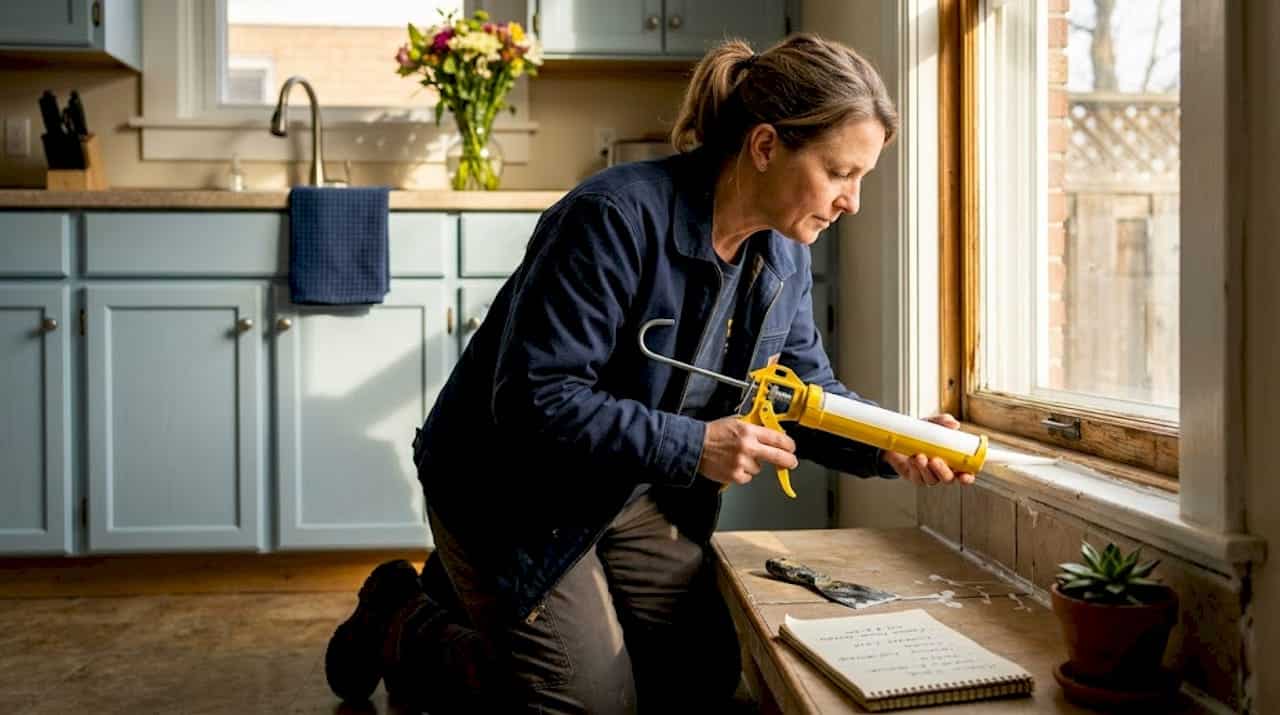
Caulk fills the small gaps and transitions between building materials where two surfaces meet but cannot be bonded rigidly. Think of the joint between a bathtub and ceramic tile, the perimeter of a window frame, or where a door threshold meets the floor. These joints shift slightly with temperature changes and building movement, and without a seal, they become open channels for water.
When applied correctly, caulk forms a physical barrier that directs water away from wall cavities, subfloors, and framing. Failing caulk at tub edges allows water to enter wall interiors without showing any signs on the floor, which is exactly why the damage is so often discovered late. The barrier has to remain intact to do its job.
Caulk vs. sealant: knowing the difference
A common source of premature failure is using the wrong product for the wrong application. Here is a straightforward comparison:
| Feature | Caulk | Sealant |
|---|---|---|
| Flexibility | Low to moderate | High |
| Best use | Low-movement interior joints | High-movement or exterior joints |
| Water exposure | Limited | Sustained |
| Paintability | Usually paintable | Often not paintable |
| Lifespan | Shorter in wet areas | Longer in demanding conditions |
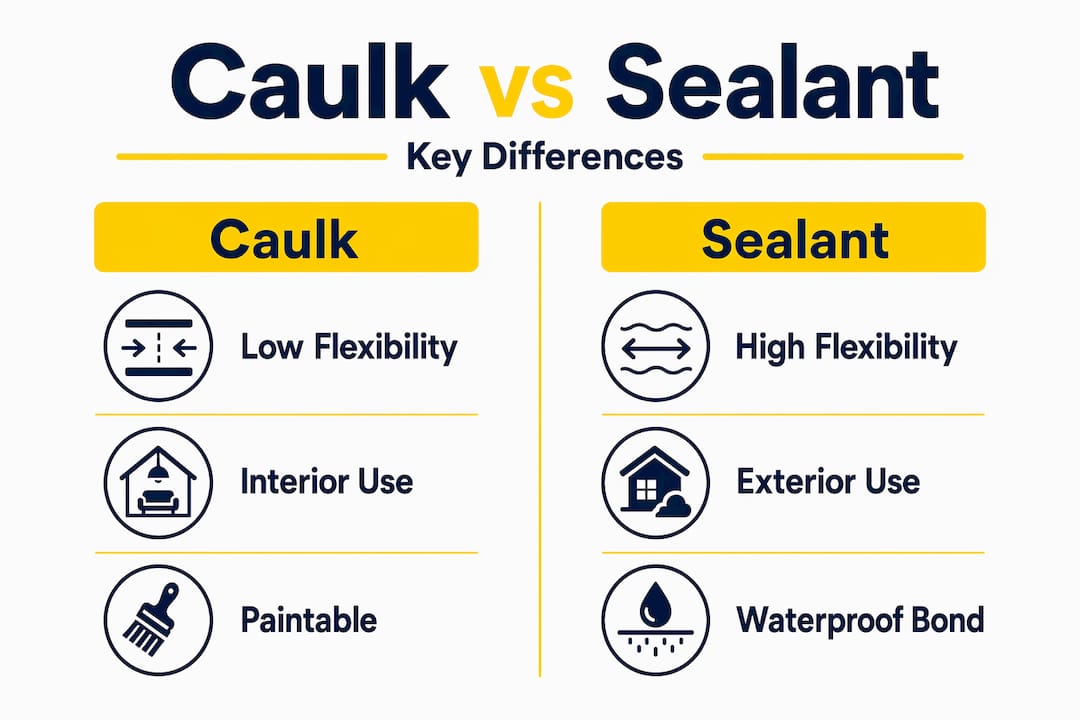
Caulk often fails in joints that move regularly, whereas flexible sealants maintain a waterproof bond even as materials expand and contract. In a bathroom, around windows, or on a building envelope, a silicone or polyurethane sealant is typically the right choice for waterproofing.
The most effective caulking for waterproofing in wet areas combines proper product selection with correct application. Both elements need to be right.
Signs your caulk is failing
Recognising early warning signs gives you a chance to act before moisture travels deep into your walls. Caulk deterioration follows a predictable pattern, and knowing what to look for saves you from expensive surprises.
Common signs of caulk failure include:
- Cracking or shrinkage: The caulk pulls away from the surface or develops hairline fractures, creating gaps that water can enter.
- Peeling or lifting edges: The seal has lost adhesion along one or both surfaces, leaving an open channel behind the visible bead.
- Discolouration or mould on the surface: Mould growing on or directly behind caulk is a strong indicator that moisture is already penetrating the joint.
- Soft drywall or paint bubbling nearby: Hidden water damage progresses inside wall cavities, showing up as soft spots or paint changes on adjacent surfaces.
- Musty odour in the room: A persistent smell without an obvious source often means moisture has been accumulating behind finished surfaces for some time.
Several factors accelerate caulk deterioration. In Ontario, the freeze-thaw cycle is particularly hard on exterior seals. A joint that expands and contracts dozens of times through a winter will break down a rigid caulk product quickly. Humidity, UV exposure, and the use of cleaning products in bathrooms all reduce caulk lifespan as well.
Joint movement and poor product choice are two of the most common contributors to premature caulk failure. A homeowner who patches over old, failing caulk with a fresh bead compounds the problem because the new layer has nothing solid to adhere to.
Pro Tip: Press gently along the caulk line with your finger. If it feels hollow, springy, or if the bead moves independently of the surface, the seal has likely lost adhesion even if it looks intact from the outside.
Best practices for applying caulk correctly
Getting a lasting result from caulking is not about working fast. It is about following the right steps in the right order. Here is how to use caulk effectively for water damage prevention:
-
Choose the right product. Match the caulk or sealant to the specific application. Silicone sealant for tubs, showers, and exterior windows. Polyurethane for exterior joints with movement. Latex caulk for dry interior trim where flexibility is not a concern. Matching sealant to joint conditions greatly extends the life of the seal.
-
Remove all old caulk completely. Do not layer new caulk over old material. Use a caulk removal tool and a solvent to strip the joint back to bare substrate. Incomplete removal leads to poor adhesion and undermines everything the new caulk is meant to accomplish.
-
Clean and dry the surface thoroughly. Any residue, grease, soap film, or moisture on the substrate will prevent the new caulk from bonding. Use isopropyl alcohol for a final wipe and allow the surface to dry completely.
-
Use a backer rod for wide joints. For any joint wider than 6 mm (approximately 1/4 inch), a foam backer rod fills the gap depth before you apply caulk. This improves adhesion and allows the sealant to flex properly rather than stretching until it tears.
-
Apply in appropriate weather conditions. For exterior work, apply caulk during dry weather within the temperature range specified on the product label. Most products require above 5°C and dry surfaces to cure properly. In Ontario, spring and early fall are typically ideal.
-
Tool the bead immediately. After applying the caulk, smooth it into the joint with a wet finger or a caulking tool before it skins over. This presses the sealant into the substrate and removes air pockets that weaken the bond.
-
Allow full cure time before exposing to water. Read the product data sheet. Silicone products often need 24 hours before water contact, and some require longer in cool or humid conditions.
Pro Tip: For window preparation before caulking, take extra time to inspect the frame for any soft wood or deteriorated glazing compound before you start. Sealing over damaged substrate just hides the problem temporarily.
What happens when caulking is neglected
The cost of ignoring failing caulk goes well beyond a damp wall. The consequences build quietly and become significantly more expensive the longer they go unaddressed.
- Mould and mildew growth: Once moisture reaches drywall and wood framing, mould can begin developing within 24 to 48 hours. Remediation costs far exceed what caulk replacement would have cost.
- Wood rot and structural weakening: Extended moisture exposure causes framing lumber to soften and lose structural integrity. In severe cases, floor joists and wall studs require replacement.
- Damage spreads beyond the original entry point: Water migrates laterally inside wall cavities. A failed seal at a second-floor window can saturate insulation and travel down to affect the floor below.
- Energy loss: Air and moisture infiltrating through failed seals degrades insulation performance. You pay for that energy loss on every heating and cooling bill.
- Escalating repair costs: Broken caulk seals allow swelling and warping that may not become visible for months. By the time the damage shows, the repair scope has already grown significantly.
Exterior caulking that is inspected annually retains its effectiveness far longer than seals left untouched for years. The difference in cost between proactive maintenance and reactive repairs is substantial. A tube of sealant and an afternoon’s work is a very different proposition from a mould remediation job or subfloor replacement.
One point worth understanding: caulking is part of a layered water management system, not a standalone solution. It works best alongside proper substrate preparation, adequate ventilation in wet areas, and functional drainage. Caulking as a moisture barrier is most effective as a last line of defence in a well-maintained building, not as a substitute for good ventilation or structural waterproofing.

Inspection and maintenance checklist
Staying ahead of caulk failures does not require special tools or professional training. It requires consistency.
- Inspect all caulked joints at least every six months, ideally in spring and autumn before weather extremes arrive.
- Check around tubs, showers, sinks, toilets, and any floor-to-wall transitions in wet areas.
- Examine exterior caulking at windows, doors, and where siding meets trim or masonry.
- Look for cracks, gaps, lifted edges, discolouration, and any nearby paint bubbling or soft wall surfaces.
- In bathrooms and kitchens, check ventilation function as well. Poor airflow accelerates moisture buildup and shortens caulk life.
- When replacement is needed, remove the old caulk completely before applying new material. Never layer over failing caulk.
- For a thorough seasonal maintenance approach, a seasonal maintenance checklist that includes caulking inspections helps you stay organised year-round.
Pro Tip: If you manage a multi-unit building or a larger property, keep a simple log of which areas were inspected and when. It takes five minutes to update and can save you from discovering a widespread caulking failure all at once.
My take on where most caulking jobs go wrong
I have been doing this work for over 25 years, mostly around the Greater Toronto Area, and the same mistakes come up again and again. The biggest one is layering new caulk over old. I understand why people do it. It looks faster and easier. But in Ontario’s climate, that layered joint does not survive one full freeze-thaw cycle. The old material moves independently from the new, and by March, you have gaps worse than what you started with.
The second mistake is product selection. I have seen silicone applied to joints that move three to four millimetres seasonally, with no backer rod, nothing to give the sealant room to flex. Correct backer rod use in wider joints is one of those techniques that makes a measurable difference in how long a seal holds. Most DIYers skip it because it adds a step.
For property managers, my honest advice is to build caulking inspections into your regular maintenance schedule the same way you schedule HVAC filter changes. It is not the exciting part of property management, but failing seals are quietly responsible for a large share of interior water damage claims I have seen over the years. A well-documented inspection programme and a solid working relationship with a caulking specialist pays for itself quickly.
The goal is not perfection on every joint. The goal is catching failures early before moisture has time to cause damage you cannot see.
— Felix
Protect your property with professional caulking

At Kettlecontracting, we work with homeowners and property managers across the Greater Toronto Area who want reliable, long-lasting seals, not just a quick patch that fails by winter. Whether you are dealing with a specific problem area or need a full building envelope assessment, our team has the experience to get it right the first time.
Start with the right preparation. Our detailed guide on window caulking preparation walks you through every step before the first bead goes down. If you are troubleshooting an existing problem, our guide on fixing common caulking issues covers the situations we see most often on the job. And if you want to understand what separates a seal that lasts from one that fails in a season, take a look at our breakdown of long-lasting caulk science.
FAQ
What areas of a home need caulking for water protection?
The highest-priority areas are bathtubs, showers, sinks, toilets, windows, exterior doors, and any joints where different building materials meet. These transitions are most vulnerable to moisture intrusion when seals fail.
How often should caulk be replaced?
Inspect caulked joints every six months and plan for replacement every three to five years in wet interior areas, or sooner if you see cracking, peeling, or discolouration. Exterior seals in harsh climates like Ontario may need attention more frequently.
Can you apply new caulk over old caulk?
No. Applying new caulk over old material prevents proper adhesion and the new seal will fail prematurely. Full removal and surface preparation are required before any new caulk is applied.
What is the difference between caulk and sealant for waterproofing?
Caulk is suited to low-movement, low-exposure joints, while sealants are flexible and designed for joints that move and face sustained water exposure. For most wet areas and exterior applications, a sealant provides better long-term water protection.
How does caulking help with energy efficiency?
Gaps at windows and doors allow conditioned air to escape and outdoor air to enter, increasing heating and cooling costs. Sealing these joints with proper caulk reduces air leakage and helps your insulation perform as intended.
Recommended
- Can Door Caulking Protect Against Flooding? | Entryway Protection – Kettle Contracting
- Preventing Water Damage with Effective Window Caulking – Kettle Contracting
- Can Window Caulking Prevent Mold? | A Healthy Home Starts with Seals – Kettle Contracting
- Which Areas Around the Window Should Be Caulked? | Caulking Checklist – Kettle Contracting